

Browse All Articles > Warp and Reflect Images in Illustrator
HOW TO WARP A RASTER IMAGE AND ADD A REFLECTION USING ADOBE ILLUSTRATOR
This tutorial is for experienced to advanced Adobe Illustrator users.Tools and Techniques that will be used in this Tutorial:
Flatten Transparency (A)

Envelope Distort (B)
Direct Selection Tool (C)
Selection Tool (D)

Anchor or Anchor Point (E)
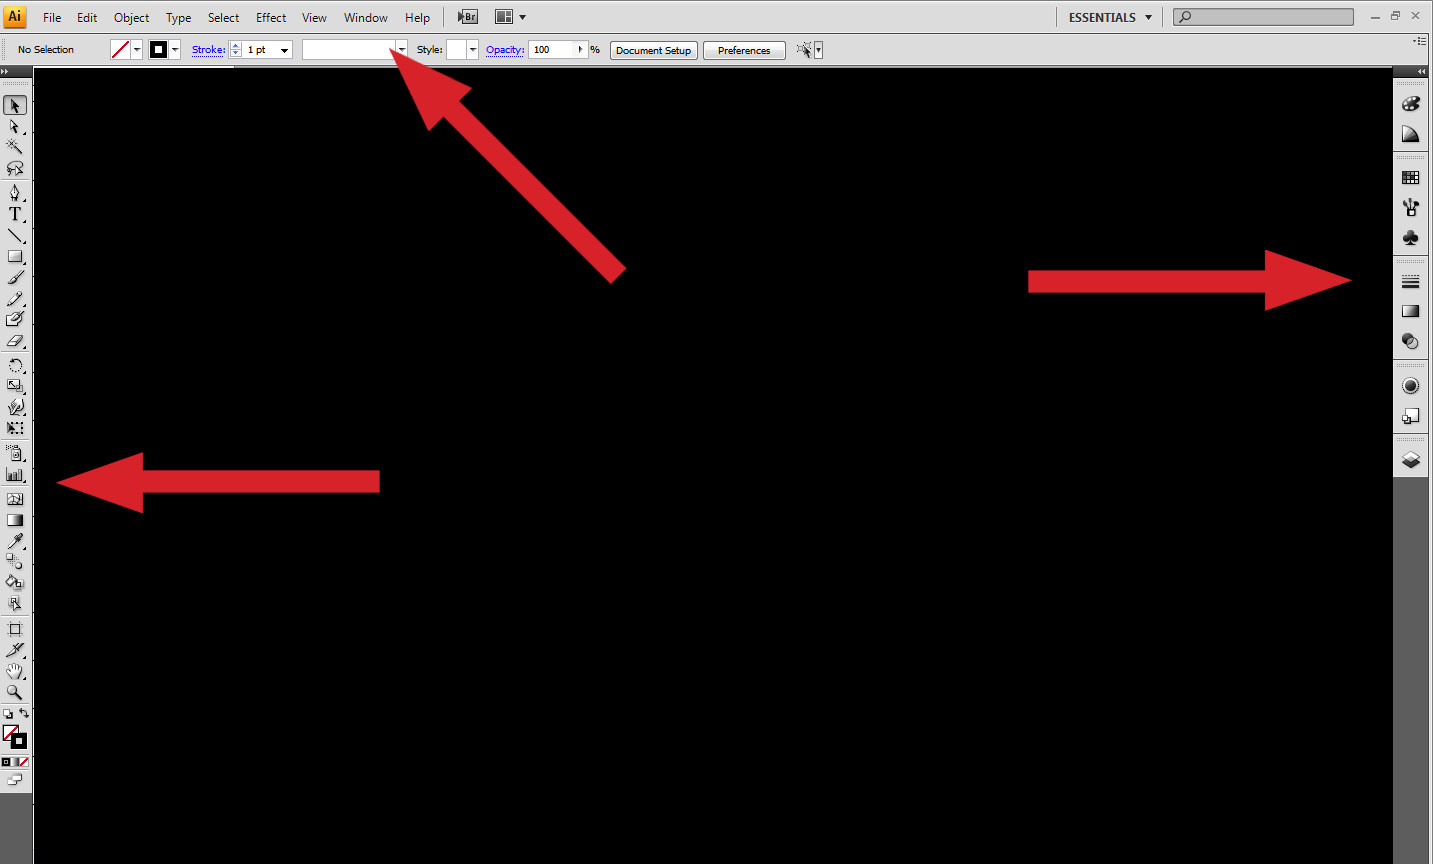
Handles (F)

Toolbars (G)
1. Choose and Re-size an Image For Better Performance
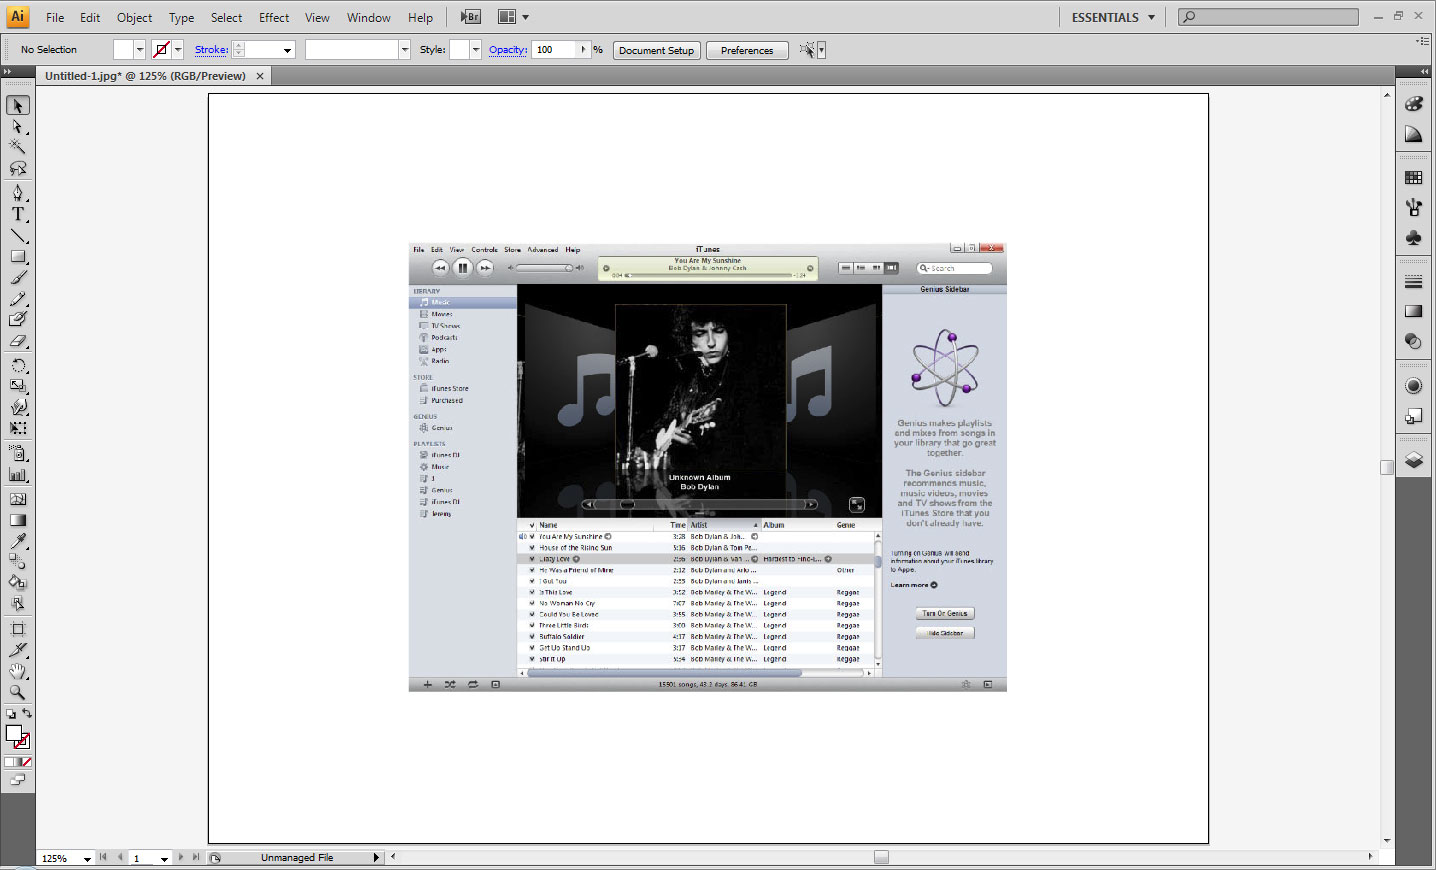
See image 1 for reference
Open an image in Photoshop to resize it. You will want to reduce the image size so Illustrator can handle the effects without freezing up or taking forever. I chose an image size of 500px for the width, 72ppi for the resolution. Then I chose save for web and devices and picked jpeg high quality to reduce the image size even more.
"once you figure out the procedure you can pick a higher resolution image, I am picking a smaller file size so you can experiment without having to wait as long for the effects to take place inside Illustrator"
2. Open or Place Your Image in Illustrator
Open Adobe Illustrator. Choose File>New from the top toolbar. I chose a document size just a little larger than the photo we saved from Photoshop. Now go to the top toolbar and choose File>Place, and navigate to the Photoshop jpeg you created.3. Flatten Transparency
See image 2 for reference
Click the image that you just placed to select it. Navigate to Object>Flatten Transparency from the toolbar. In the options screen you can either choose the default settings, or see the image I am attaching for my settings (I think I used the defaults). Now click ok to apply the settings.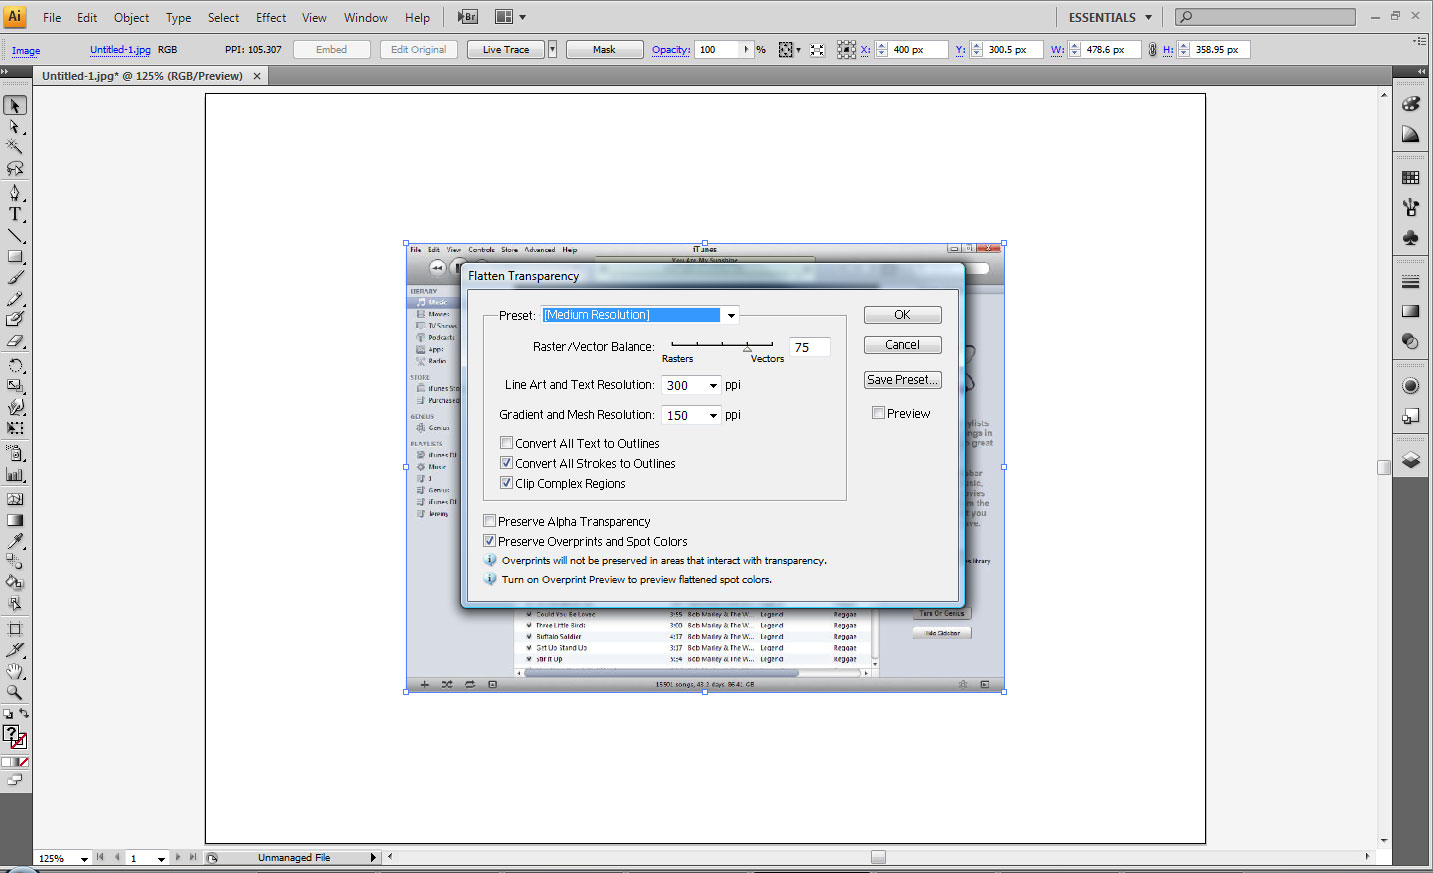
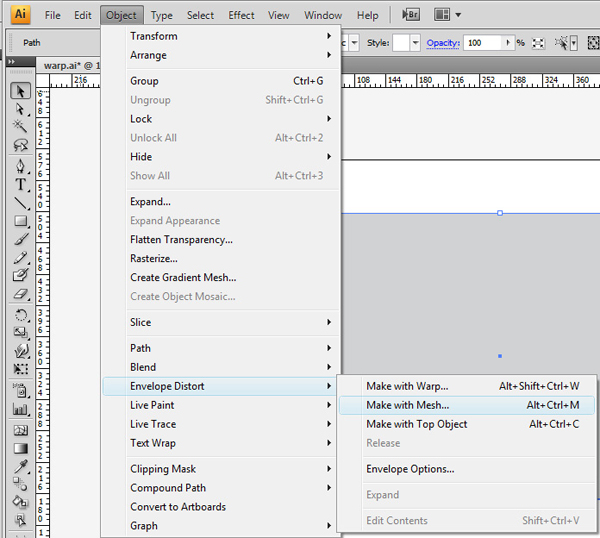
4. Envelope Distort
With the picture still selected, from the top toolbar, choose: Object>Envelope Distort>Make with mesh. In the dialogue box that opens, choose Columns= 1, Rows= 1 and click OK.5. Applying The Curve
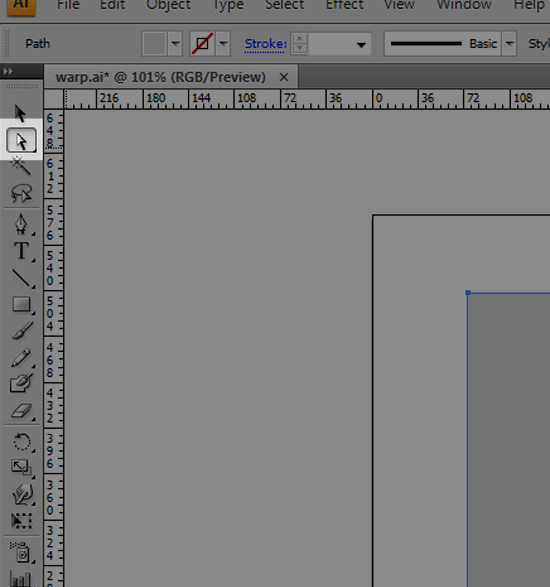
See image 3 for reference (this is how it appears after applying this step)
Now click on the canvas to deselect the image. With the direct selection tool click on either the top or bottom right side anchor points, you should now see the "handle" that belongs to the anchor point. Click on the blue circle on the end of the handle to select it. Now drag the handle up if you chose the top anchor point, or down if you chose the bottom anchor point. You can play around with how much you want to drag them to 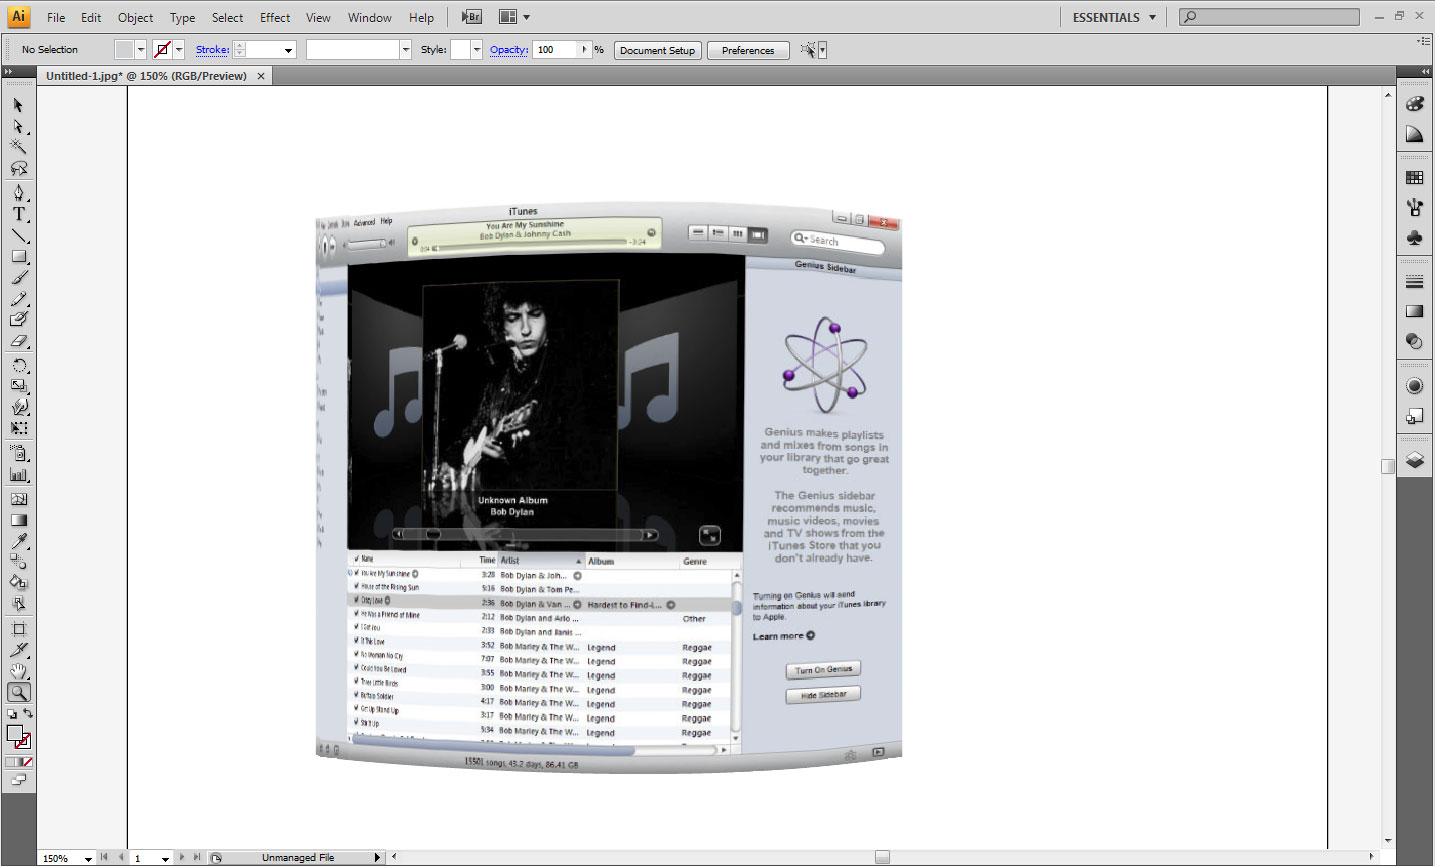
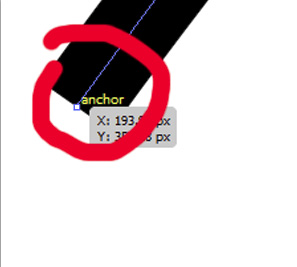
6. Start Warping The Image Using Anchor Handles
Once again, click on the canvas to deselect the image. Use the direct selection tool and click on either the top or bottom right side anchor points, to see the "handle" that belongs to the anchor point and select it. Drag the handle up if you chose the top anchor point, or down if you chose the bottom anchor point. As above, play around to achieve the desired amount of warp. Now repeat the process on the other right side anchor point, try to match the warp you just created (you will drag this one in the opposite direction of the previous step (bottom right anchor handle= drag down, top right anchor= drag up).6.2
See image 4 for reference
Click on either the top or bottom left side anchor points to display the handles. Once you see the handle of the anchor point, click and hold the blue circle at the end of the anchor point to select it. With the end of the handle selected, drag it to the left until it meets up with the anchor point (this will take the wave look out and make the image look curved instead of warped). Repeat this step on the top left anchor point handle.

7. Adjusting The Warp
The image looks bulged, but it doesn't quite look right yet so we will adjust the right side anchor points. Now click and hold on the top right anchor point with the direct selection tool to select it. Hold down the shift key and drag it down (not too much). Now do the same to the bottom right except drag it upward (try to drag it the same amount as you did the top anchor point.NOTE: After this step, your image may not have enough bend on the top or bottom. You can adjust the radius of the top and bottom lines by selecting the anchor points with the direct selection tool and dragging the handles up or down to apply more of a curved line to make the image appear more warped. You may also want to select both right side anchor points with the direct selection tool and drag them to the left (like in step 5) to give the image a more curved look. If your image starts to look unevenly warped, you can add a vertical guide to make sure the bottom and top handles are aligned vertically
8. Apply Final Tweaks To The Warped Image
See image 5 for reference (this is what the image looks like after adjustments)
Make any adjustments by experimenting with the right side anchor points and handles until your image has the bend that you are looking for. Once you have made the desired adjustments, you can now begin to apply the reflection.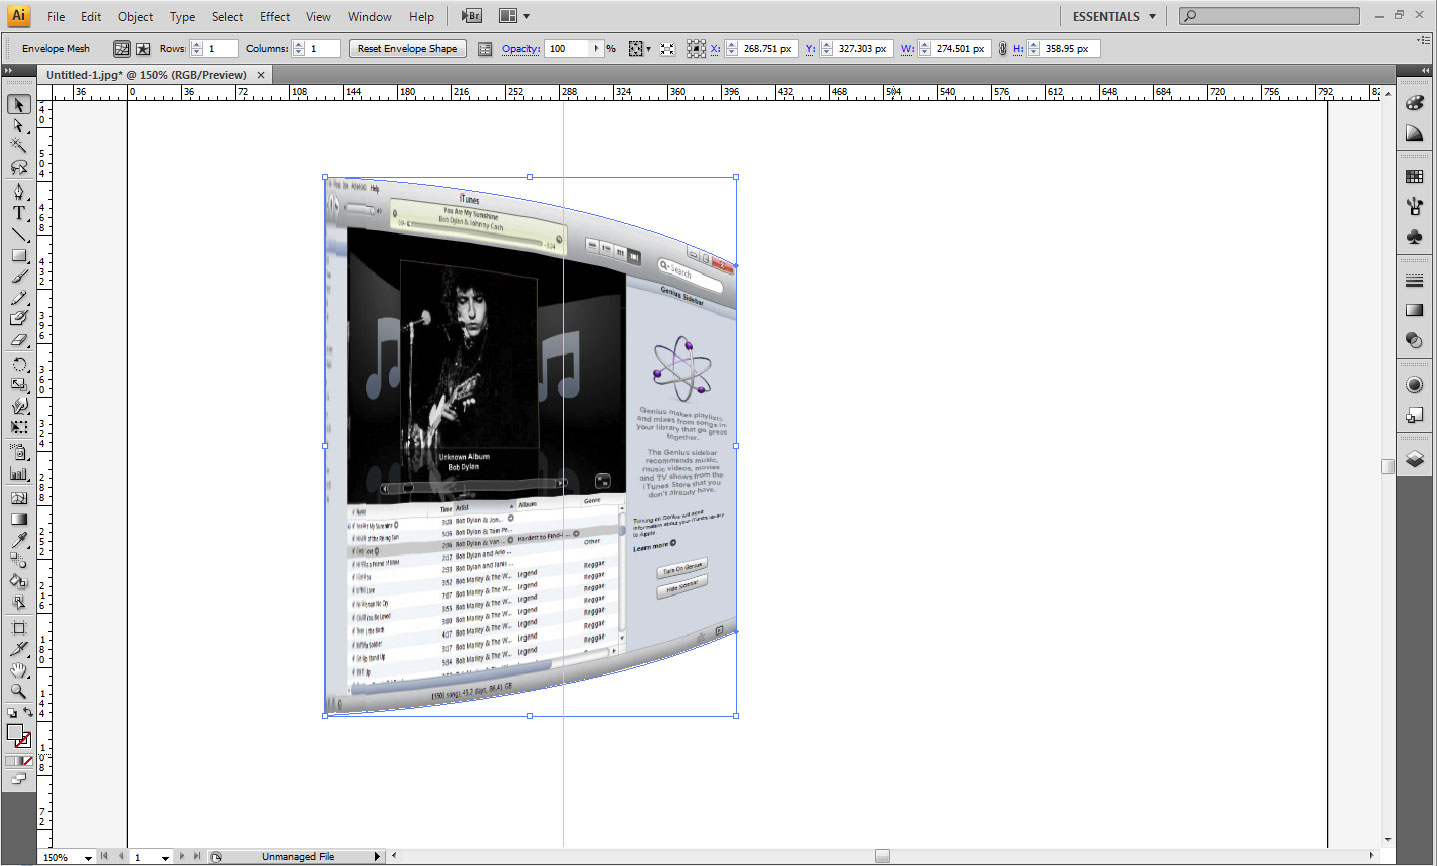
9. Add The Reflection
Select the image with the selection tool (the black arrow). With the image selected, navigate to the top tool bar and choose Object>Transform>Reflect. In the dialogue box that appears select Horizontal and click copy. The reflected copy is directly on top of you other image, so select it and hold shift to drag it down. Drag it while holding the Shift key until the top left corner meets up with the bottom left of the original image.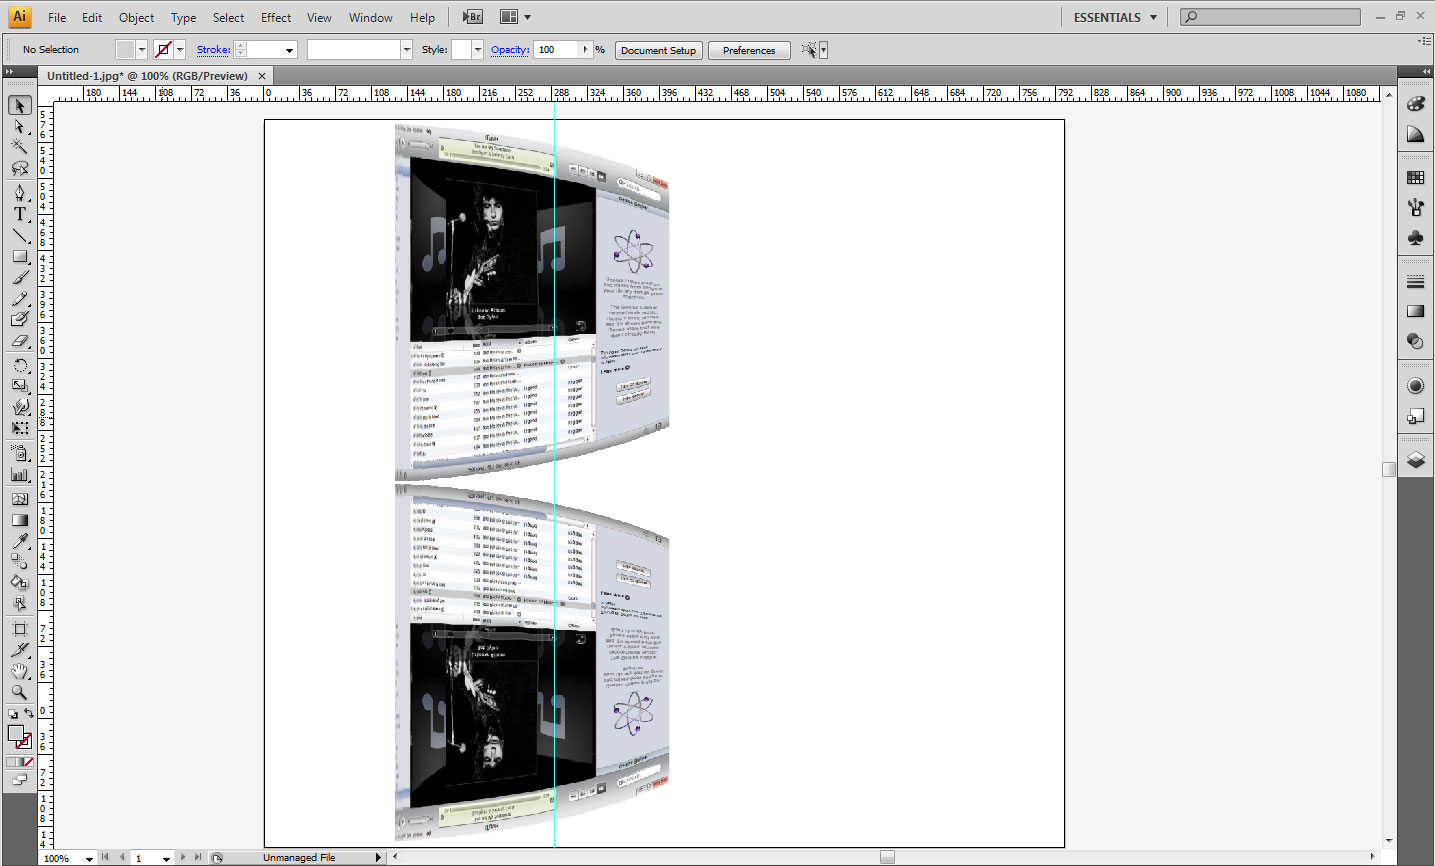
10. Adjusting The Reflection Curve
See image 7 for reference
Click the direct select tool from the right left side toolbar. Click on the reflected image you just made. Click the bottom right anchor point, hold shift and select the top right anchor point (both right side anchor points should now be selected). With the anchor points selected click on the top right anchor point and drag it upward until it meets or is just below the top images bottom right corner.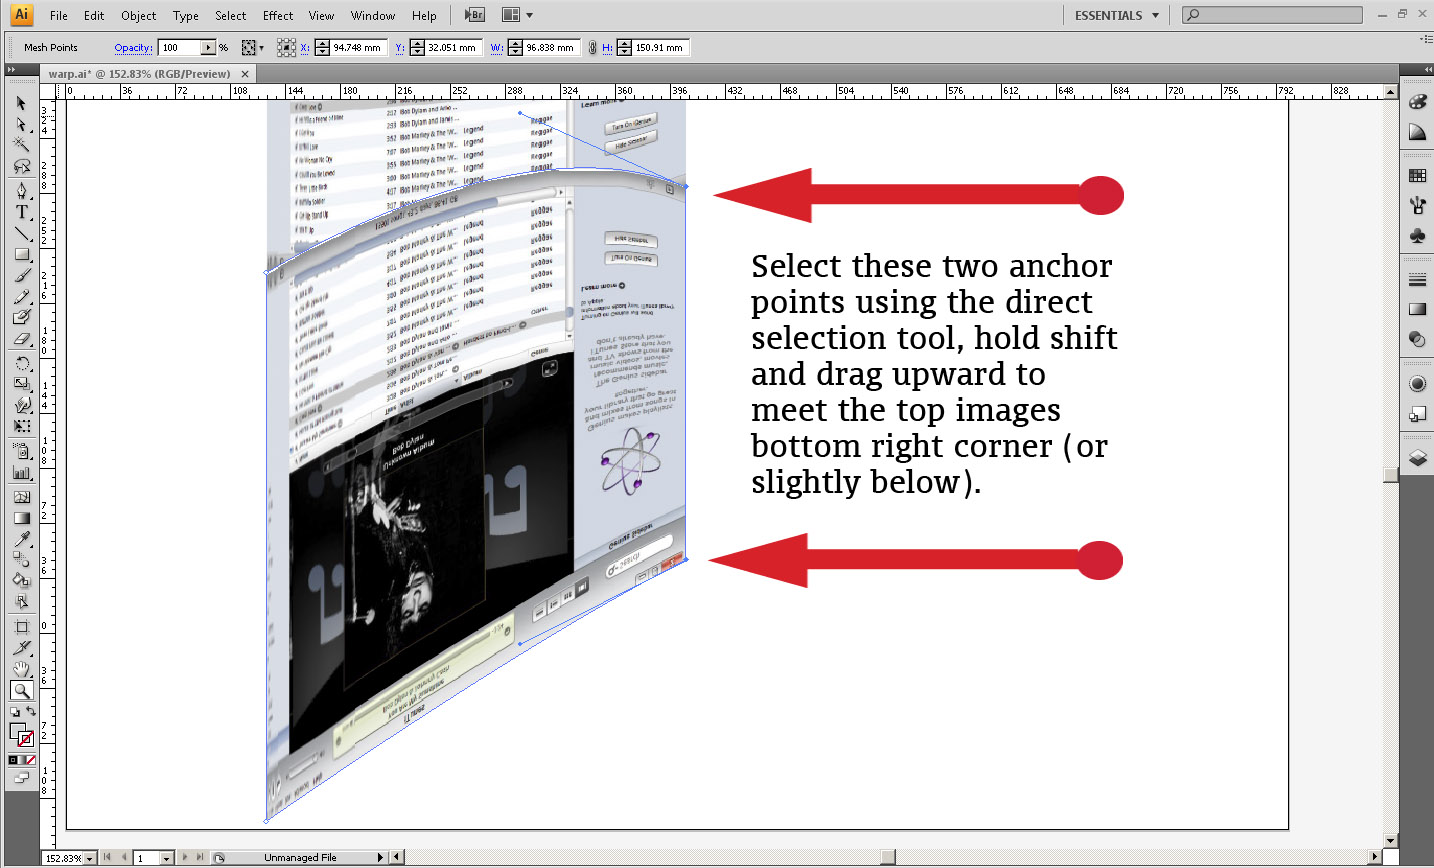
11. Adjusting The Curve Handles
See image 8 for reference
Select the bottom and top anchor points using the direct selection tool to display the handles. Click one of the handles and drag it down until it matches the curve of the top image. Repeat this for the other handle.
12. Using The Pen Tool To Create The Opacity Mask Object
See image 9 for reference
Now draw a shape to cover the bottom reflected image. It doesn't have to be exact, but it should cover the entire lower image.
13. Applying A Gradient To The Shape
See image 10 for reference
Go to the gradient tool palette and choose the default black to white gradient from the gradient selection in the gradient palette. Enter -90 in the gradient degree settings. NOTE: to achieve the correct look, you may need to double click the colors in the gradient and choose RGB from the top right drop-down options menu in the gradient toolbar.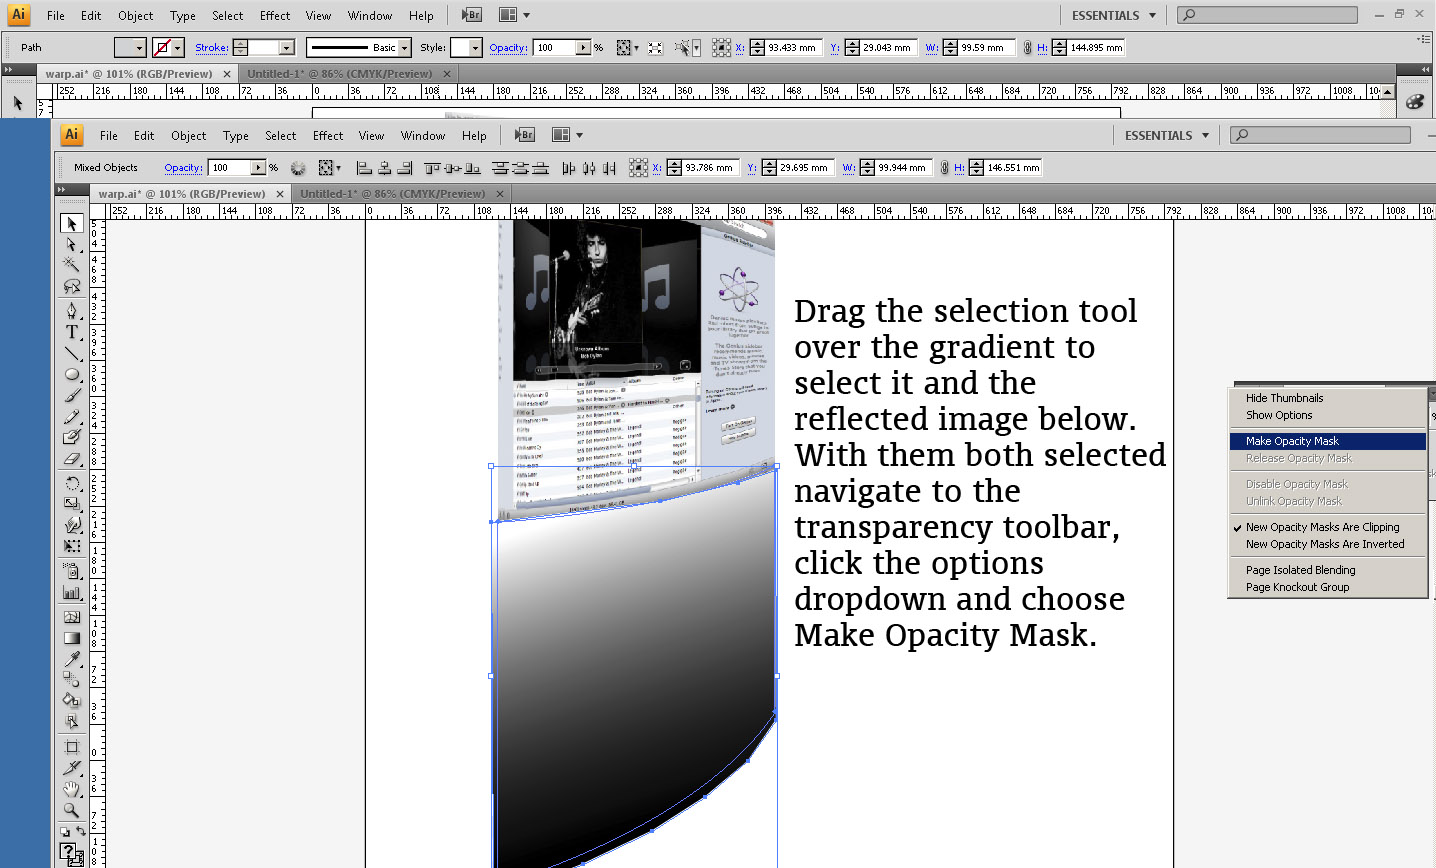
14. Adjusting The Gradient
See image 11and 12 for reference
You need to adjust the gradient so it matches the angle of the shape. Click the shape with the gradient using the selection tool, now select the Gradient Tool from the left toolbar. Hover over the gradient to show the gradient adjustments. To roatate the gradient hover over the bottom of the gradient adjustment bar. This will bring up the rotate symbol indicating you can click and drag up or down to rotate the bar. For a more defined fade on the reflection, drag the black color indicator on the bottom of the gradient adjustment bar and drag it up. You may need to drag the gradient blend adjustment box up located in the top of the gradient adjustment bar. This will increase the amount of dark space at the bottom of the gradient. When we add the next step, the black area will be the part of the reflection that is faded out.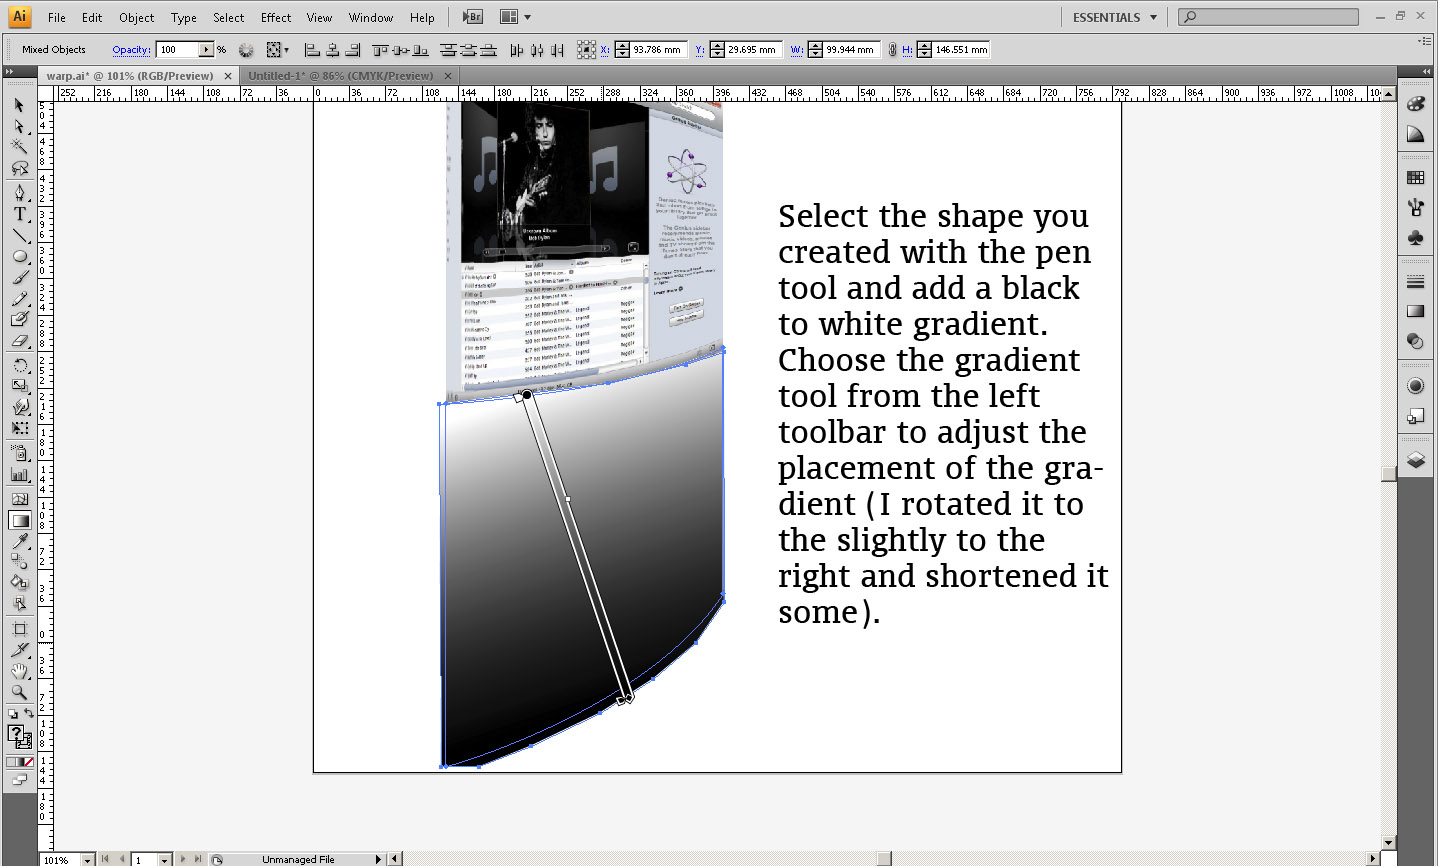
15. Adding The Opacity Mask
See image 13 for reference
Choose the selection tool, click and drag across the gradient shape you made to select it and the image below it. Navigate to the Transparency toolbar, click the options arrow and click Add Opacity Mask. You can adjust the opacity to your liking by navigating to the Transparency toolbar and lowering the Opacity.
The Finished Image
If you have any questions or comments you can post them on this article page. I will try to answer any questions you may have.
If you prefer a PDF of the article click the PDF file link to download it. Illustrator-Bend.pdf
Have a question about something in this article? You can receive help directly from the article author. Sign up for a free trial to get started.
Comments (5)
Author
Commented:Commented:
Author
Commented:Commented:
Thank you for taking the time to put this article together.
This makes what could be quite a complex process in Illustrator very simple.
Well done.
demazter
Author
Commented: