

Browse All Articles > Create a Reflection Web 2.0 Effect Using Photoshop
HOW TO CREATE A WEB 2.0 IMAGE WITH A REFLECTION
I would like to start by saying I know Web 2.0 isn't a style. It is actually the practice of information sharing or collaboration on the Web. It is also associated with the technology that is used to create the "Web 2.0" sites, or designs. I am referring to this tutorial as Web 2.0, because it is commonly mis-interpreted as the glossy button, image reflection type look of the current fad or design style for web designs. This article is about design, so that is enough technical garb. If you would like to learn more about the meaning of Web 2.0, here is a link to the Wikipedia article: Wikipedia.
I am using Photoshop CS4 for this article. Photoshop has been pretty good about keeping many of the tools consistent, if you are using another version you should be fine. IF you can't find the tools I mention in the article, or if you have any questions post them to this article and I will try to help you find them. I was going to post a link to their locations, but there are several versions.
![Final Artwork]()
I would like to start by saying I know Web 2.0 isn't a style. It is actually the practice of information sharing or collaboration on the Web. It is also associated with the technology that is used to create the "Web 2.0" sites, or designs. I am referring to this tutorial as Web 2.0, because it is commonly mis-interpreted as the glossy button, image reflection type look of the current fad or design style for web designs. This article is about design, so that is enough technical garb. If you would like to learn more about the meaning of Web 2.0, here is a link to the Wikipedia article: Wikipedia.
I am using Photoshop CS4 for this article. Photoshop has been pretty good about keeping many of the tools consistent, if you are using another version you should be fine. IF you can't find the tools I mention in the article, or if you have any questions post them to this article and I will try to help you find them. I was going to post a link to their locations, but there are several versions.
1. Setting up your work space
The first thing you should do is reset Photoshop Preferences so the tools work as expected for this tutorial. To reset the preferences on a PC (hold down Ctrl + Alt + Shift and open Photoshop), for MAC users (Command+Option+Shift). If you do it correctly you should see a dialog box that says are you sure you want to delete Photoshop preferences? Click yes and continue.
Now you can open your image, or create one using Photoshop. After you open you picture or if you are creating your own, go to image/mode in the upper toolbar. Make sure RGB is selected as the type.
2. Getting Started
Now we are going to begin the design process. This is very simple, and even the most novice Photoshop user should be able follow along.
In my sample pictures, you will notice I have no background. We will need to have a background for this tutorial. If you opened your picture and it is the background layer, double click the layer to unlock it. Now add a layer from the layers palette, making sure it is the very bottom layer. Select your color and fill it by using the Paint Bucket from the left side toolbar (I chose white or #FFFFF).![Step 1 Original Image]()
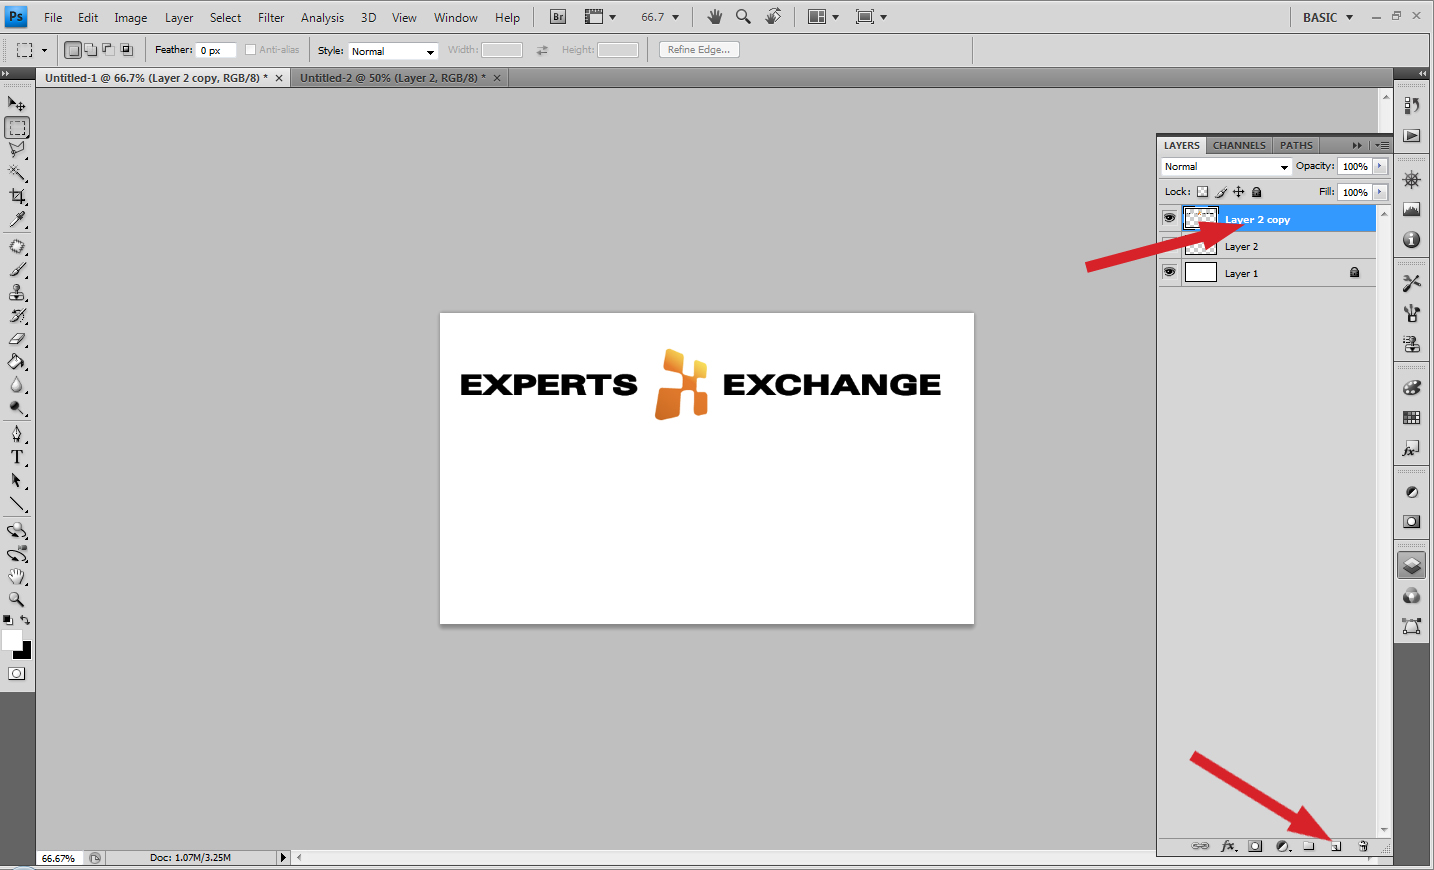
Now lets duplicate the Art or Picture layer. The easiest way is to click and drag you art layer to the new layer icon at the bottom of the layers palette. ![Duplicate Art Layer]()
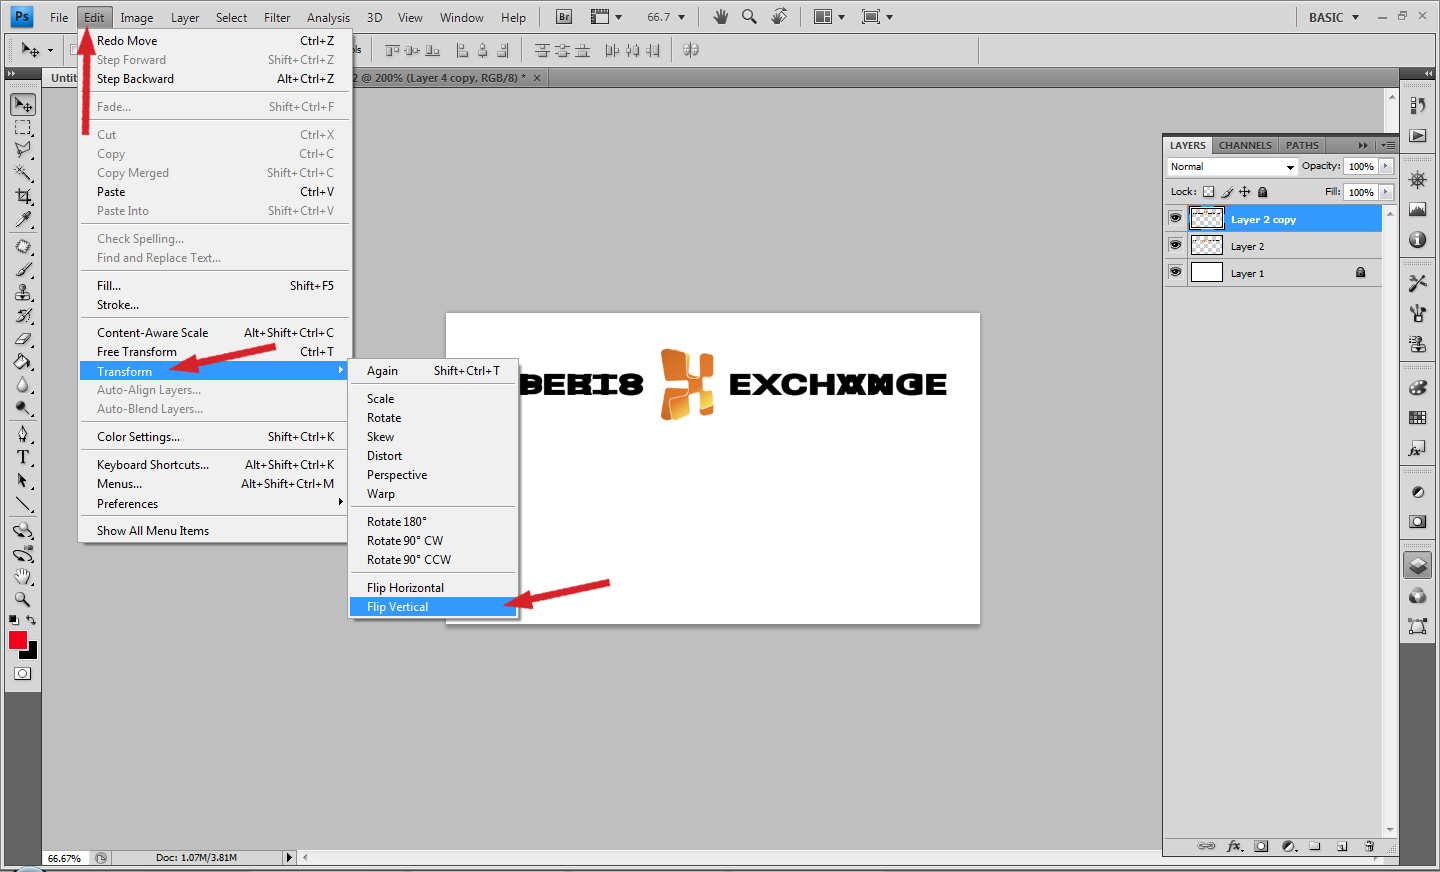
Now with the new duplicate layer selected navigate to the top menu and choose Edit-Transform-Flip Vertically.![Flip Vertical]()
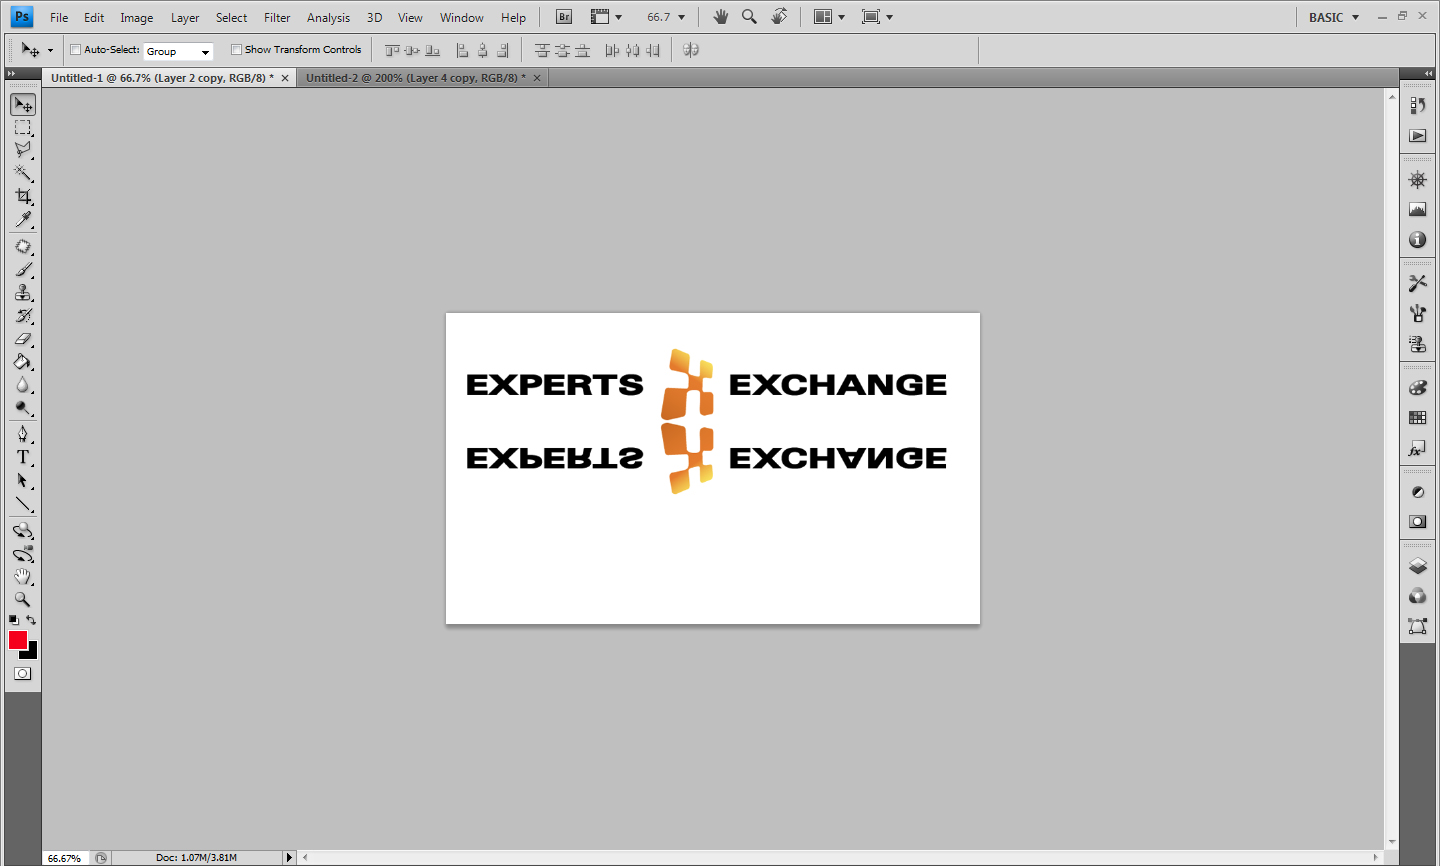
You should now have an "upside down" duplicate layer of you artwork. It is overlaying the original image, so lets drag it down below the original (holding down Shift while you drag will keep it aligned). It is up to you how much space you want to leave between the two layers, if any.![After dragging down]()
3. Applying the Reflection Effect
Make sure the upside down layer is selected.
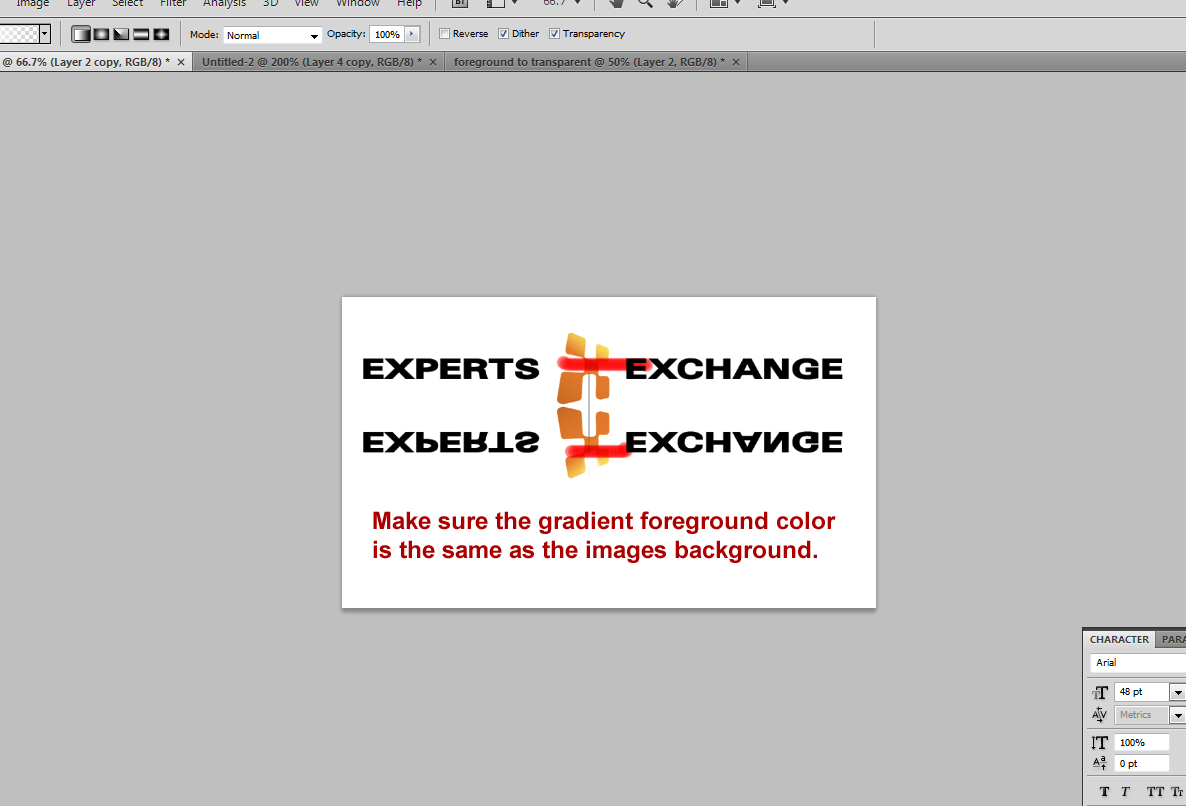
For the best results, choose the same color as your images background for your foreground color located In the left side toolbar (the foreground color is the top color box in the bottom of the toolbar). The background color should be a contrasting color of the foreground (example: the foreground is white, so choose black as a background)
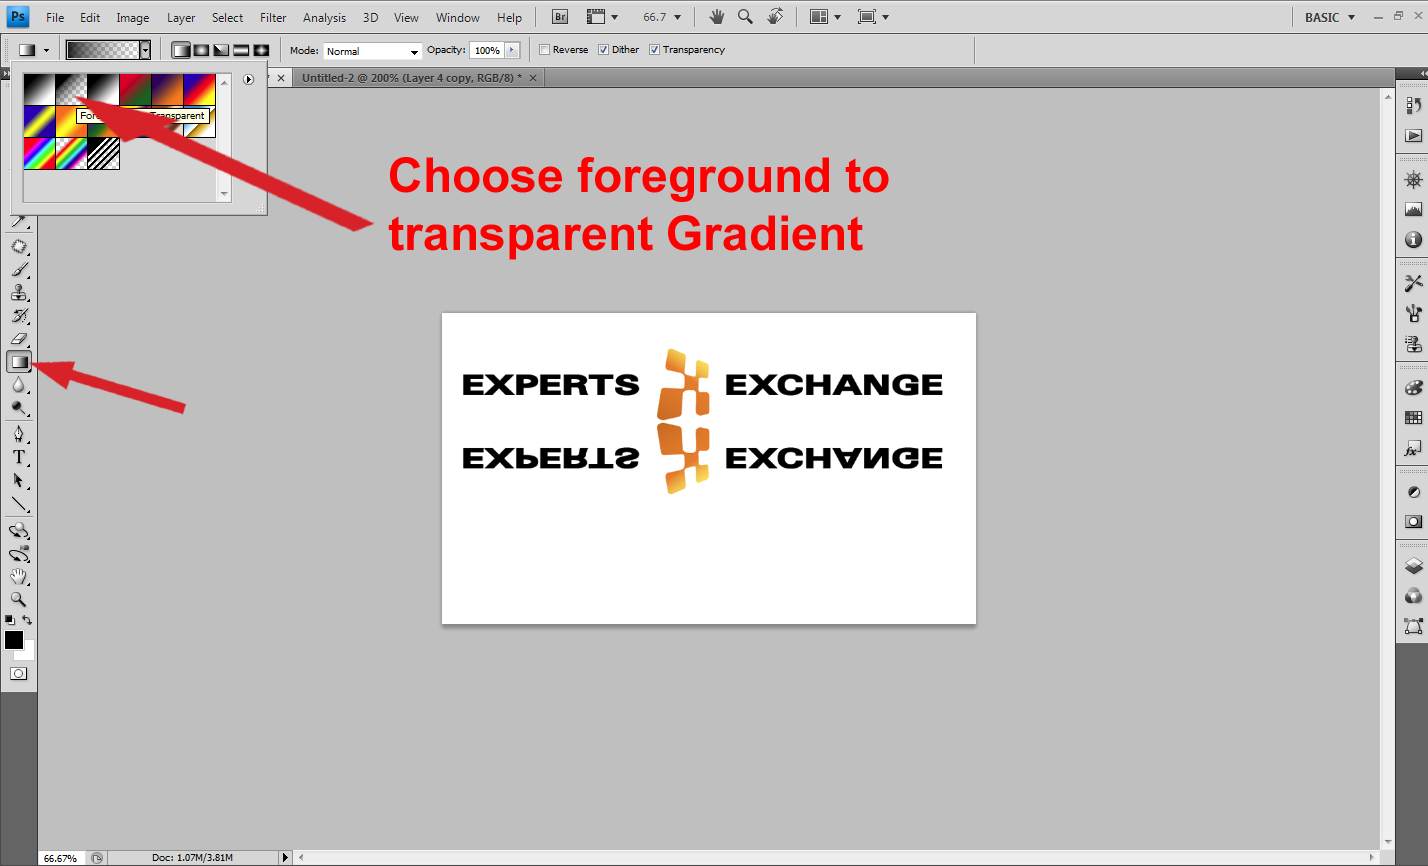
Select the gradient tool from the left side toolbar (it is under the paint bucket, click and hold to access the gradient tool). Now with the gradient tool selected navigate to the top menu and click on the Gradient tool options and select foreground to transparent. ![Foreground to Transparent]()
Now you will click and drag from about the center of the bottom or upside down layer and drag upward to about the center of the top image.![Click and Drag Gradient tool]()
Now let's bring the opacity down for a more natural effect.
Go to the layers palette and click and drag, or type the desired transparency (I chose 40%)
4. Optional Effect
If you would like to add a horizon, or floor look follow these steps.
Select the marquee tool or the dashed rectangle from the left side toolbar.
Create a new layer by clicking the new layer icon in the bottom of the layers palette. In the space between the 2 layers, starting from the edge of the artboard click and drag a rectangle the height of the gap between images and the full width of the document.(use black as the foreground color).
Select the paint bucket tool from the left side toolbar. Paint the selection you just made with the marquee tool by clicking inside of it with the paint bucket.
Now we will apply a Gaussian Blur to the selection. Navigate to Filter-Blur-Gaussian Blur. I chose 2.4, but you can pick a setting that works for you. If you don't like it at first, undo using the History palette (Go to window History to access the History Tool palette)
Lower the opacity as you prefer.
5. Save Your Artwork and You Now Have a Web 2.0 Effect

Have a question about something in this article? You can receive help directly from the article author. Sign up for a free trial to get started.
Comments (6)
Author
Commented:Commented:
Author
Commented:Commented:
Author
Commented:View More