

Browse All Articles > Setting up a Malware Analysis Lab
Introduction
With the growing issue of malicious software circulating on the Internet, it is becoming increasingly likely that anyone working in the computing industry will come across malware at some stage of their career.It may be that you encounter malware in your job. A friend or family member may be infected and ask you to look at their system. It may even be that you're infected yourself. Whatever the reason for your interaction with a malicious piece of software, it is imperative you have a safe environment in which to conduct analysis.
This article aims to provide a valuable resource for anyone aiming to build a malware analysis lab and provide useful guidance of the type of platform to use and the types of software you may wish to utilise within your lab environment.
Virtualisation
One of the first considerations you will have to make is what virtualisation software you will employ to provide the platform on which to create your lab.In computing terms, virtualisation refers to the techniques and methods of emulating a physical system. This may encompass everything you encounter on your own system such as virtual hardware, storage devices, network resources and operating systems.
The theory is that a host PC, usually a physical system, can be used to run a guest operating system. This means that, if you run a Linux based host, you can run Microsoft Windows within your guest. It also means that the guest can utilise the physical resources of the host PC without ever being able to execute code that will endanger the host.
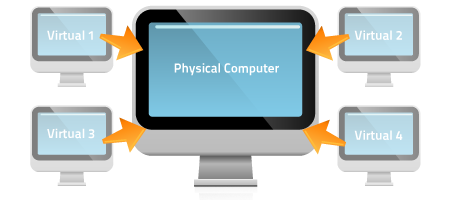 With regards to malware analysis, the reasons for wanting to do this are quite self-apparent. The most basic and high level reason for doing this, is to ensure that the malicious code you are analysing never touches your physical system so as to avoid infection.
There are a few options with regards to software that will enable you to do this:
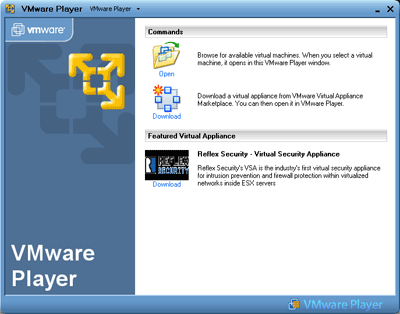
VMWare Player
This is the free VMWare product for virtualisation. It works on both Windows and Linux hosts and fully supports installation of any guest operating system. The main drawback of this solution is the lack of a ‘Snapshot’ feature. The snapshot feature enables exactly what you would expect; the ability to take snapshots at key points during your analysis and restore them at any point.
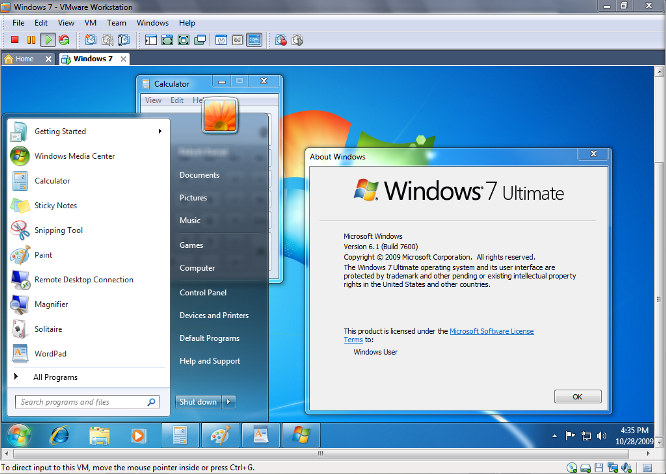
 VMWare Workstation
VMWare Workstation is the next level up from VMWare player. In terms of functionality, it provides everything that Player does but has many other features. The key advantage of this over the free solution is the snapshot feature. This difference is substantial, however, it does come at a cost. The current cost of a Workstation 9 license is approximately £200 GBP.
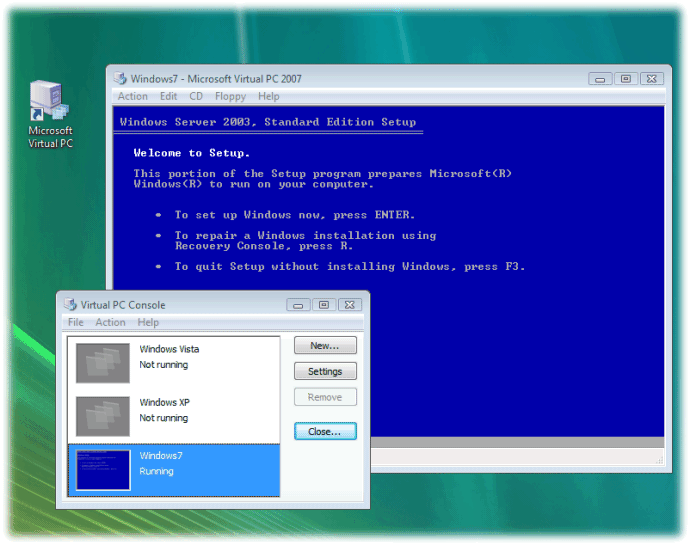
 VirtualPC
This is the Microsoft solution for virtualisation. The main drawback with this product, as with many Microsoft products, is the heavy bias towards Windows based systems. This applies to both host and guest systems. Although not impossible to implement different combinations of operating systems, the difficulty and limitations are not viable for anyone that wants the availability for multiple platforms.
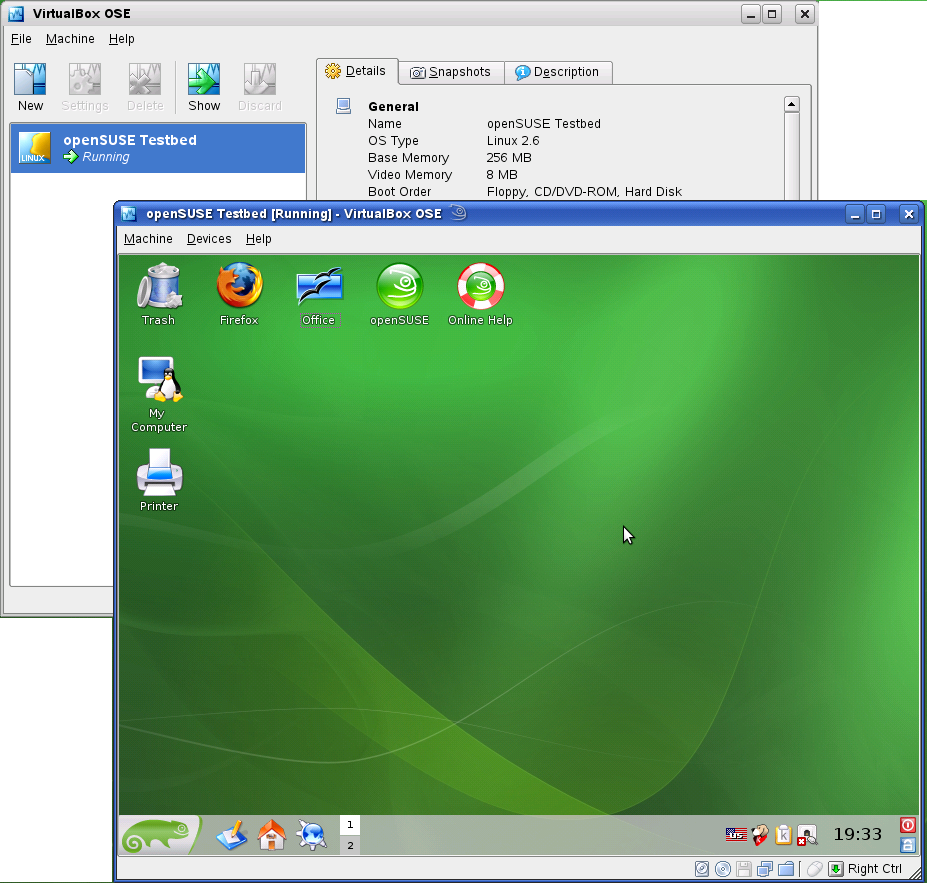
 VirtualBox
In my opinion, and that’s all it is, VirtualBox offers the most feature rich and compatible solution on the market. VirtualBox enables you to install on Windows, Linux and Mac systems and enables all of the features you could wish for in a virtualisation product. If that wasn’t enough, it’s free.
VirtualBox gets my vote but feel free to try other products. You may find that your needs are better met using another of the ones mentioned here or others you know about or encounter.
Operating System
The next big choice you face is what operating system to install as your guest system for your lab.In my experience, the majority of malware is aimed at Windows systems. There could be many reasons for that but this is beyond the scope of this article. Suffice it to say, most malware is designed to run on Windows systems so you will probably want to go with this as your choice.
My suggestion would be Windows XP SP2 and/or Windows 7 as your base. This will enable you to run the majority of malicious samples you encounter and will ensure you have coverage of different Windows platforms in which to analyse them.
Installed Software
The majority of samples I have encountered in my career have been executable files. However, when dealing with malware attacks in the wild, you may encounter malicious code wrapped in legitimate file formats. This may include, but is not limited to Microsoft Office documents and PDF files. In order to analyse what these malicious documents do on a system, you will need to have vulnerable versions of the required software installed. A couple of examples of software you may want to have installed in your lab are:
Microsoft Office (Word and Excel especially)
Adobe PDF Reader
Adobe Flash Player
Java
You may encounter other formats on your travels through the Internet so this list will grow or shrink depending on your experiences.
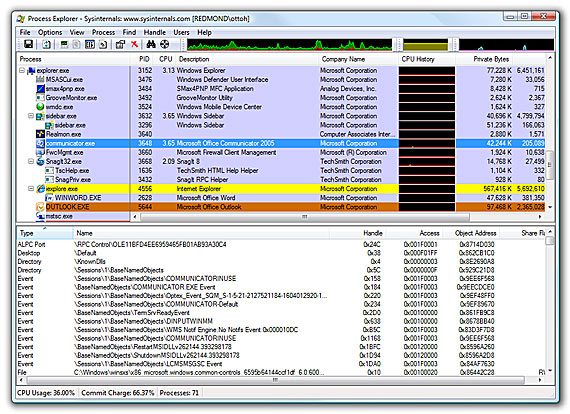
Sysinternals
In my eyes, the Sysinternals suite is an essential part of any malware analysts toolkit when working with Windows based systems. The tools developed and maintained by Mark Russinovich are a key enabler when performing dynamic malware analysis.You will quickly develop an idea of what pieces of this toolkit you want to use and there will be times where you need to use many of them. Have a play around and find out which ones best suit you.
The toolkit provides dozens of tools for analysis of a Windows system, however, there are a few I will cover here that, I feel, are imperative.
Process Explorer
This is basically Windows Task Manager on steroids. Everything you could wish to know about the running processes on your machine from loaded DLLs, running threads, system handles right through to strings contained within a processes’ memory space.
Process Explorer can enable you to quickly identify what processes and/or threads a piece of malicious code is running and enable you to focus your efforts.
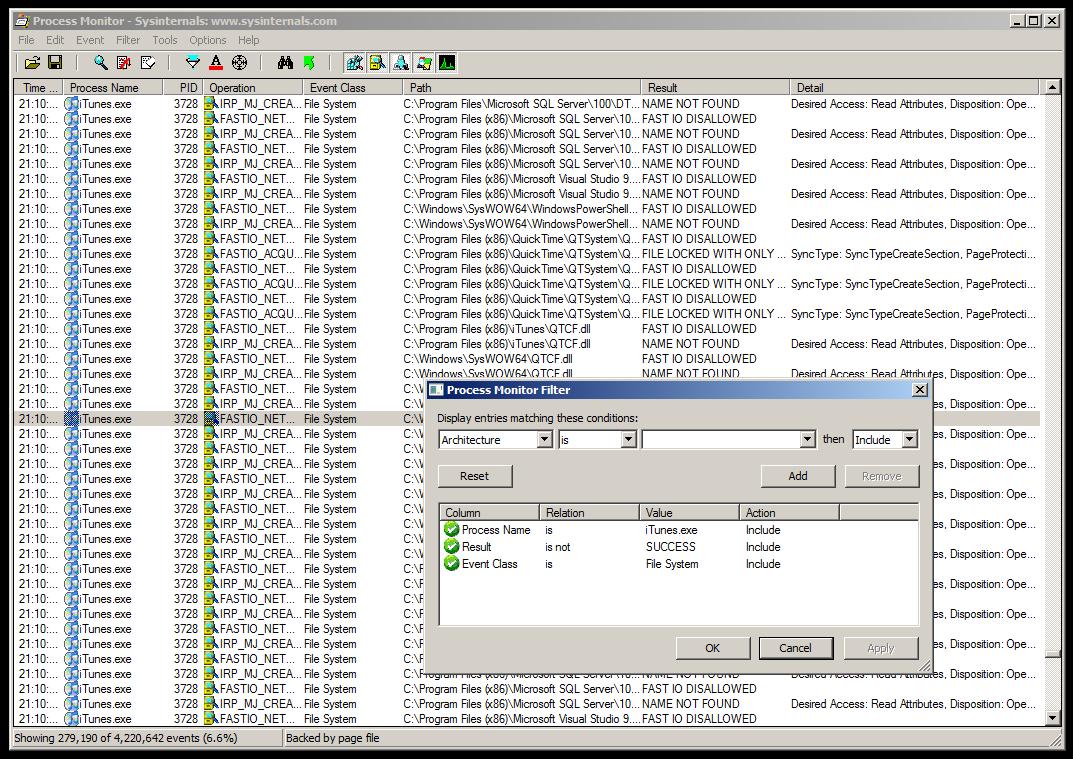
 Process Monitor
This is possibly the most powerful tool for dynamic malware analysis. Procmon logs a wide variety of events that occur on a Windows platform and provide an intuitive GUI for searching, sorting and filtering results. This is where you can quickly narrow events down to types of activity in terms of Read/Write operations as well as activity based on whether it occurred on the file system, in the registry or over the network.
Process Monitor can help you establish what malicious files have been dropped to disk, what registry keys have been created to ensure persistence and what malicious process or thread is generating network activity which may be stealing credentials right from the infected machine.
 Autoruns
Discovering how a piece of malware establishes itself on a system and maintains persistence across system reboots can be tricky. Autoruns enables you to view a list of common areas in which a piece of malware can perform changes to ensure that it is loaded every time the victim machine is started.
Autoruns also has a handy ‘Compare’ feature which enables you to take a snapshot of your startup locations before running malware samples. This means you can perform a before and after comparison to quickly identify any changes that the malware has made to the system.
Please bear in mind that, although the list in Autoruns is extensive, it is by no means a complete list of how a piece of malicious software can persist on a system.

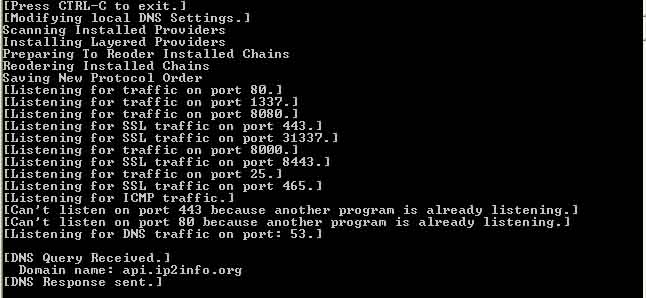
FakeNet
When it comes to malware analysis, one of the tasks you may wish to tackle is that of monitoring the network traffic that a piece of malware generates. This can be useful for finding out what data is leaving the infected machine and also for generating network signatures.FakeNet is a tool that will simulate a network, including providing valid responses, to malware that is attempting to connect to a remote host over the Internet without requiring an Internet connection. Additionally, all traffic generated by the malware is captured in a PCAP file that can be analysed using Wireshark.
By default, there is support for common protocols such as DNS, HTTP and SSL. The design of FakeNet is modular which means you can develop your own extensions, in Python, to further enhance the capability that is provided.
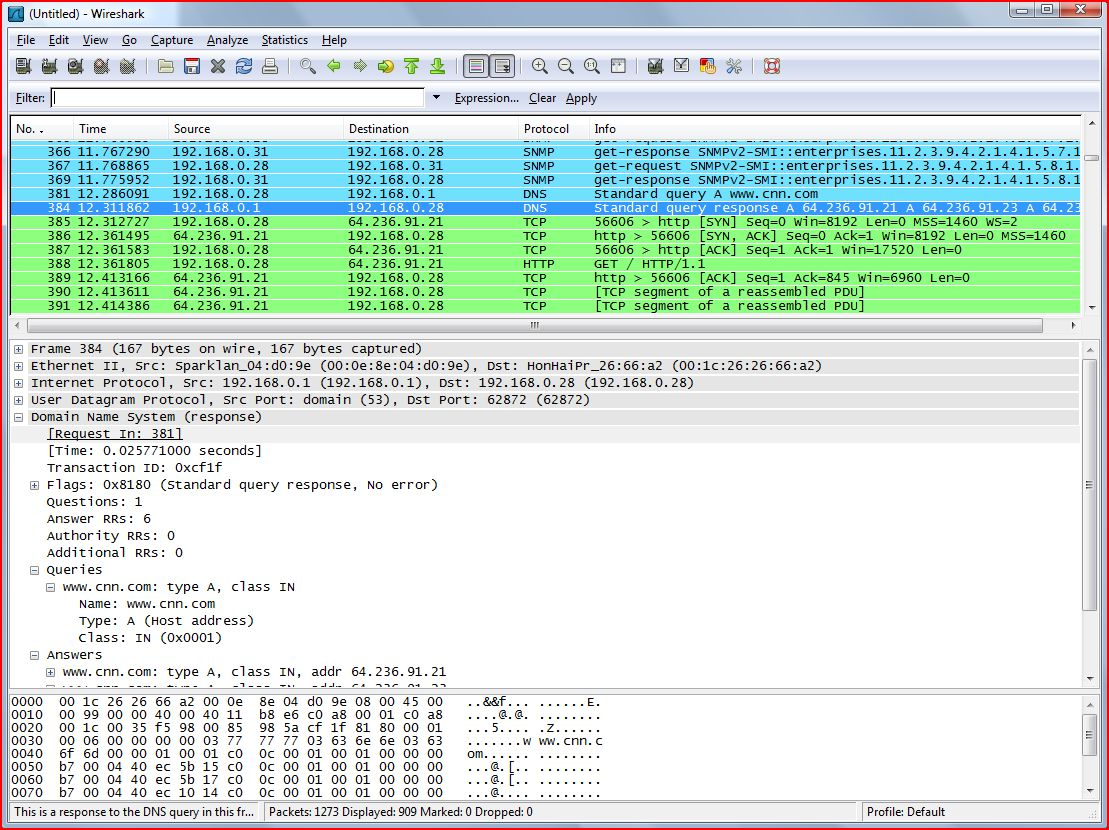
Wireshark
Wireshark is, in my view, the most feature rich network protocol analyser currently available on the market. In addition to providing support for hundreds of protocols, Wireshark enables you to view existing PCAP, like that generated by FakeNet, but also enables packet capture directly on your network adapters.A must have for anyone performing PCAP and protocol analysis.
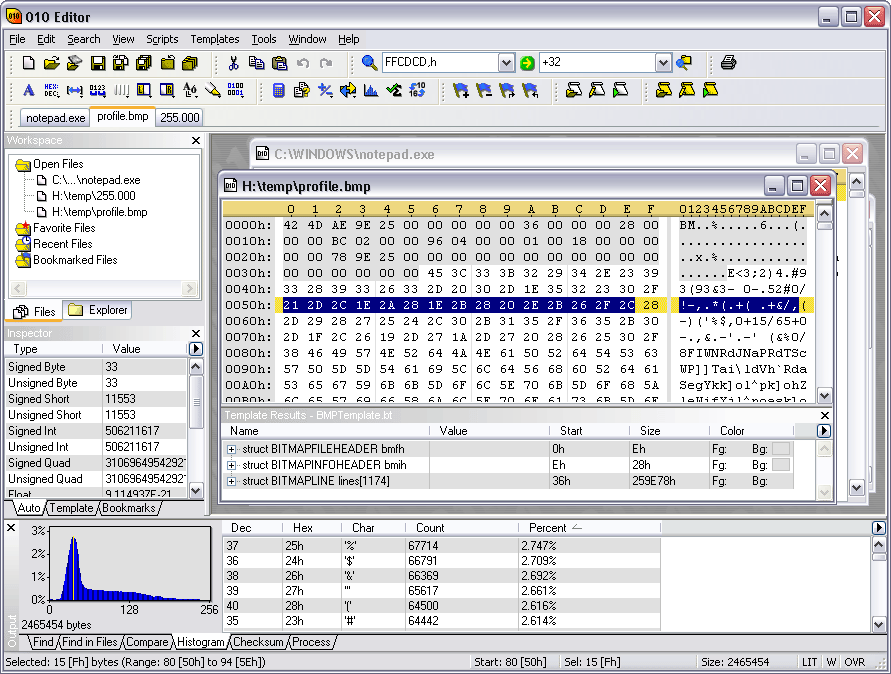
Hex Editor
It’s always handy to have a hex editor installed on any system. There are many free options out there and it is pretty much a case of personal preference. However, this is one area where I do spend a little money; approximately £35 GBP.010 Editor is a very powerful tool. Combining a hex editor with a wide array of features that can be used to greatly assist in static analysis of malicious files and network traffic that may well be obfuscated.
Debuggers and Disassemblers
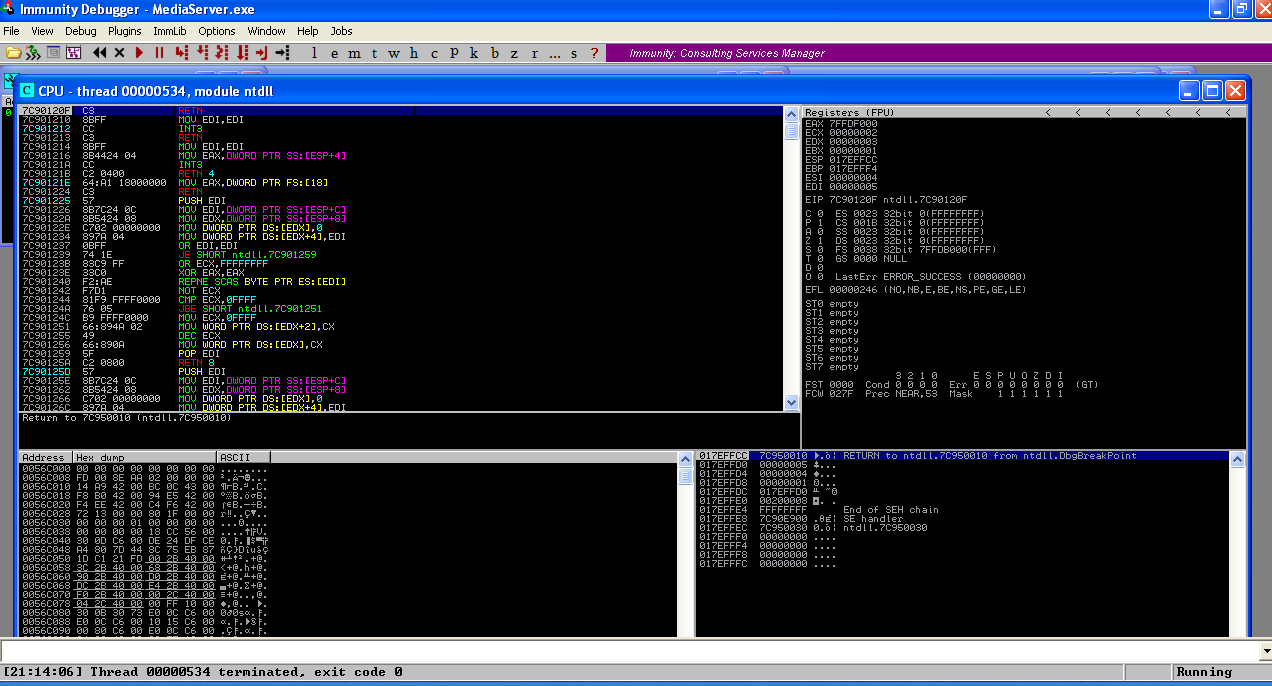
Finally, we get to the big guns. The final refuge for any malware analyst once you have performed your basic behavioural analysis.For a debugger, you can either choose OllyDbg or Immunity. Personally I prefer Immunity purely because I like the fact you can write Python scripts to automate certain repetitive tasks. OllyDbg cannot facilitate that, however, there are some plugins available for OllyDbg that are not available for Immunity.
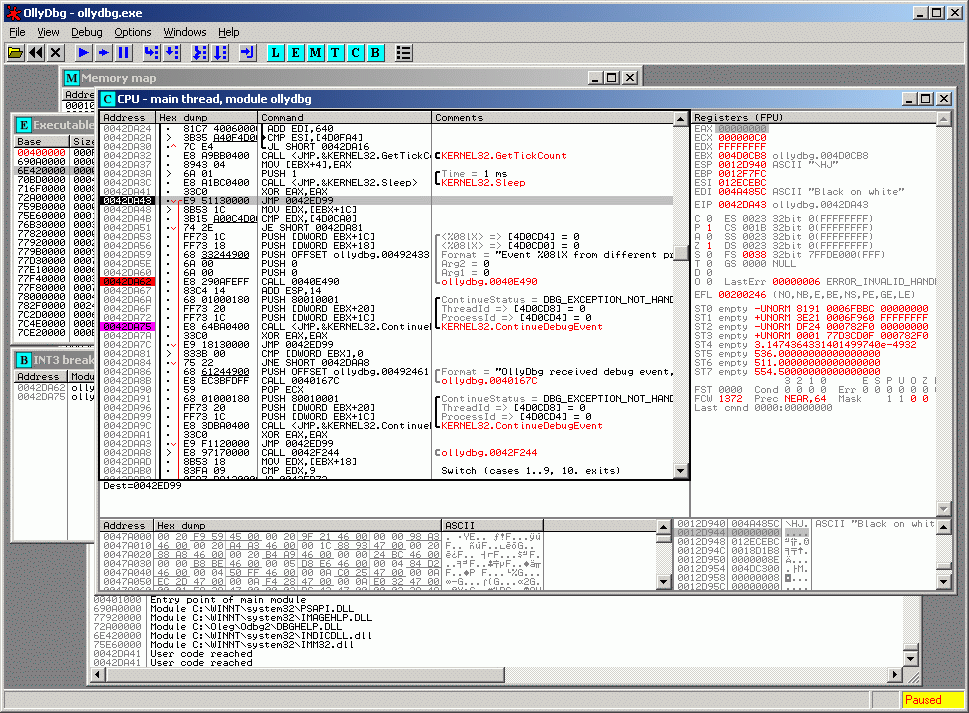 There’s no massive difference in terms of capability so this one, again, is personal preference. It may be that, like me, you install and use both of them.
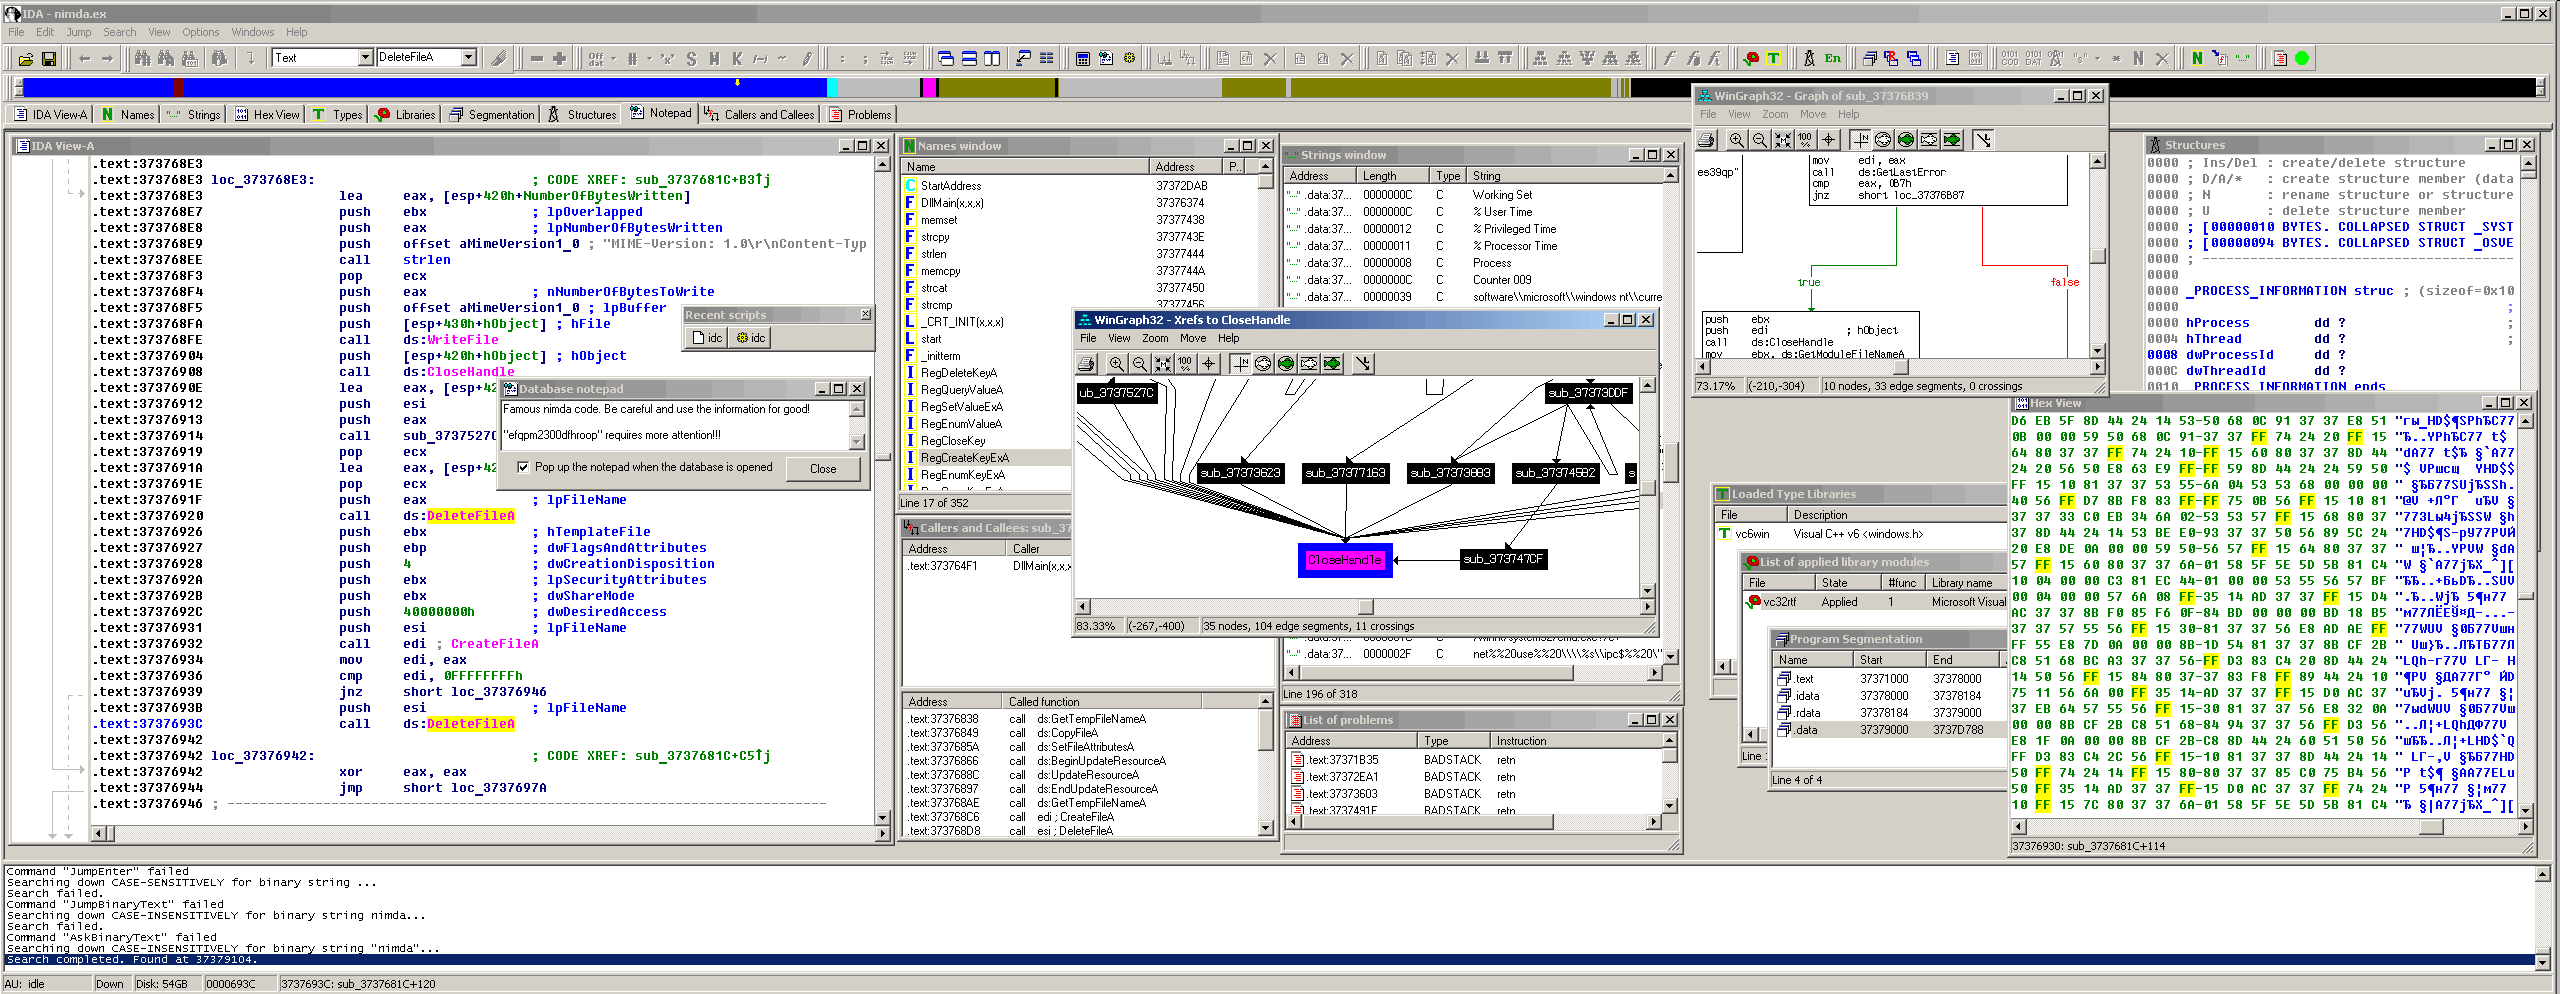
 In terms of a disassembler, my tool of choice of IDA. IDA is probably the most powerful tool I have ever used, in any discipline. Widely considered as the only option for static analysis, IDA provides an incredible environment for reverse engineering software.
Whilst there is a free version of IDA, the professional version is expensive, currently costing approximately £390 for a single license. Probably worth sticking with the free version unless you can persuade your employer to pay!
Other Tools
I’ve covered the main tools I use almost every time I look at a sample. However, there are hundreds of useful tools I have had to use throughout my career. The following are a few examples of excellent tools that didn’t quite make it into the main article.Cygwin
Cygwin is a collection of command line tools that provides a linux style environment on Windows with many popular tools.
PEView
PEView provides an intuitive GUI for inspecting many elements of the structure executable and other files.
PEiD
PEiD is used to detect when a piece of malware has been obfuscated using common packers, crypters and compilers.
Resource Hacker
Resource Hacker is a tool to inspect, add, modify, delete and otherwise manipulate the resources embedded within an executable file.
In Closing
Hopefully this article has been both interesting and useful. Please remember that this is just a consolidation of my experiences and preferences and is by no means the only, or indeed correct, way of doing things. This is purely my views based on how I do things. Please feel free to provide comments and feedback as I know that will make this article a much richer and valuable resource for anyone engaging in the wonderful world that is malware analysis.Have a question about something in this article? You can receive help directly from the article author. Sign up for a free trial to get started.
Comments (0)