

Browse All Articles > Build a personal Ribbon in few easy steps
Personal ribbons are a very convenient and fancy way to run VBA code and to provide an easy user interface if the workbook has to be used by many people.
Starting with Excel 2007 the process of creating a ribbon has become simpler and more flexible.
In order to create the ribbon you need a little piece of software called Custom UI Editor for Microsoft Office. It is a free tool and you can download it from
http://softadvice.informer.com/Microsoft_Office_Ui_Editor.html
or many other sites, just do a search on Google.
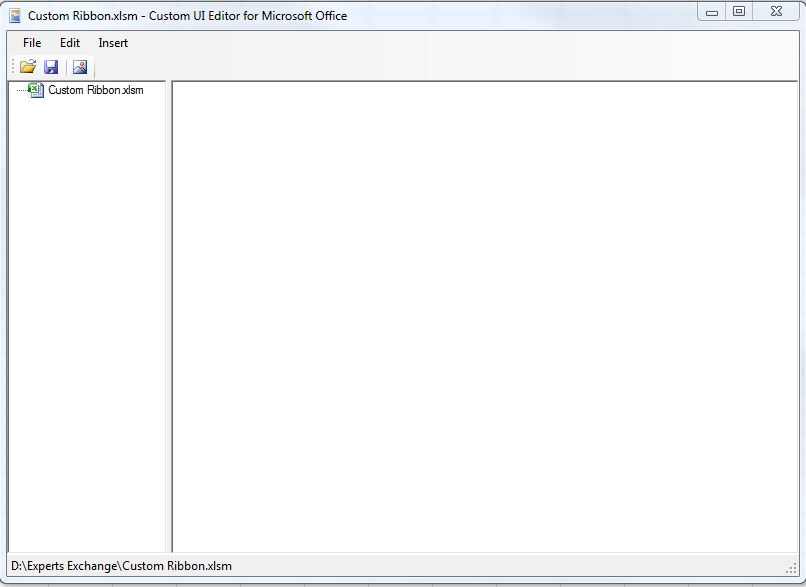
The UI editor is nothing else than an XML editor. Launch the editor and open the file for which you want to create a custom Ribbon.
I've created a new xlsm file named Custom Ribbon and your editor will look like this:
![UI Interface step one]()
Right click on the Excel icon of the file you've just selected and choose "Office 2007 Custom UI Part". This will create a new project called custom UI.xml
At this point you need to add the following XML markup to the file:
<customUI xmlns="http://schemas.microsoft.com/office/2006/01/customui>
this is the very first line in the project window.
Let's build a ribbon with multiple groups and an icon for each group. First of all let's add the icons we will be using for our Ribbon.
On the editor click on the picture icon and select the first icon by browsing to it. I normally use .png files and keep the size at 60px.
Once you have added the icons they will be visible under CustomUI.xml in the left panel of the editor.
Now we have to build the Ribbon structure. This is done by adding the appropriate tags to the xml file.
As you can see there is a hierarchy in the structure. The Ribbon contains one or more tabs, each tab contains one or more groups and each group contains controls as Buttons, Dropdowns, Split Buttons etc...
In this example I've used buttons, play around with the other controls as you wish.
*TIP Never, ever work with both your editor and your Excel file open at the same time. If the Excel file is open and you save your xml file you will get no warning whatsoever but all the changes you have made will not be saved
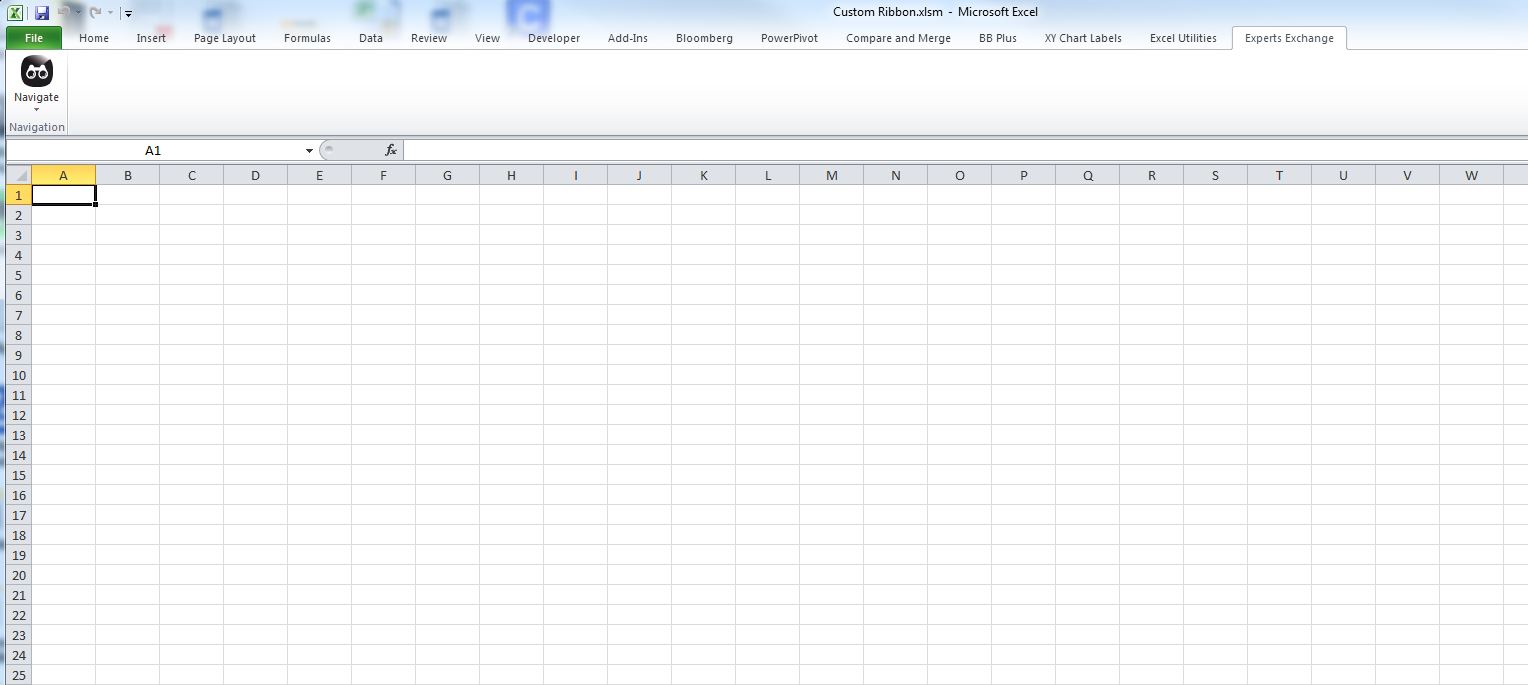
Now that we have finished writing the code for the first Ribbon menu item we need to write the code which will be launched . To do that we close the UI editor and we open the Excel file.
![Our new ribbon]()
Open the VBA editor and add a module. In the module paste the following code:
As you can notice I have renamed the sheets in the workbook. I advise you to do the same when you write user interfaces which are going to be used by many people. If you use the name which appears in the tabs, if anybody changes that name the code will brake. On the other hand renaming the sheets in the property window of VBA will make the code stronger and it will not brake if sheet tabs name are changed.
To add another menu item just add a group and follow the same procedure.
Enjoy!
Starting with Excel 2007 the process of creating a ribbon has become simpler and more flexible.
In order to create the ribbon you need a little piece of software called Custom UI Editor for Microsoft Office. It is a free tool and you can download it from
http://softadvice.informer.com/Microsoft_Office_Ui_Editor.html
or many other sites, just do a search on Google.
The UI editor is nothing else than an XML editor. Launch the editor and open the file for which you want to create a custom Ribbon.
I've created a new xlsm file named Custom Ribbon and your editor will look like this:
Right click on the Excel icon of the file you've just selected and choose "Office 2007 Custom UI Part". This will create a new project called custom UI.xml
At this point you need to add the following XML markup to the file:
<customUI xmlns="http://schemas.microsoft.com/office/2006/01/customui>
this is the very first line in the project window.
Let's build a ribbon with multiple groups and an icon for each group. First of all let's add the icons we will be using for our Ribbon.
On the editor click on the picture icon and select the first icon by browsing to it. I normally use .png files and keep the size at 60px.
Once you have added the icons they will be visible under CustomUI.xml in the left panel of the editor.
Now we have to build the Ribbon structure. This is done by adding the appropriate tags to the xml file.
<customUI xmlns="http://schemas.microsoft.com/office/2006/01/customui">
                      	<ribbon>
                      		<tabs>
                      			<tab id="gsExpertExchange" label="Experts Exchange">
                      				<group id="gsNavigateGroup" label="Navigation">
                      					<menu id="gsNavigate" label="Navigate" size="large" image="navigate">
                      						<button id="gsSheet1" label="Go to Sheet1" onAction="NavigateSheets" tag="0"/>
                      						<button id="gsSheet2" label="Go to Sheet2" onAction="NavigateSheets" tag="1"/>
                      						<button id="gsSheet3" label="Go to Sheet3" onAction="NavigateSheets" tag="2"/>
                                				<menuSeparator id="gsNavSep1"/>
                      						<button id="gsWhoAmI" label="Say who?" onAction="WhoAmI"/>
                      					</menu>
                      				</group>
                      			</tab>
                      		</tabs>
                      	</ribbon>
</customUI>As you can see there is a hierarchy in the structure. The Ribbon contains one or more tabs, each tab contains one or more groups and each group contains controls as Buttons, Dropdowns, Split Buttons etc...
In this example I've used buttons, play around with the other controls as you wish.
*TIP Never, ever work with both your editor and your Excel file open at the same time. If the Excel file is open and you save your xml file you will get no warning whatsoever but all the changes you have made will not be saved
Now that we have finished writing the code for the first Ribbon menu item we need to write the code which will be launched . To do that we close the UI editor and we open the Excel file.
Open the VBA editor and add a module. In the module paste the following code:
Option Explicit


                      Public Sub NavigateSheets(control As IRibbonControl)

                          Dim lTag As Long

                          lTag = CLng(control.Tag)

                          Application.ScreenUpdating = False

                          Select Case lTag
                              Case 0: wksSheet1.Activate
                              MsgBox ("This is Sheet1")
                              Case 1: wksSheet2.Activate
                                MsgBox ("This is Sheet2")
                            Case 2: wksSheet3.Activate
                                  MsgBox ("This is Sheet3")
                      End Select


                      End Sub

                      Public Sub WhoAmI(control As IRibbonControl)

                      MsgBox ("Hello my name is Yuppidu")

End SubAs you can notice I have renamed the sheets in the workbook. I advise you to do the same when you write user interfaces which are going to be used by many people. If you use the name which appears in the tabs, if anybody changes that name the code will brake. On the other hand renaming the sheets in the property window of VBA will make the code stronger and it will not brake if sheet tabs name are changed.
To add another menu item just add a group and follow the same procedure.
Enjoy!
<customUI xmlns="http://schemas.microsoft.com/office/2006/01/customui">
                      	<ribbon>
                      		<tabs>
                      			<tab id="gsExpertExchange" label="Experts Exchange">
                      				<group id="gsNavigateGroup" label="Navigation">
                      					<menu id="gsNavigate" label="Navigate" size="large" image="navigate">
                      						<button id="gsSheet1" label="Go to Sheet1" onAction="NavigateSheets" tag="0"/>
                      						<button id="gsSheet2" label="Go to Sheet2" onAction="NavigateSheets" tag="1"/>
                      						<button id="gsSheet3" label="Go to Sheet3" onAction="NavigateSheets" tag="2"/>
                                				<menuSeparator id="gsNavSep1"/>
                      						<button id="gsWhoAmI" label="Say who?" onAction="WhoAmI"/>
                      					</menu>
                      				</group>
                      				<group id="gsHelpGroup" label="Help">
                      					<menu id="gsHelp" label="Help" size="large" image="box">
                      						<button id="gsHelpp" label="Help me" onAction="HelpInfo"/>
                      					</menu>
                      				</group>
                      			</tab>
                      		</tabs>
                      	</ribbon>
</customUI>Have a question about something in this article? You can receive help directly from the article author. Sign up for a free trial to get started.
Comments (0)