HOW TO: Install vCenter Chargeback manager

Published:
Browse All Articles > HOW TO: Install vCenter Chargeback manager
vCenter chargeback manager is a tool from VMware that adds both chargeback and showback capabilities to the cloud suite of products. Its integration with most of the products in the vCloud suite makes it easy to pull usage and resource allocation data which in turn lets the user to obtain granular level of control in billing and charging the customers.
In this blog post we will be going through the steps involved in the installation of vCenter chargeback 2.5.
So lets jump into the installation process assuming the chargeback manager ISO is downloaded from the VMware site.
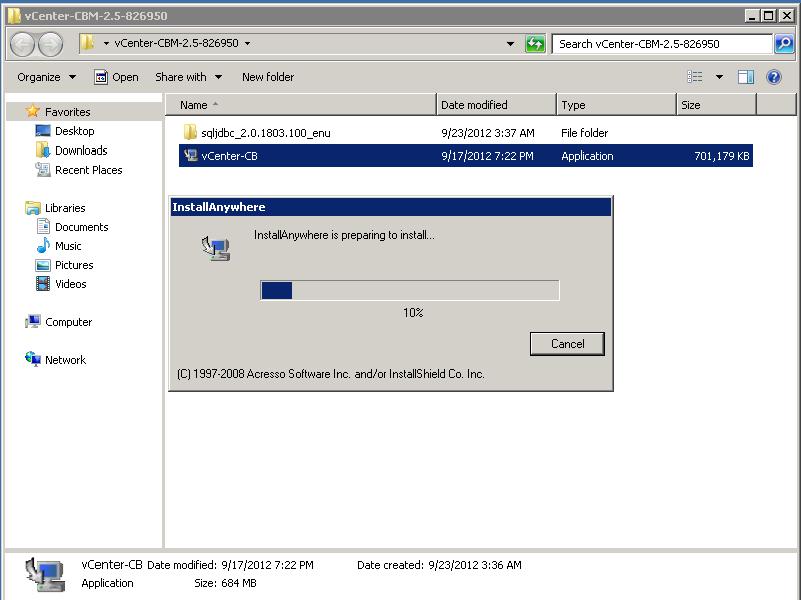
Mount the vCENTER-CBM-2.5-826950.iso into the virtual machine which contains the installation image of Chargeback installation file at D:\vCENTER-CBM-2.5-826950\vCENTER-CB.
Run the installer.
![vCenter-Chargeback--1]()
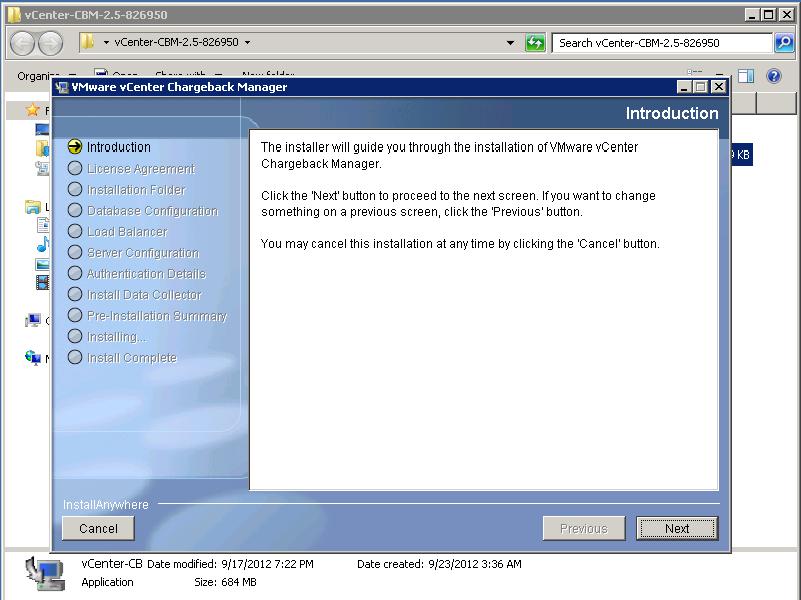
Click “Next”
![vCenter-Chargeback--2]()
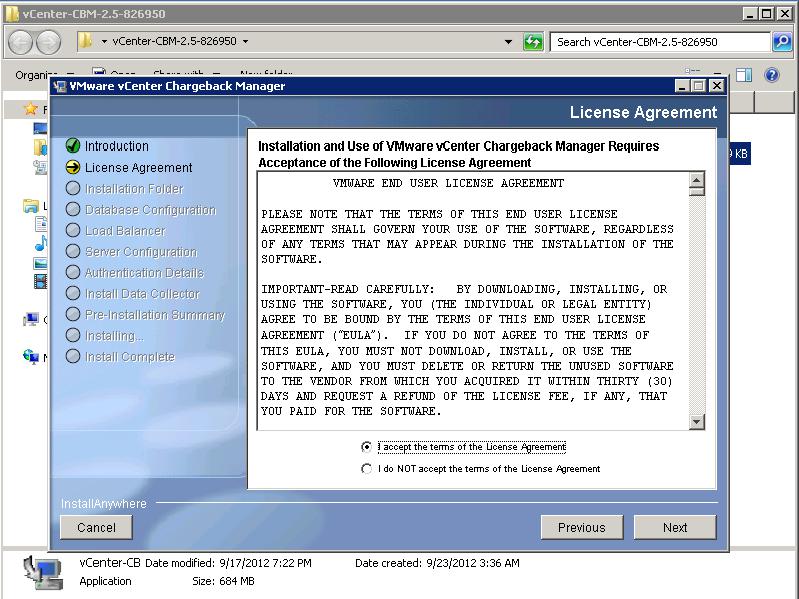
Accept the License agreement and proceed.
![vCenter-Chargeback--3]()
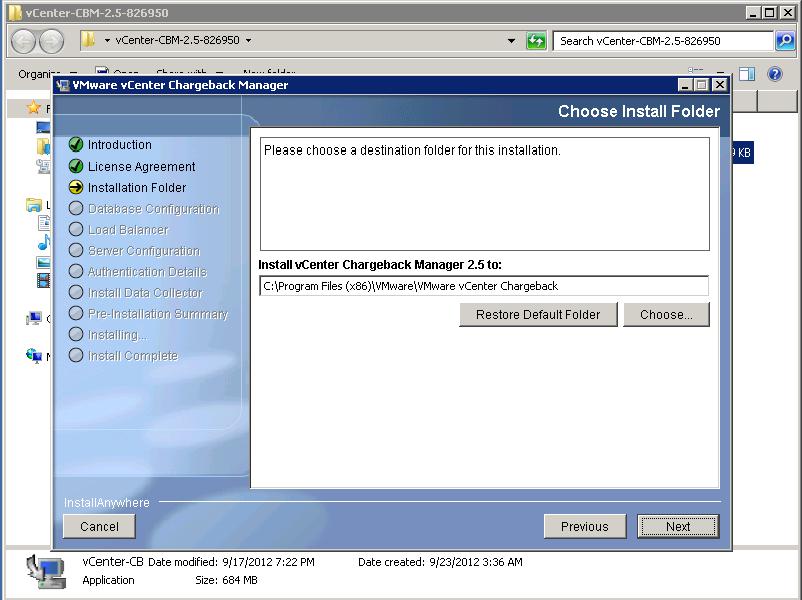
Choose a destination folder. Unless required, leave it as default.
![vCenter-Chargeback--4]()
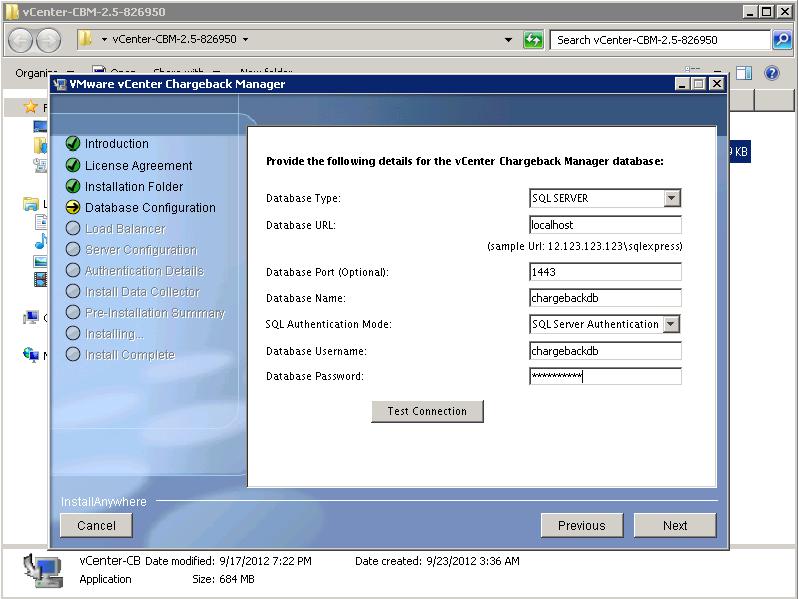
Enter the details of the Database server and also the instance name. Choose the SQL server Authentication and enter the credentials for the user created for the particular chargeback instance.
![vCenter-Chargeback--5]()
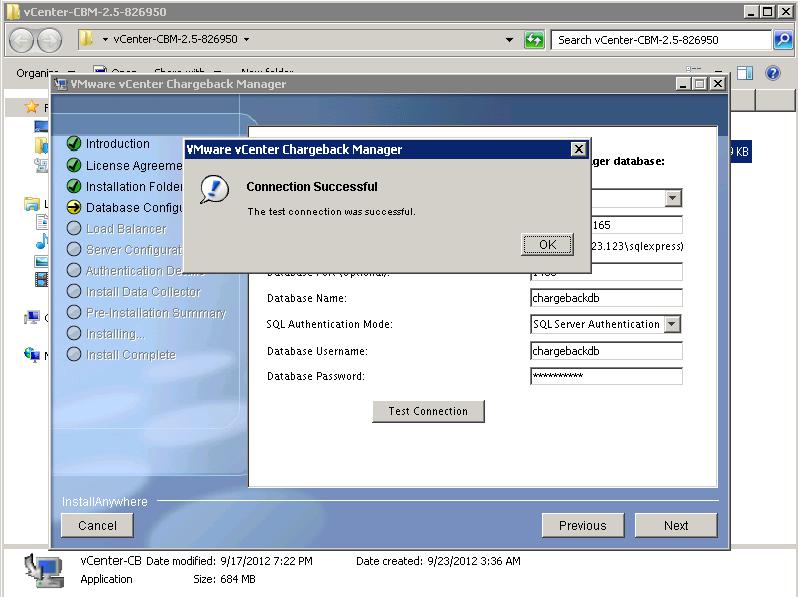
Check if the Chargeback VM is able to establish a connection to the DB server by clicking on “Test Connection”
![vCenter-Chargeback--6]()
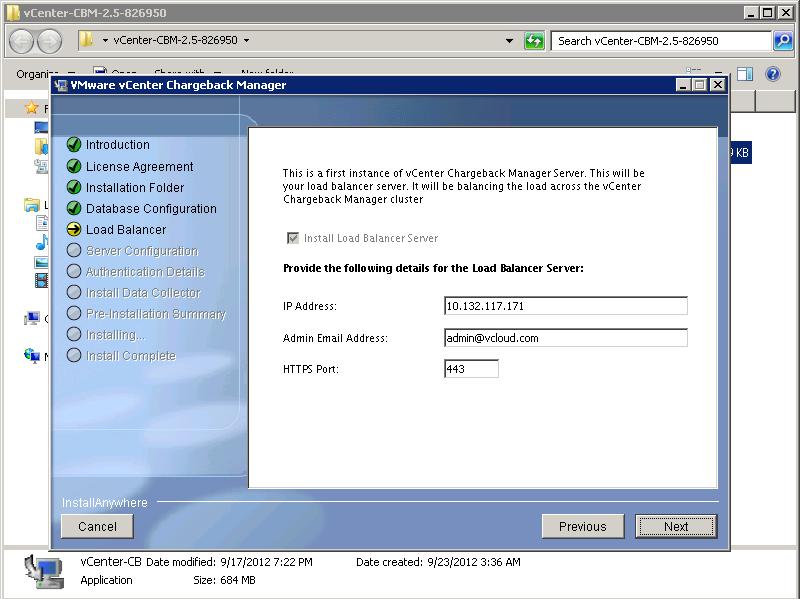
Enter the details of a Load-balancer Server If any or choose the local machine as the load balancer server. This will install the load-balancer on the localhost.
![vCenter-Chargeback--7]()
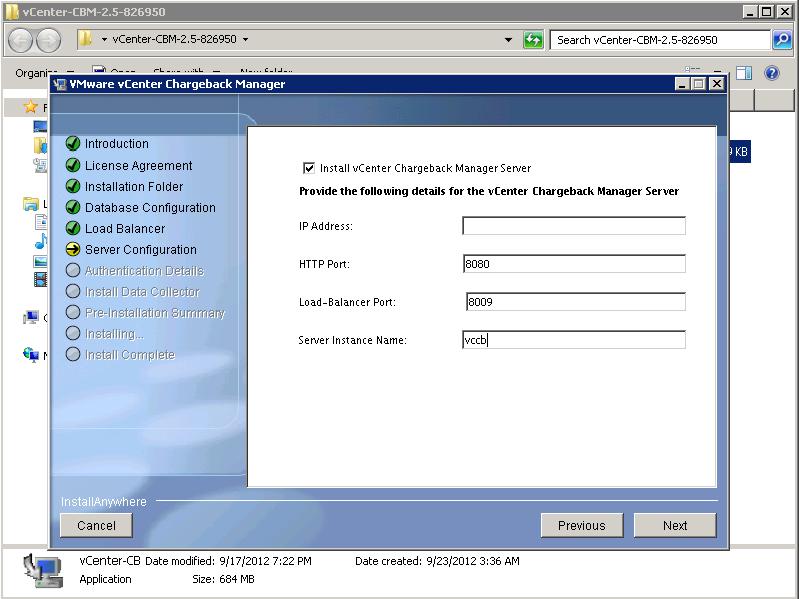
Enter the details for the chargeback manager server. This will install the Manager server on the specified host.
![vCenter-Chargeback--8]()
Create an Administrative account to access Chargeback manager. Enter the Administrative Username and Password.
![vCenter-Chargeback--9]()
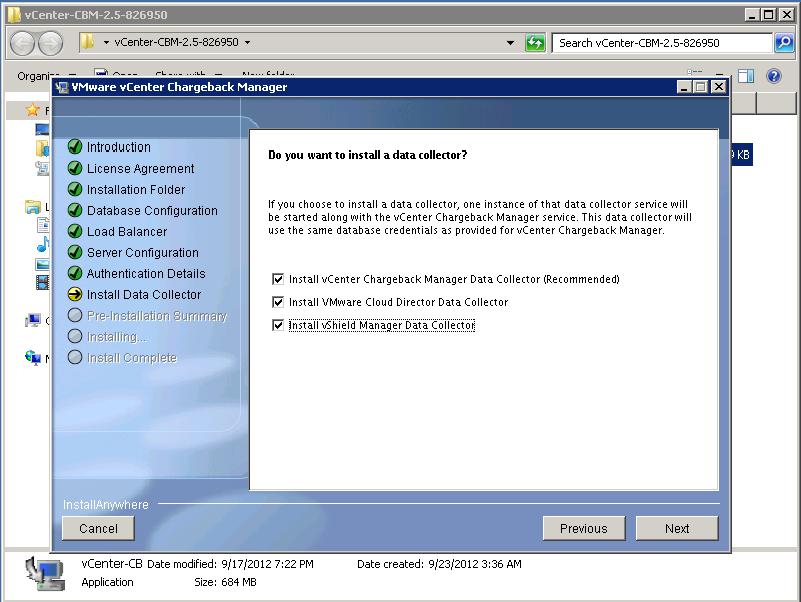
Check in the boxes of the related collectors to install the collectors for vCloud Director, vShield Manager and Chargeback manager.
![vCenter-Chargeback--10]()
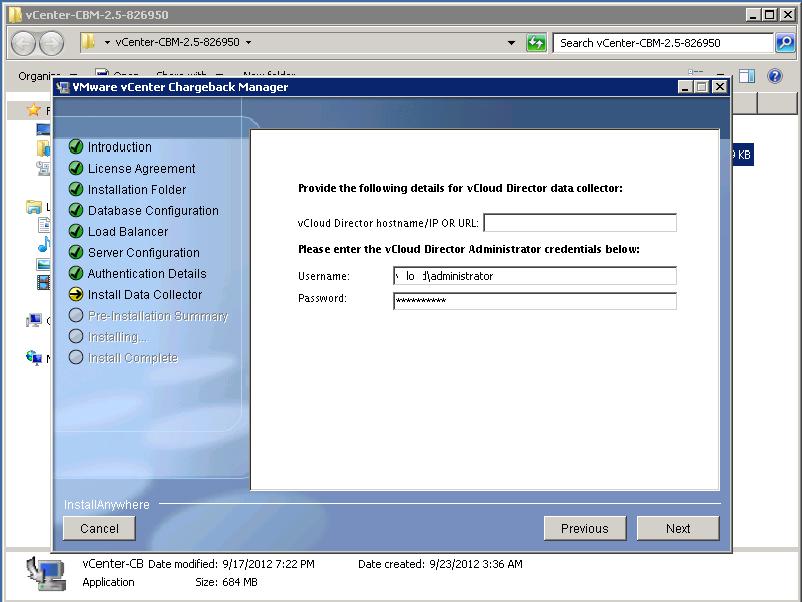
Enter the IP Details for the vCloud Director and also the credentials to reach vCD so as to installl the data Collector.
![vCenter-Chargeback--11]()
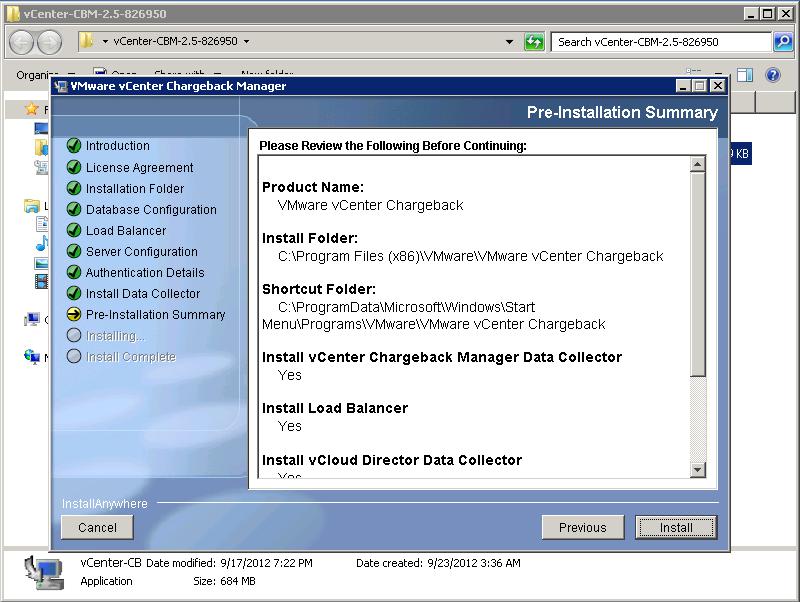
Check if all the provided details are correct in the Pre-Installation summary. If correct,then click “Install”
![vCenter-Chargeback--12]()
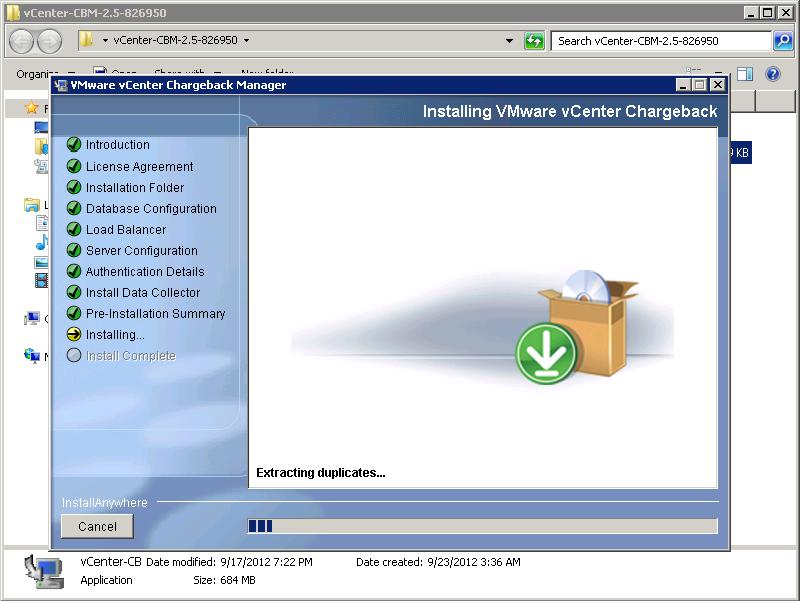
The installation will proceed and the required packages will be installed.
![vCenter-Chargeback--13]()
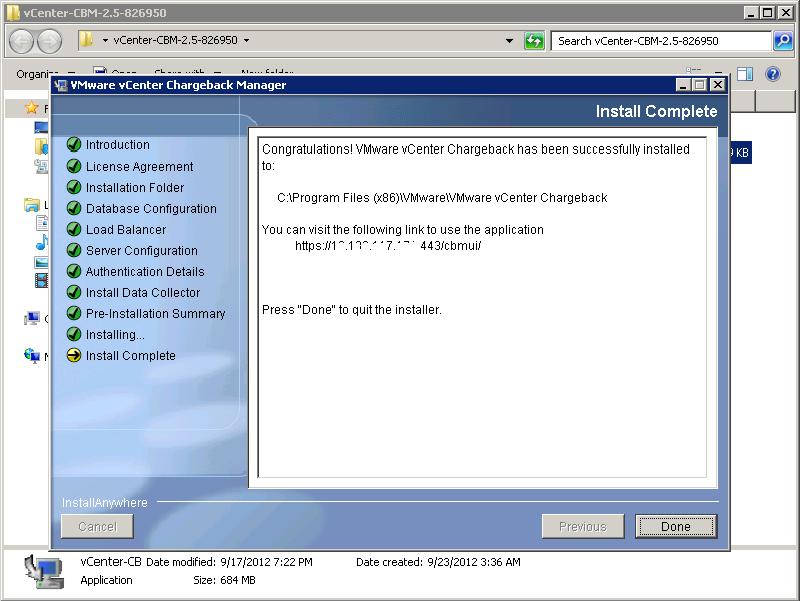
Click “Done”
![vCenter-Chargeback--14]()
That completes the Chargeback installation successfully.
This blog post can also be found on my blog at
http://vpirate.in/2013/11/09/vcenter-chargeback-2-5-step-by-step-installation/
In this blog post we will be going through the steps involved in the installation of vCenter chargeback 2.5.
So lets jump into the installation process assuming the chargeback manager ISO is downloaded from the VMware site.
Mount the vCENTER-CBM-2.5-826950.iso
Run the installer.
Click “Next”
Accept the License agreement and proceed.
Choose a destination folder. Unless required, leave it as default.
Enter the details of the Database server and also the instance name. Choose the SQL server Authentication and enter the credentials for the user created for the particular chargeback instance.
Check if the Chargeback VM is able to establish a connection to the DB server by clicking on “Test Connection”
Enter the details of a Load-balancer Server If any or choose the local machine as the load balancer server. This will install the load-balancer on the localhost.
Enter the details for the chargeback manager server. This will install the Manager server on the specified host.
Create an Administrative account to access Chargeback manager. Enter the Administrative Username and Password.

Check in the boxes of the related collectors to install the collectors for vCloud Director, vShield Manager and Chargeback manager.
Enter the IP Details for the vCloud Director and also the credentials to reach vCD so as to installl the data Collector.
Check if all the provided details are correct in the Pre-Installation summary. If correct,then click “Install”
The installation will proceed and the required packages will be installed.
Click “Done”
That completes the Chargeback installation successfully.
This blog post can also be found on my blog at
http://vpirate.in/2013/11/09/vcenter-chargeback-2-5-step-by-step-installation/
Have a question about something in this article? You can receive help directly from the article author. Sign up for a free trial to get started.
Comments (0)