Create a Bootable Mac OS X Yosemite Installer USB Thumbdrive

Published:
Browse All Articles > Create a Bootable Mac OS X Yosemite Installer USB Thumbdrive
Why have a bootable USB Thumbdrive?
While Apple's move to having Mac OS X updates be entirely done through the App Store is very streamlined and convenient in most situations, it presents a challenge if you need to troubleshoot your Mac or have several Macs that you need to manage. In the past, you'd generally use the install discs, but now those don't exist and most Macs don't even have DVD drives anymore.Which is why having the latest Mac OS X installer and a bootable system on a USB thumbdrive can be an absolutely invaluable tool. Not only does it make it easier to upgrade or install the OS if you've got several Macs to manage (since otherwise, you'd need to have each individual one download the update via the App Store) but you'll also get key tools for diagnosing and fixing a problematic system.
For example, Disk Utility can't do most of its magic on the boot volume, but by booting from the USB drive, it'll be able to do its thing.
Fortunately, the process is pretty easy and thumbdrives are cheap, so there's no reason not to!
Getting the Yosemite Installer
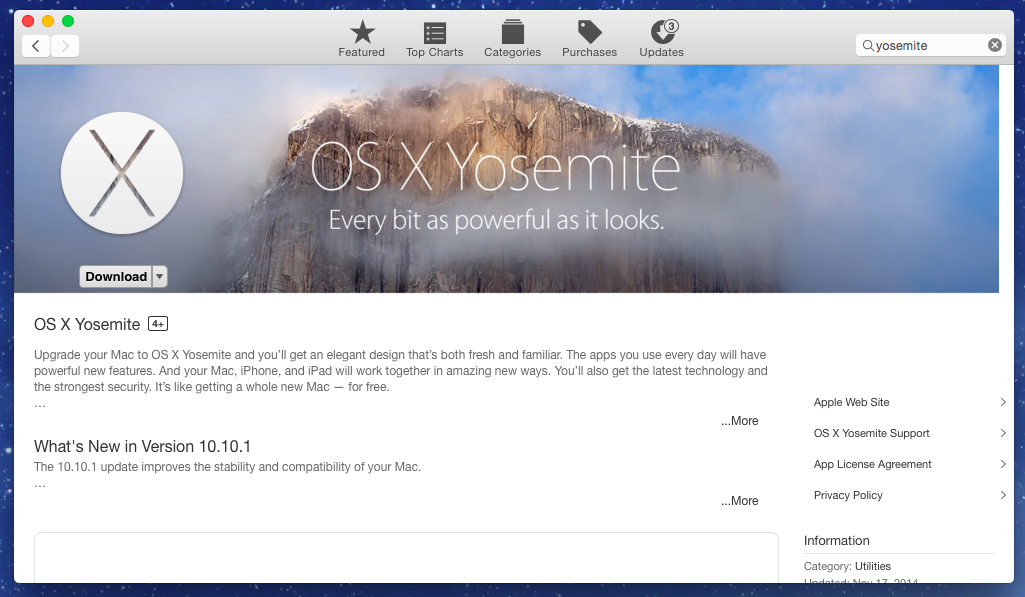
1.) Open the Mac App Store and find the Yosemite Installer.2.) Download it. (Note that this assumes you've already installed Yosemite on this system and the installer was already automatically removed. If not, then your option will be to install Yosemite, but after the download is done, you'll want to skip over to creating the Installer Thumbdrive prior to continuing with the update. Otherwise, the installer will delete itself before you get the drive created.)
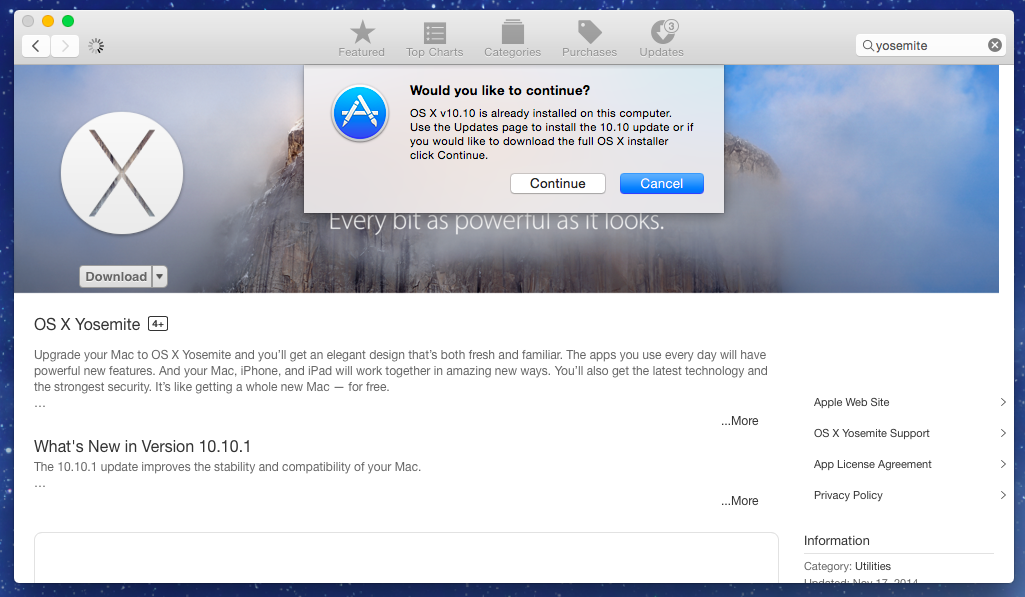
3.) Assuming your system is already running Yosemite, you'll get a warning about whether or not you want to continue. Click continue and don't worry about overwriting your current system, you won't actually be completing the installation. You're just getting the installer application.
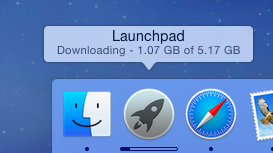
4.) Grab some coffee. It's about a 5GB download, so this'll take a bit.
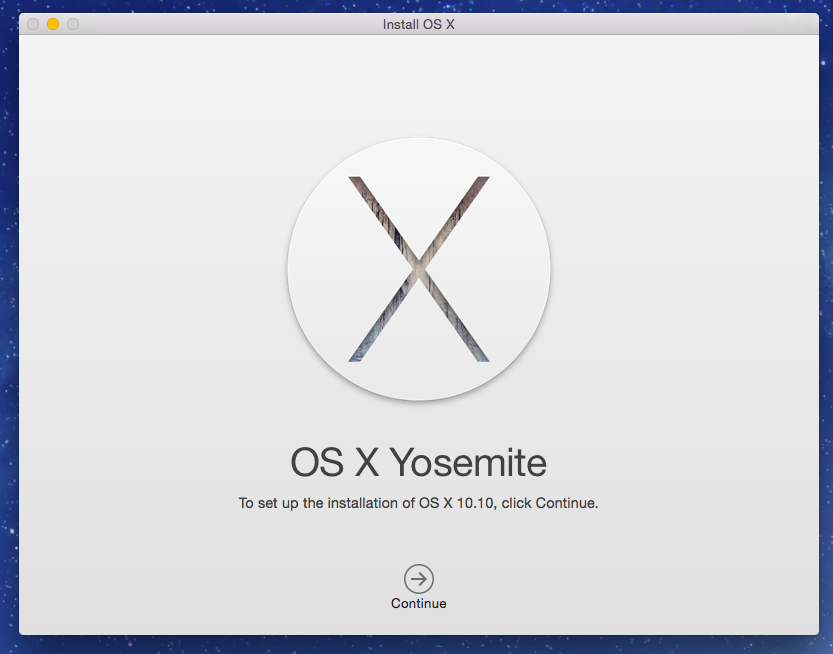
5.) Once it's done downloading, you'll see the installer screen. Just quit out of this as you don't want to actually run the normal installer.
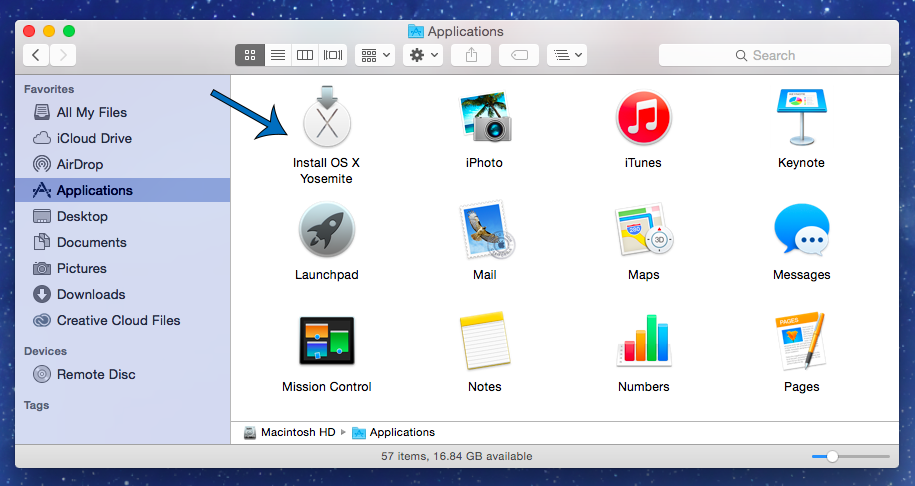
6.) The important thing is that you've now got the Yosemite installer available within your Applications directory, as shown below.
Setting up the USB Thumbdrive
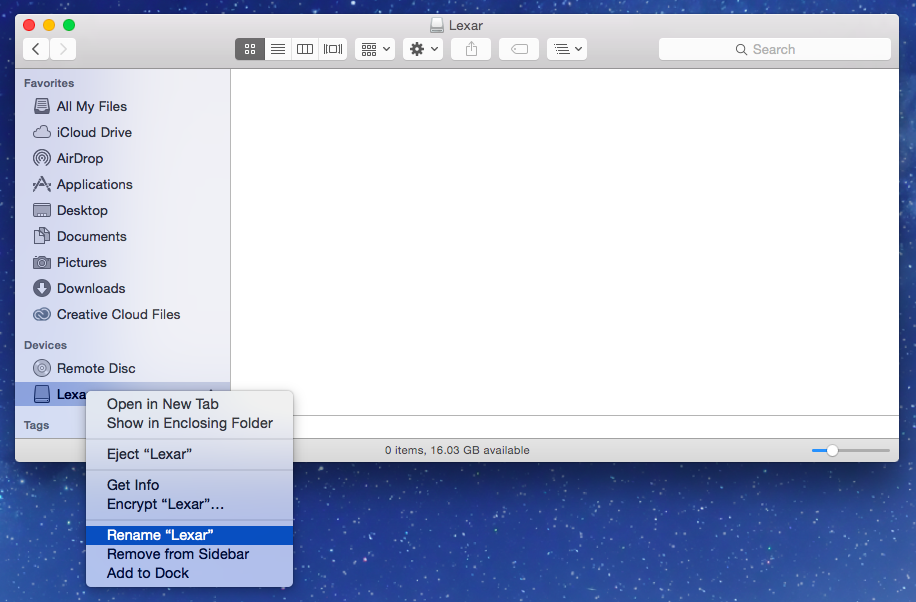
7.) Get a USB thumbdrive of at least 8GB and connect it to your Mac.8.) Open a Finder window and navigate to the drive (if you've got Devices set to show up in your Finder sidebar like I do, this'll be easy).
9.) Make sure there's nothing on the drive you want, as it'll get wiped clean as part of the process.
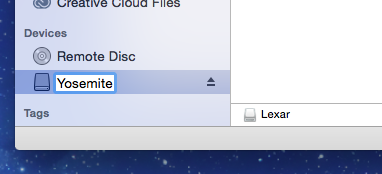
10.) Rename the drive to "Yosemite".
Creating the Bootable Drive
11.) Launch the Terminal application. You'll find it in Applications -> Utilities.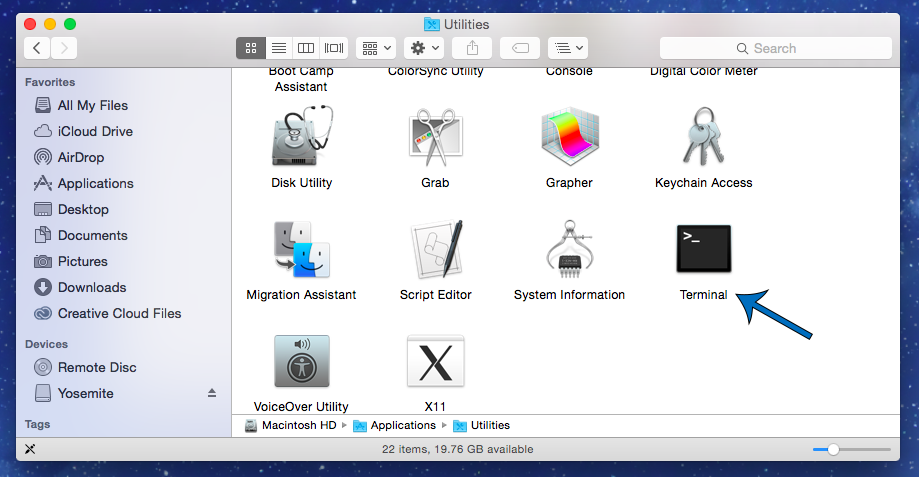
12.) Enter the following command on the command line and hit enter. Feel free to just copy and paste. Note that after you enter the command, you will need to provide your admin password.
sudo /Applications/Install\ OS\ X\ Yosemite.app/Contents/Resources/createinstallmedia --volume /Volumes/Yosemite --applicationpath /Applications/Install\ OS\ X\ Yosemite.app --nointeraction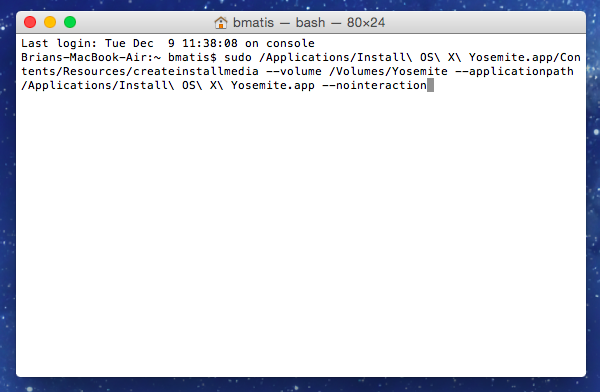
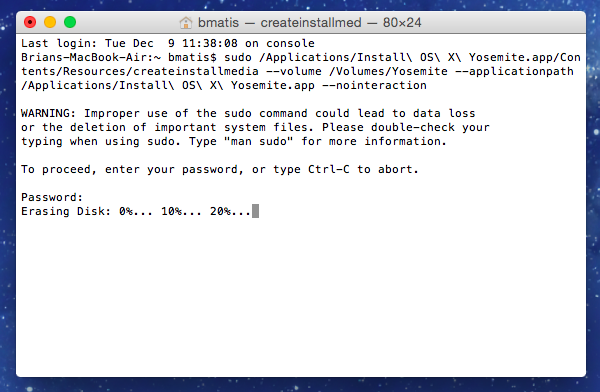
13.) Get some more coffee. This part takes around 20-30 minutes. You'll see a few updates in the Terminal as shown below.
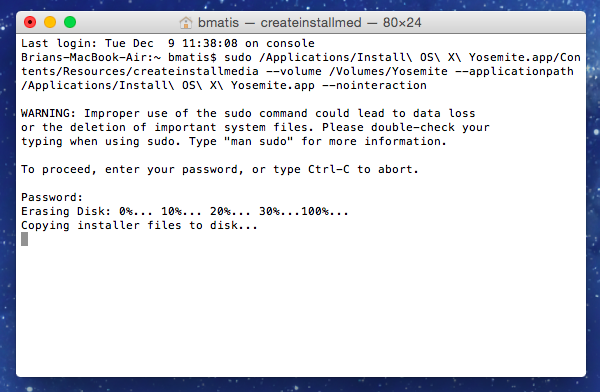

14.) Great! Now you're done! If you check the USB Thumbdrive, you'll now see that it's been renamed to Install OS X Yosemite.
Testing the drive
15.) To test the drive, restart your Mac. While it's booting up, hold down the Option key. You'll see a screen giving options for which drive to boot from. Choose the Install OS X Yosemite drive.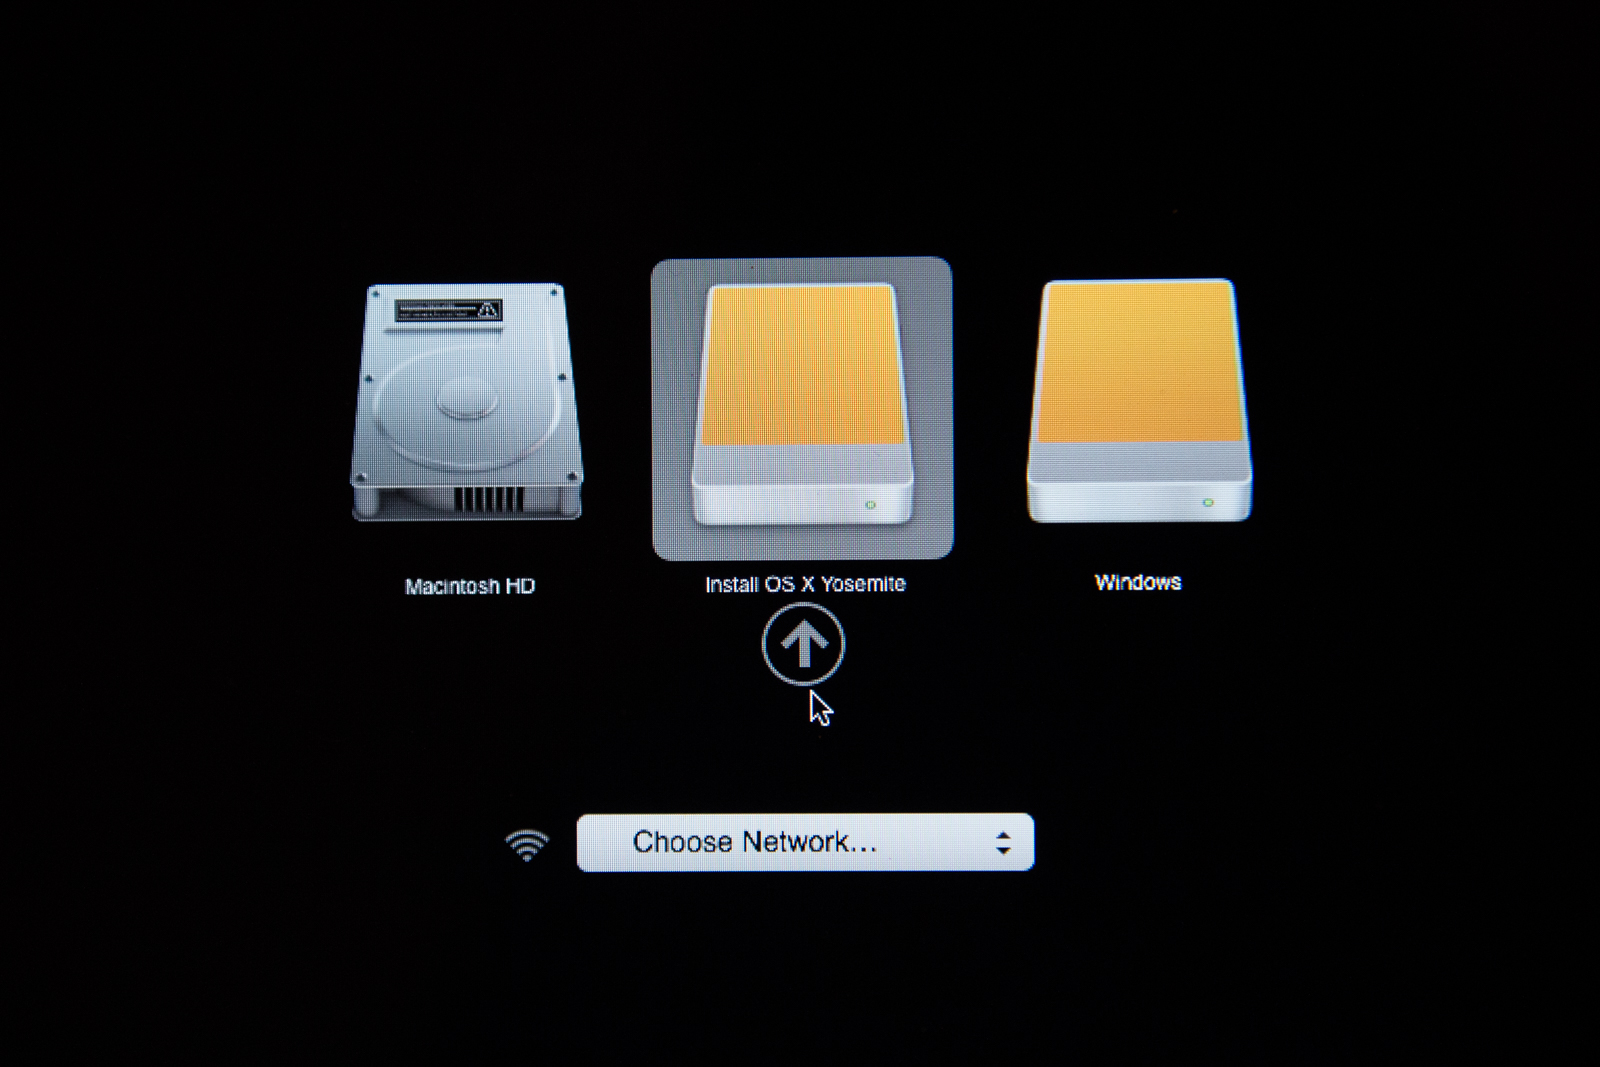
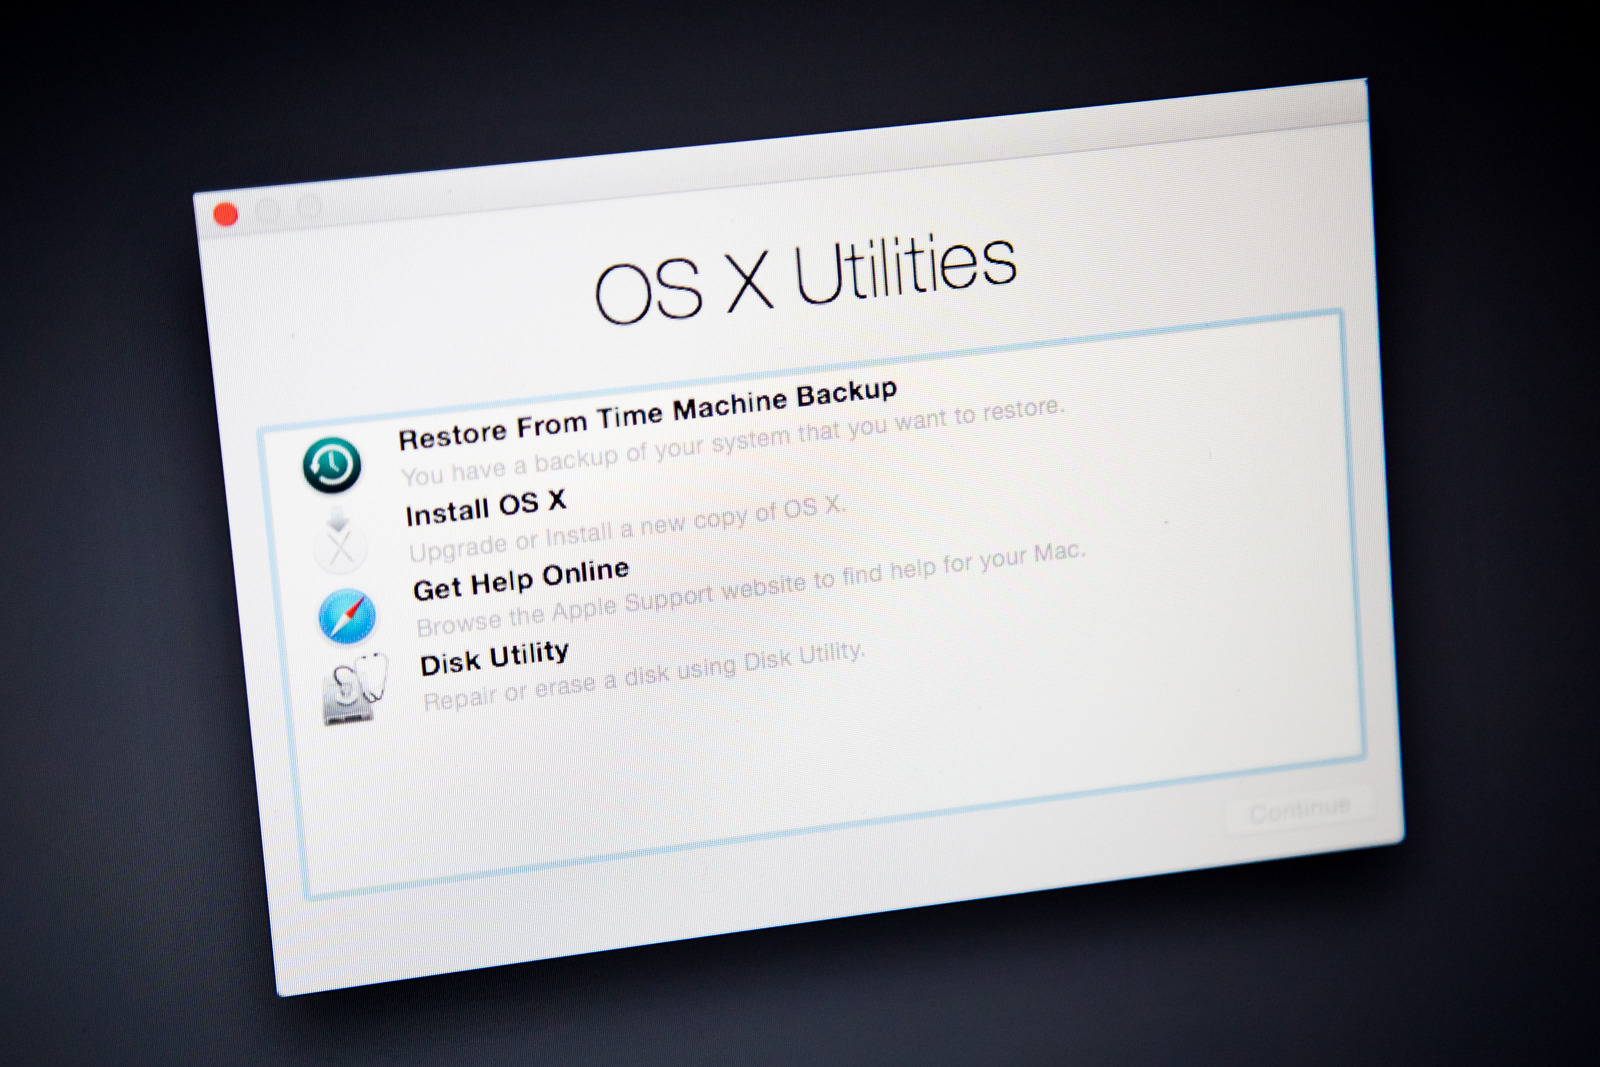
16.) Once it's done booting, you'll be presented with several utilities, including the ability to Restore from a Time Machine Backup, Install OS X, Get Help Online, and Disk Utility. Plus, there's a few useful things available in the Utilities menu.
And that's all there is. To get back to your normal system, just restart the Mac as normal from the Apple menu. If you want to free up 5GB on your system, feel free to delete the Install OS X Yosemite application that you downloaded back in the beginning.
Keep this new USB thumbdrive around and now you've got an easy way to boot any Mac that can run OS X Yosemite, run troubleshooting utilities on it, restore from backup, or do a clean install. You may never need this drive, but it's better to have it and not need it, than to need it and not have it :-)

Product Manager. Photographer. Runner. Gamer. Mostly human.
Have a question about something in this article? You can receive help directly from the article author. Sign up for a free trial to get started.
Comments (0)