HOW TO: Have an Image Bound Within Text Using inDesign CS6

Published:
Browse All Articles > HOW TO: Have an Image Bound Within Text Using inDesign CS6
Have you ever wanted to create graphical elements directly in inDesign? This tutorial will teach you how to have an image bound within text using the pathfinder tool in inDesign CS6. This technique will help decrease the amount of time spent opening other applications, creating and editing files, saving files, closing the program, and finally placing the element on the page giving you the same end result.
Instead of the text having a font color, the image will fill the area. First, open the application. Choose to create a new document. Feel free to use any settings you prefer. I decided to go with a half letter in a landscape orientation. Click OK.
Once the document has loaded follow the steps below:
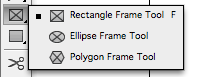
- Select the rectangle frame tool. Click anywhere on the document and drag (while still holding down the click) to the size you desire. The image will be placed inside this frame.
![rectangle-tool.png]()
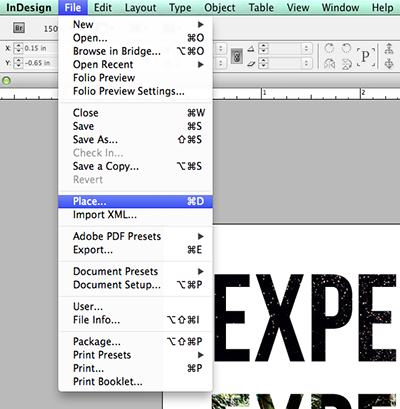
- Now it is time to place the image within the rectangle frame. While the frame is still selected, go to File > Place. Find and select the image you would like to be the background of your text.
![place-image.png]()
- If your image is larger than the rectangle frame and you would like to reposition, use the selection tool to double click the rectangle frame. A brown bordered box will appear around the entire image. Rearrange and resize for desired look. Click anywhere on the page to escape the brown bordered box.
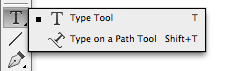
- Next, select the type tool. Click and drag to create a text box. Choose a font family, font-size, etc that you like. I went with a large and bold sans serif so my image could easily be seen in the text.
![type-tool.png]()
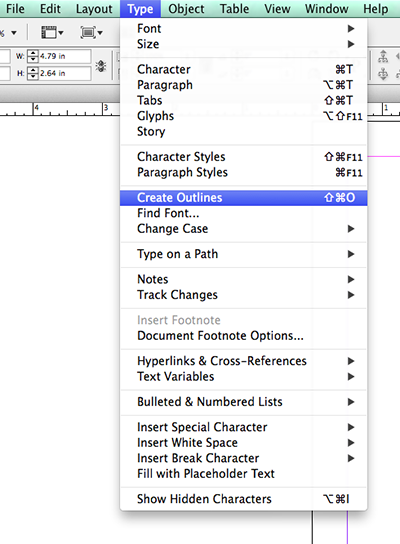
- Once you have desired text, it is time to create outlines. With the text box selected, go to Type > Create Outlines.
![create-outlines.png]()
- Place the text over the image and bring the image to the front. You can do this by selecting the text box, right clicking and selecting Arrange > Send to Back.
- Select the text box and the image. If they are the only to things on the page a keyboard short-cut is ctrl-a for Mac users.
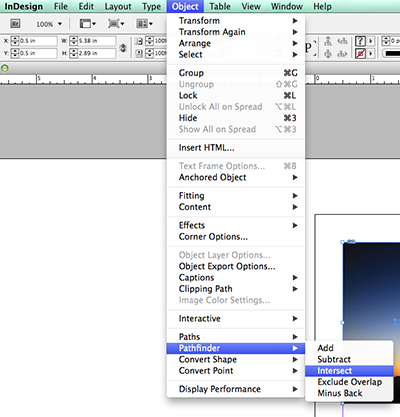
- With both items selected go to Object > Pathfinder > Intersect.
![pathfinder.png]()
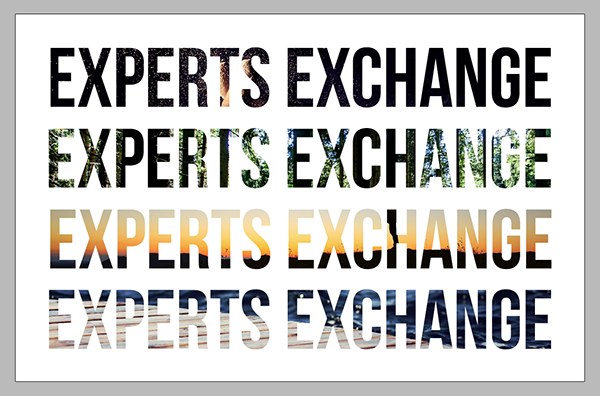
- Your image should now be bound within the text you created.
![Finished-Product.png]()
Have a question about something in this article? You can receive help directly from the article author. Sign up for a free trial to get started.
Comments (0)