Storyboard Basics for iOS Development
Published:
Browse All Articles > Storyboard Basics for iOS Development
The Basics of Storyboard
Storyboards were first introduced to developers in the release of iOS 5. They save the developer the trouble of designing each screen’s interface in a different file. The storyboard allows you to see the conceptual mockup of your app as a whole and the interactions between each screen. Using segues, you are able to set how the app will transition between given screens and pass data along. In this tutorial, I will show you how to make a simple login screen for an app.Getting Started
The first thing that you are going to want to do is make a new project. You will want a new single screen application setting the language to Swift and the devices to universal. If you navigate to the storyboard you should see an empty view controller scene. The arrow on the left side of the view controller indicates that it is the root controller.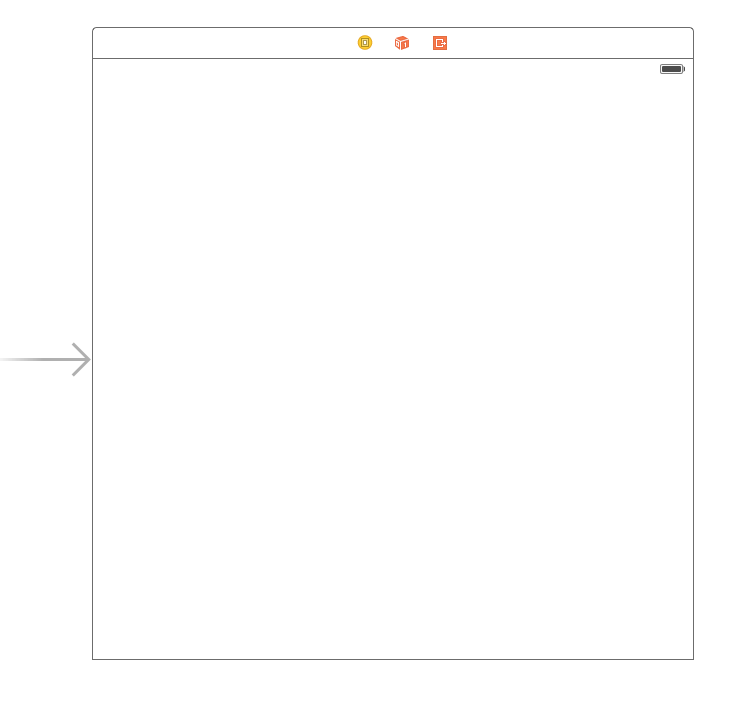 In order to add labels for the user name and password, you need to go to the box in the bottom right of your screen, select the circle with a square in it, and drag and drop two labels onto your view. By choosing the preferences on the side bar, you can specify many important parameters. There are too many to go over but most are self-explanatory.
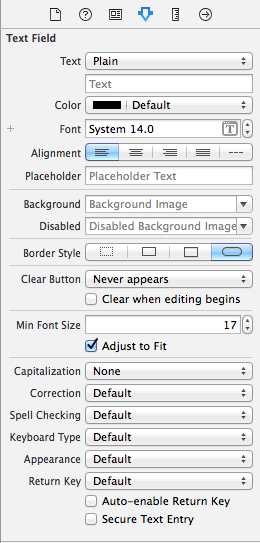 The two important ones for us are the placeholder text and the secure text entry checkbox. We want to use placeholder text to let the user know what information is required of them and the secure entry to hide the user’s password from showing. After this is done, we need a button in order to trigger our segue. We can drag one on in the same way we did a text field. After you have given the button a title and arranged your objects on the screen should look like this:
 Now our first screen of the app is done so we need to make another one to transition to. Do this by dragging onto the screen a second view controller. In order to connect the two screens you must do two things. First you will need to control click on the button and drag it to the new screen you added. Next you will need to select the circle between the two views. You will need to then change the identifier to the segue; for this example I will use “nextScreen”.
 Lastly, we will put a label on the new screen so we can view the user and see if our app works. In order to be able to access the fields from storyboard programmatically, we will need to create outlets for them in the class that uses them like so:
class FirstScreen: UIViewController {

                         @IBOutlet weak var username: UITextField!
                         @IBAction func loginButton(sender: AnyObject) {
                            perfromSegueWithIdentifier("nextScreen", sender: self)
                         }
                      }

                      class SecondScreen: UIViewController {
                         var user: String!
                         @IBOutlet weak var username: UILabel!

                         override func viewDidload() {
                            username.text = user
                         }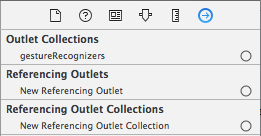
}After this is done make sure to link the objects from storyboard using the connections inspector of each screen. Your outlets should show up and you can click the circle to the right of them to link them.
 The last function to be implemented is the prepareForSegue function in the first screen's class. This allows you to pass data on to the new view like so:
override fun prepareForSegue(segue: UIStoryboardSegue, sender: AnyObject?) {
                         if segue.identifier == "nextScreen" {
                            let destVC = segue.destinationViewController as UIViewController
                            destVC.user = self.username
                         }
}Now you have a basic understanding of how to change screens and pass data between them. This will give you a good start on making functional apps, happy programming!
Have a question about something in this article? You can receive help directly from the article author. Sign up for a free trial to get started.
Comments (1)
Author
Commented: