Configuring an Office 365 mailbox in Outlook


Published:
Browse All Articles > Configuring an Office 365 mailbox in Outlook
Many organizations are moving to Office 365, and user mailboxes will hosted on online Exchange server but will provide the same email features and functions like an on-premises Exchange server. This is how to configure Outlook with a hosted Office 365 mailbox.
Based on my work experience, before configuring a Microsoft Office 365 mailbox in Outlook log into Webmail /OWA at https://outlook.office.com
Second, check to make sure your version of Outlook is compatible with Office 365. Outlook 2007 SP3 and Outlook 2010 SP2 are compatible, and newer versions by default have support for Office 365.
Third, we have to make sure our system has the proper DNS configuration to discover the Office 365 domain. We can test it by pinging the autodiscover record (autodiscover.outlook.com) from your local system.
![Capture1.PNG]()
If the ping response works that means we can proceed to the next step. Next we need to run the Outlook readiness test https://portal.office.com/support/help.aspx?sid=sara#/ .
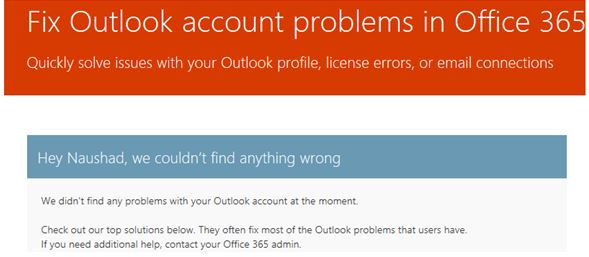
We need to be logged into the Office 365 mailbox account. Once you run the test it will give you confirmation if there is no problem. In the case of missing required software or a Windows update or even a license issue, it will be highlighted as you can see in below screenshot.
![Capture12.JPG]()
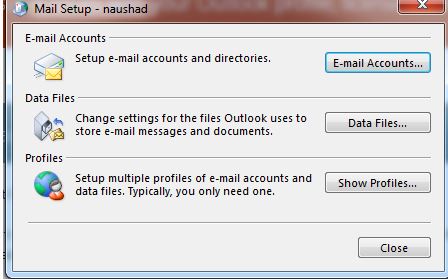
1. Next we need to open the control panel. Select the mail icon and open it.
![Capture3.JPG]()
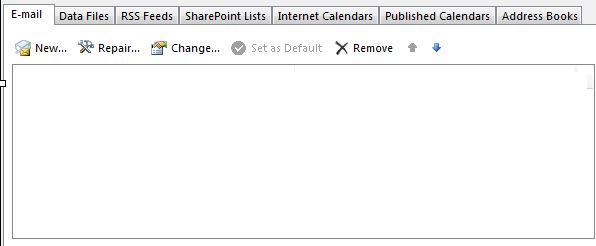
2. Now select E-mail Account Tab
![Capture4.JPG]()
3. Click on the New button
![Capture5.JPG]()
4.
![Capture6.JPG]()
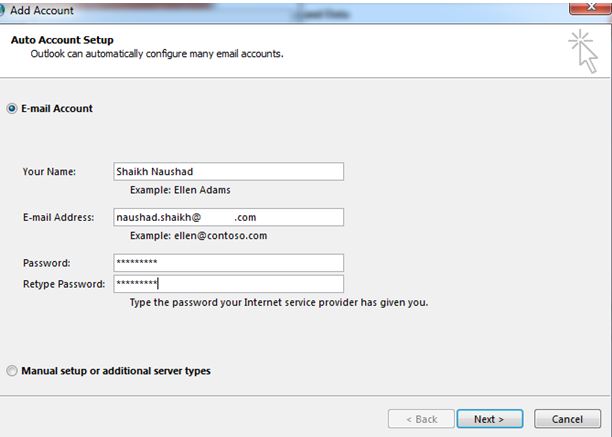
5. Fill in all the information on all tabs -- Display name, email address and password -- and click on the Next button.
![Capture7.JPG]()
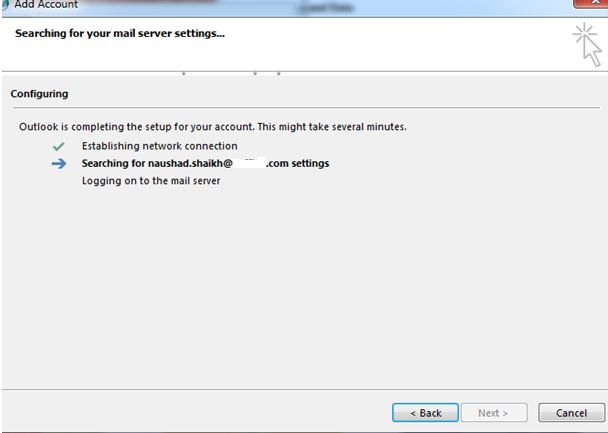
6. Outlook will perform the discover process of your mailbox account with Office 365.
![Capture8.JPG]()
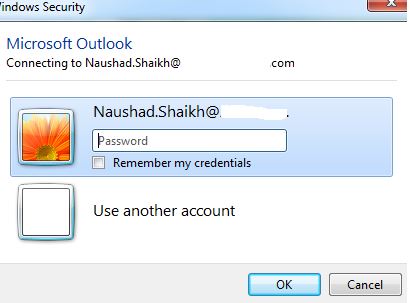
7. Once the discover process is completed it will be connected with Office 365. It will prompt for authentication, so type in the mailbox password.
![Capture9.JPG]()
8. Once authentication process has finished, Outlook will finish the rest of configuration automatically.
![Capture10.JPG]()
9. Click on the Finish button and you are ready to use Outlook.
Second, check to make sure your version of Outlook is compatible with Office 365. Outlook 2007 SP3 and Outlook 2010 SP2 are compatible, and newer versions by default have support for Office 365.
Third, we have to make sure our system has the proper DNS configuration to discover the Office 365 domain. We can test it by pinging the autodiscover record (autodiscover.outlook.com)

If the ping response works that means we can proceed to the next step. Next we need to run the Outlook readiness test https://portal.office.com/
We need to be logged into the Office 365 mailbox account. Once you run the test it will give you confirmation if there is no problem. In the case of missing required software or a Windows update or even a license issue, it will be highlighted as you can see in below screenshot.
1. Next we need to open the control panel. Select the mail icon and open it.

2. Now select E-mail Account Tab
3. Click on the New button
4.
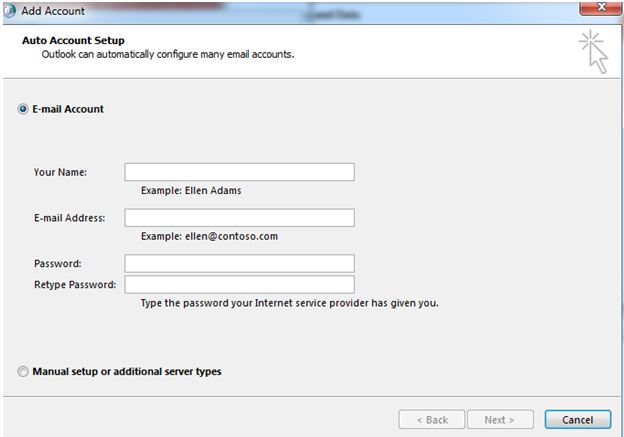
5. Fill in all the information on all tabs -- Display name, email address and password -- and click on the Next button.
6. Outlook will perform the discover process of your mailbox account with Office 365.
7. Once the discover process is completed it will be connected with Office 365. It will prompt for authentication, so type in the mailbox password.
8. Once authentication process has finished, Outlook will finish the rest of configuration automatically.
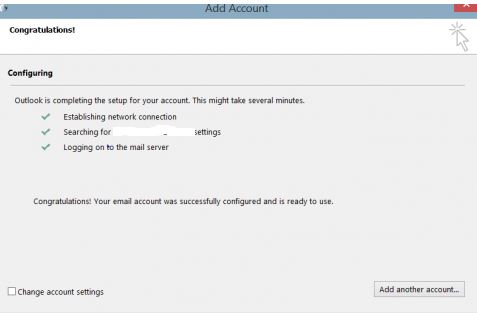
9. Click on the Finish button and you are ready to use Outlook.
Have a question about something in this article? You can receive help directly from the article author. Sign up for a free trial to get started.
Comments (3)
Author
Commented:Author
Commented:Commented:
But ping “autodiscover.yourdomain.x
C:\Users\XXXXX>ping autodiscover.xxxxxxx.xxx
Pinging autodiscover-emeacenter.ou
Reply from 134.170.69.40: bytes=32 time=18ms TTL=241
Reply from 134.170.69.40: bytes=32 time=19ms TTL=241
Reply from 134.170.69.40: bytes=32 time=18ms TTL=241
Reply from 134.170.69.40: bytes=32 time=19ms TTL=241