Basics of an Android App – Activity and Layout

Pre-requisites:
1) Android Studio installed on your PC (Unix or Windows). You can learn how to install it here .
2) A real time android device (Smartphone or Tablet) configured with Android Studio. .
3) A basic knowledge of Android lifecycle and different classes & functions used in Android Studio.
Basics of an Android App:
- Activity: An activity is a class in Android SDK which is responsible for interaction between user and information on screen. So to add functionality in an App we need to extend different classes from Activity class. A simple one may require only one subclass, but a complex one could have more than one.
- Layout: A layout is what you see in front of you in Android App. All the buttons and text are arranged through layout. You can arrange different elements in different ways. A layout can be one of the following types:
a) Linear layout: It arranges all the elements in a linear way which can be horizontal or vertical. The difference factor is orientation attribute. If you set orientation: horizontal then elements will be arranged in horizontal fashion and similarly for vertical.
Note: By default it will take horizontal.
LinearLayout is used in a linear layout.
<?xml version="1.0" encoding="utf-8"?>
<LinearLayout>
    xmlns:android="http://schemas.android.com/apk/res/android"
    xmlns:app="http://schemas.android.com/apk/res-auto"
    xmlns:tools="http://schemas.android.com/tools"
    android:layout_width="match_parent"
    android:layout_height="match_parent"
    app:layout_behavior="@string/appbar_scrolling_view_behavior"
    tools:context="com.androidtutorialpoint.newapplication.MillionaireApp"
    tools:showIn="@layout/activity_millionaire_app"

</LinearLayout>
This is how a linear layout is declared. If you are starter then you only need to know aboutlayout_width and layout_height which in this case is match_parent (it signifies its height and width will be equal to parent).
xmlns: implies XML namespace of the document. For example if you use android:idanywhere then xml will replace it with http://schemas.android.com/apk/res/android:id.Similarly tools: are added to reference elements or attributes.
Let’s go somewhat deeper to see how to declare horizontal and vertical layout.
Creating new project
Please follow following steps:
- Open Android Studio and make a new project with name “Android Layouts” and company domain application.example.com (I used my company domain i.e androidtutorialpoint.com. Similarly you can use yours).
- Click Next and choose android version Lollipop. Again Click Next and Choose Blank Activity.
- Leave all things remaining same and Click Finish.
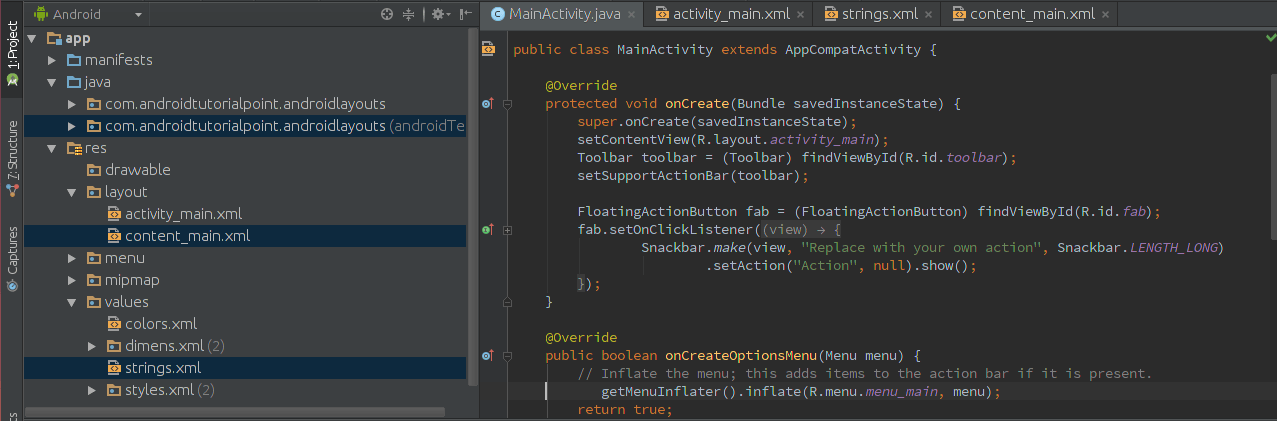
Now you can see MainActivity.java, content_main.xml and strings.xml. If you are not able to see them then click on the left window where these files can easily be located as shown in following figure:
 In this code we are using two buttons to differentiate between horizontal and vertical layout.
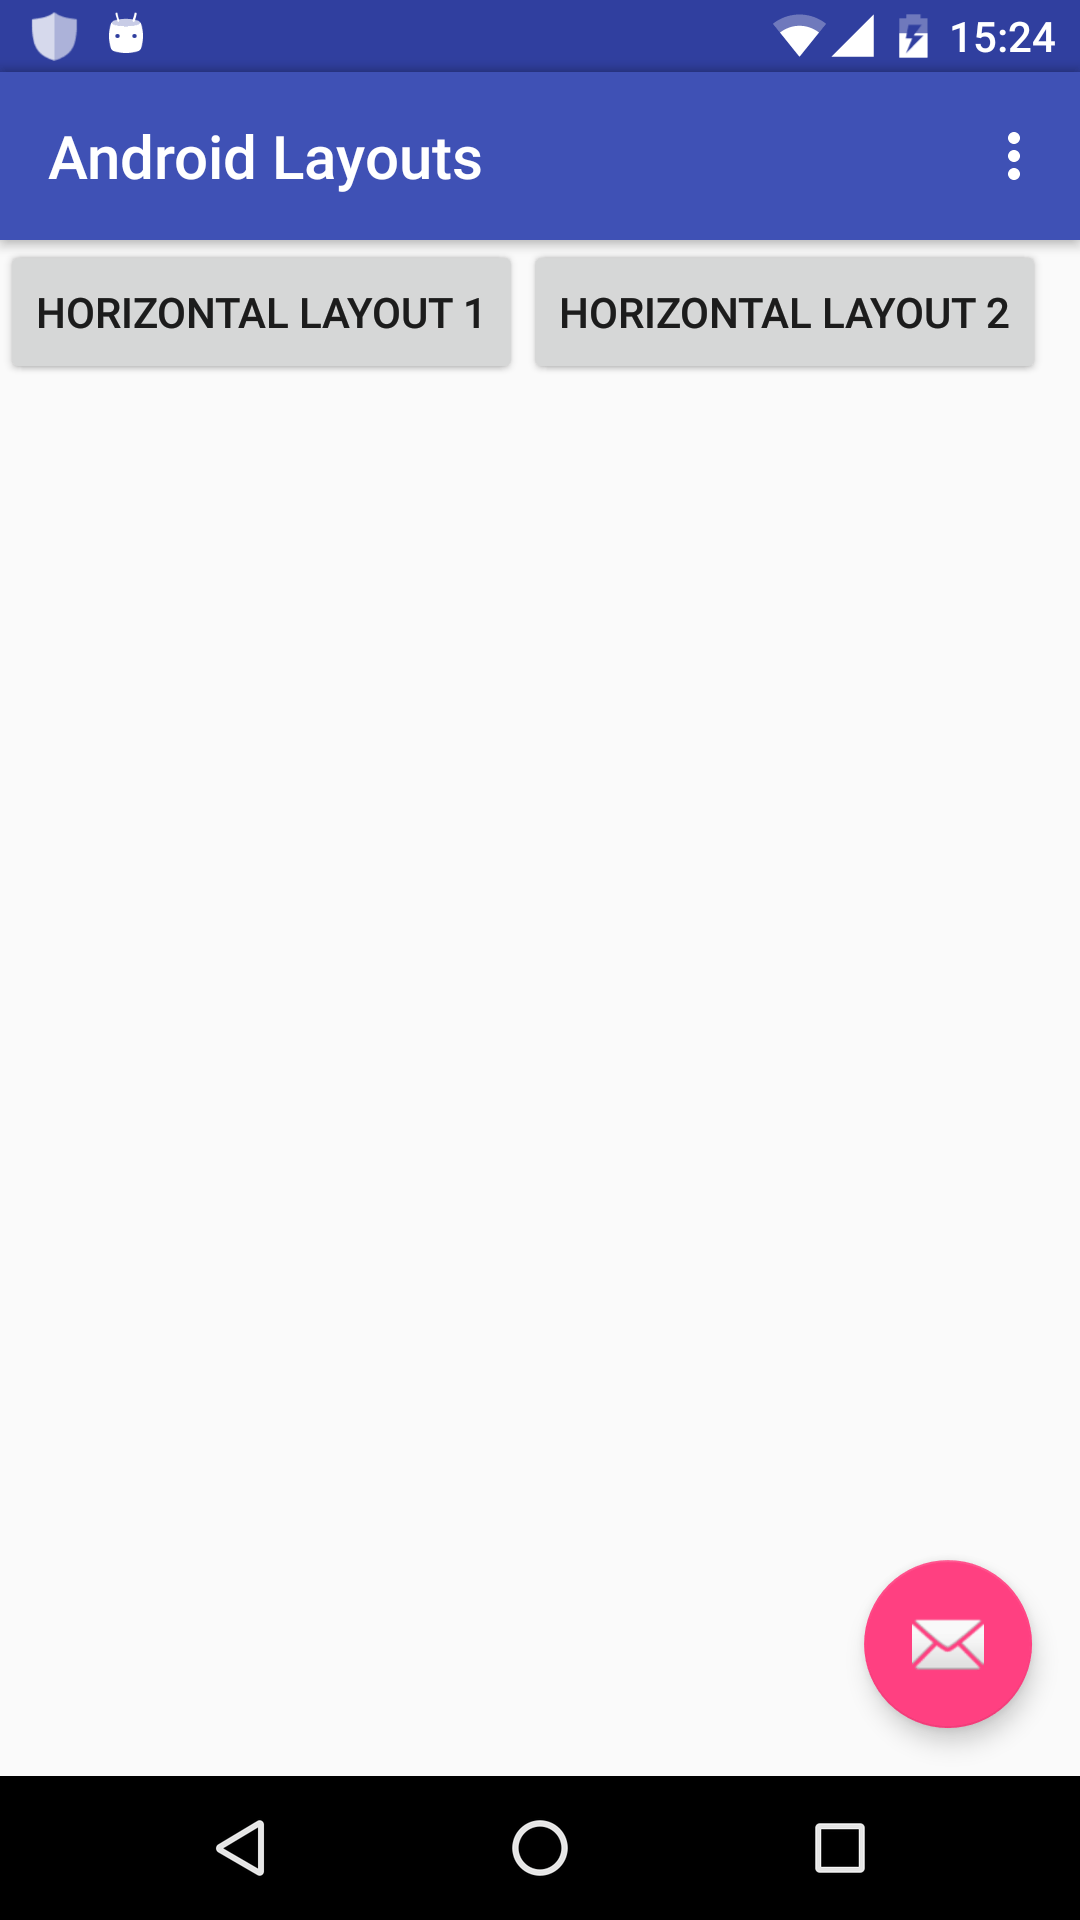
Horizontal Layout:
Comment previous code and add following code in content_main.xml (In an XML file comment is done using ):
<?xml version="1.0" encoding="utf-8"?>

<!-- Horizontal Layout  -->
<LinearLayout
    xmlns:android="http://schemas.android.com/apk/res/android"
    xmlns:app="http://schemas.android.com/apk/res-auto"
    xmlns:tools="http://schemas.android.com/tools"
    android:layout_width="match_parent"
    android:layout_height="match_parent"
    app:layout_behavior="@string/appbar_scrolling_view_behavior"
    tools:context="com.androidtutorialpoint.androidlayouts.MainActivity"
    tools:showIn="@layout/activity_main"
    android:orientation="horizontal">

    <Button
        android:layout_width="wrap_content"
        android:layout_height="wrap_content"
        android:text="Horizontal layout 1" />
    <Button
        android:layout_width="wrap_content"
        android:layout_height="wrap_content"
        android:text="Horizontal layout 2" />

</LinearLayout>
Run this code and you will see following screen:
Vertical Layout:
content_main.xml:
<?xml version="1.0" encoding="utf-8"?>

<!-- Vertical Layout  -->
<LinearLayout
    xmlns:android="http://schemas.android.com/apk/res/android"
    xmlns:app="http://schemas.android.com/apk/res-auto"
    xmlns:tools="http://schemas.android.com/tools"
    android:layout_width="match_parent"
    android:layout_height="match_parent"
    app:layout_behavior="@string/appbar_scrolling_view_behavior"
    tools:context="com.androidtutorialpoint.androidlayouts.MainActivity"
    tools:showIn="@layout/activity_main"
    android:orientation="vertical">

    <Button
        android:layout_width="wrap_content"
        android:layout_height="wrap_content"
        android:text="Vertical layout 1" />
    <Button
        android:layout_width="wrap_content"
        android:layout_height="wrap_content"
        android:text="Vertical layout 2" />

</LinearLayout>
Run this code and you will see following screen:
 b) Relative Layout: A relative layout is used to position an element with respect to other elements. Other elements here could be its parent or sibling or any other id. Following attributes are used to arrange it in either left or right, start or end, above or below.
android:layout_toEndOf – Positions the start edge of this view to the end of the given anchor view ID.
android:layout_toLeftOf – Positions the right edge of this view to the left of the given anchor view ID.
android:layout_toRightOf – Positions the left edge of this view to the right of the given anchor view ID.
android:layout_toStartOf – Positions the end edge of this view to the start of the given anchor view ID.
android:layout_below – Positions the top edge of this view below the given anchor view ID.
android:layout_above – Positions the bottom edge of this view above the given anchor view ID.
Here I am going to discuss one of the attributes. Take the rest as an exercise. Let me know if anything is blocking. I will try to provide solution.
Let’s discuss android:layout_toRightOf :-
Comment previous code of content_main.xml and Paste following code:
<?xml version="1.0" encoding="utf-8"?>

<!-- Relative Layout  -->
<RelativeLayout xmlns:android="http://schemas.android.com/apk/res/android"
                android:layout_width="match_parent"
                android:layout_height="wrap_content">

    <EditText android:id="@+id/inputEmail" android:layout_width="fill_parent"
              android:layout_height="wrap_content" />

    <Button android:id="@+id/parent_button" android:layout_width="wrap_content"
            android:layout_height="wrap_content" android:layout_below="@id/inputEmail"
            android:text="Button_1" />

    <Button android:layout_width="wrap_content" android:layout_height="wrap_content"
            android:layout_toRightOf="@id/parent_button" android:layout_below="@id/inputEmail"
            android:text="Button_2" />
</RelativeLayout>
You will see following image:
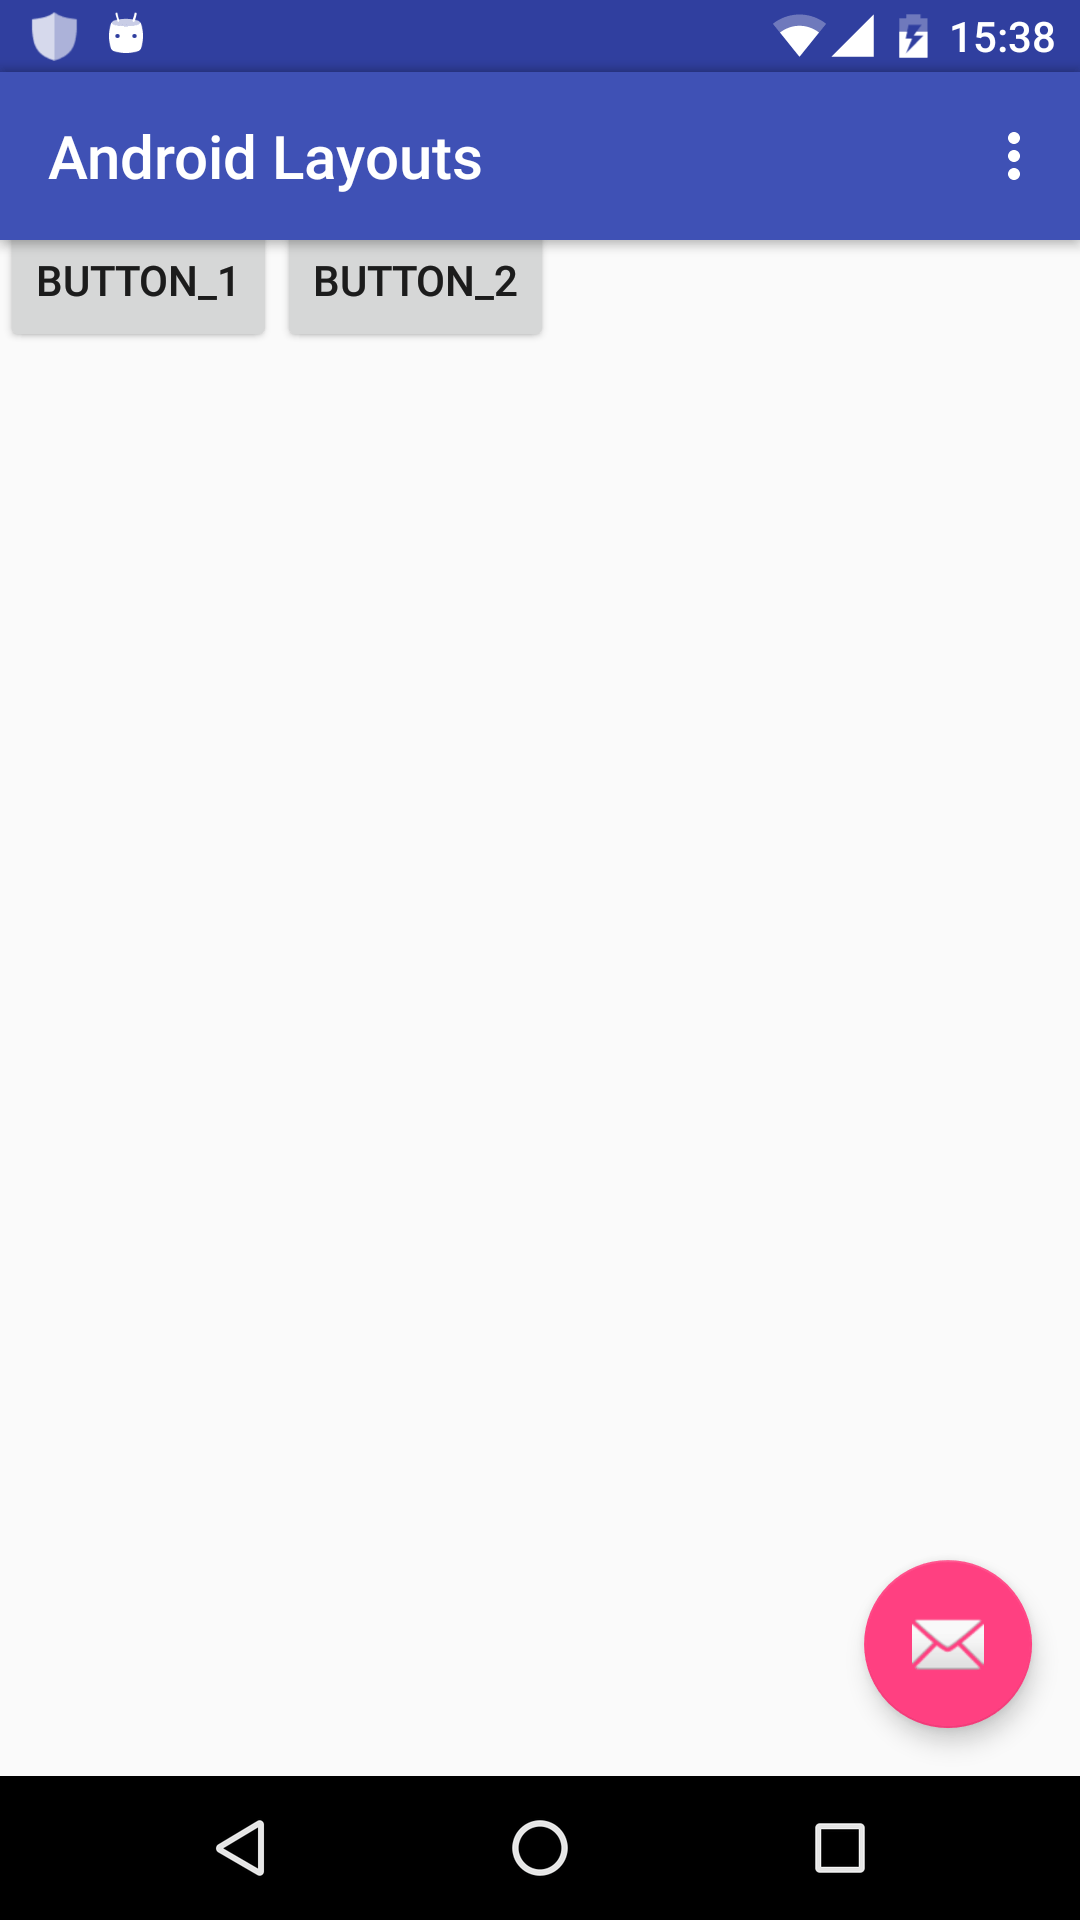
So here we first define button (<em>Button_1</em>) with a particular id <em>parent_button</em>. This id used as a reference for the second button (<em>button_2</em>).
When we write <em>android:layout_toRightOf="@id/parent_button"</em> it implies place this element (in our case it is button_2) on right of element with id:parent_button (in our case it is button_1).
Similarly we can use other attributes like <em>android:layout_toLeftOf</em>, <em>android:layout_toEndOf</em> etc. Try them.
For detailed info. you can refer android developer guide <a href="http://developer.android.com/reference/android/widget/RelativeLayout.LayoutParams.html#attr_android:layout_below" target="_blank">here</a>.
Note: Sometimes it become confusing which one to choose between Relative and Linear Layout. So here is a trick: When you want to arrange elements linearly, in one line, choose Linear layout but if you want to arrange elements in a random manner then go for Relative. Following image describe it meaningfully:
What’s Next
You can see our next tutorial of How to make a basic App. Here You will be able to make an App from scratch without any external help.
Source: This tutorial originally posted at http://www.androidtutorialpoint.com/basics/android-layout/
Have a question about something in this article? You can receive help directly from the article author. Sign up for a free trial to get started.
Comments (0)