Installing Ubuntu Linux on a Hyper-V Virtual Machine


One of the nice things about Linux is how it doesn't need a ton of resources to run. If you don't believe me, just ask someone who likes Linux. They'll go on and on about this and a whole other laundry list of reasons why Linux is superior in every way.
They're almost as bad as Mac users.
Anyway, I need a router in a virtual lab environment, so I decided to create a VM with an Ubuntu Linux for this purpose.
Creating the Router Virtual Machine
I created a very basic virtual machine using the following settings:
- 2GB RAM, using Dynamic Memory
- Connection to the Private virtual switch
- 80GB HDD
I’ve documented the VM creation in a different post.
Installing Ubuntu Linux
The first step here is to get the latest distro. Generally speaking, I tend to go with the most stable release rather than the latest and greatest. I downloaded the LTS version and at the time of this posting, the version was 16.04.3.
I’ll give you a screen-by-screen walkthrough of the installation, but it’s pretty simple.
Connect to your VM and mount the installation media as a DVD drive:

Start the VM and the installation should automagically start:
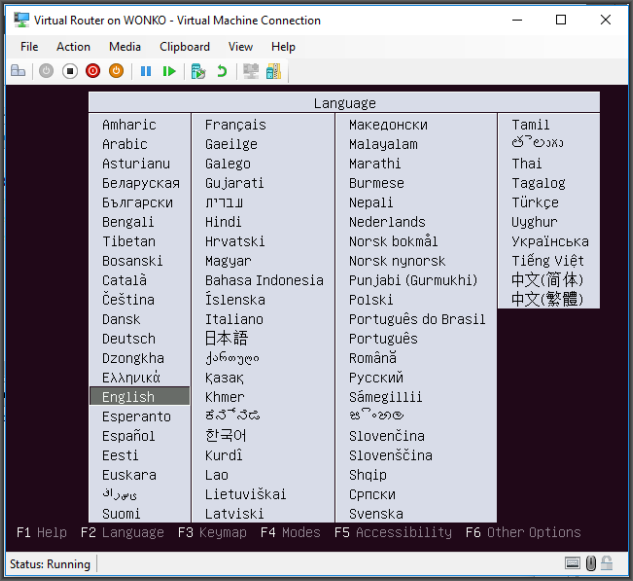
You won’t have mouse support here, so just use arrow keys to navigate and then hit the <ENTER> key to select an option.
Assuming you want to use “English”, accept the default and just hit <ENTER>. You’ll end up at the installation menu:
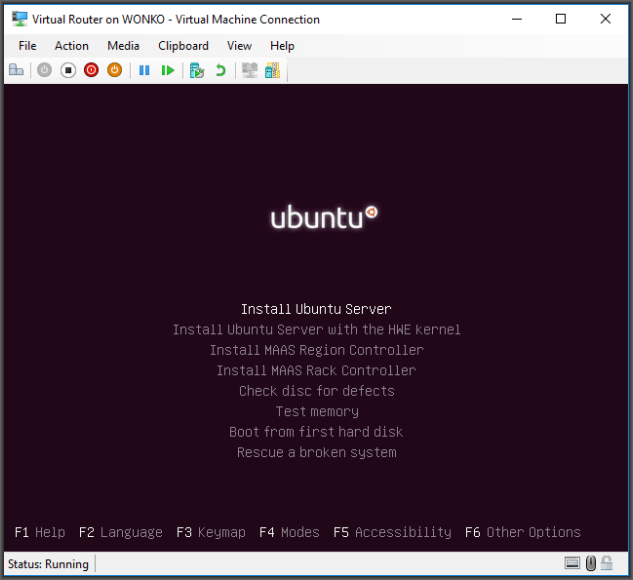
Leave the selection at “Install Ubuntu Server”, hit <ENTER> and you’ll end up at the language selection screen for the OS installation:
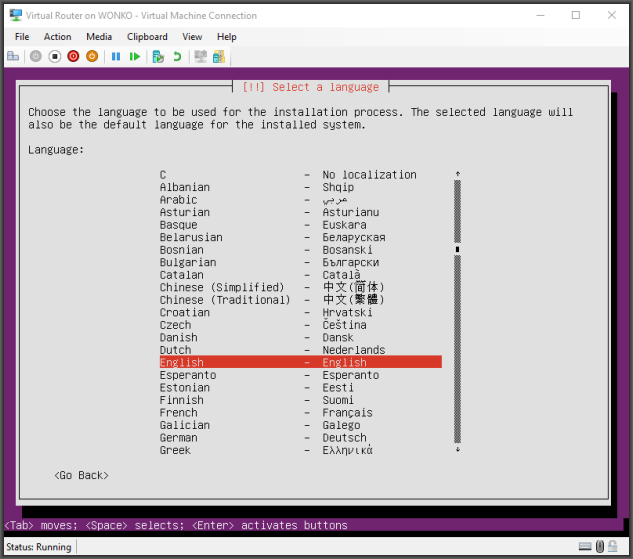
Select your language, or keep it at “English” and hit <ENTER>. Next, you select your location:
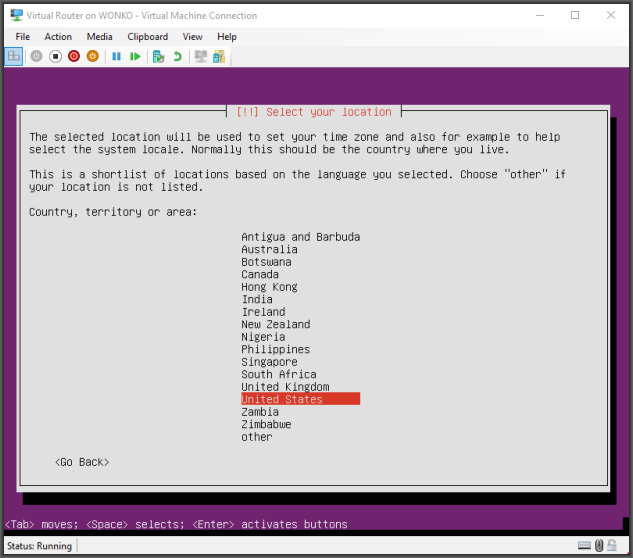
Select your location, or keep it at “United States” and hit <ENTER>.
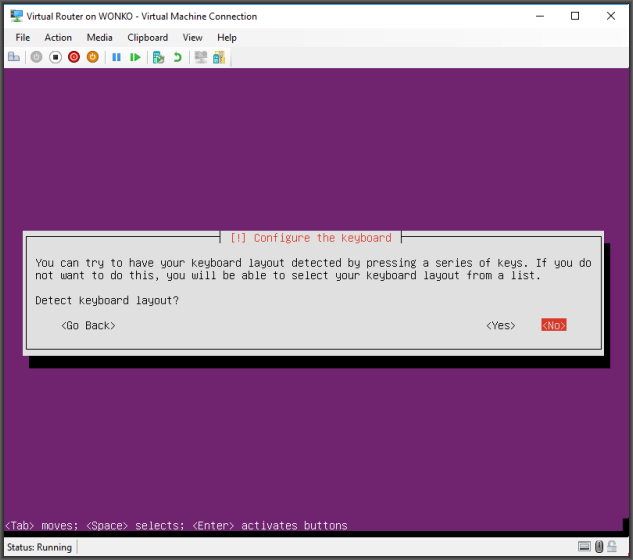
The next screen is pretty cool. The Ubuntu install will attempt to detect your keyboard layout.
Unless you want to change the keyboard layout, just accept the default and hit <ENTER>:
The next two screens allow you to manually select the keyboard layout. The first screen selects the language/nationality. The second allows you to configure different layouts for the keyboard language. Pretty cool stuff:
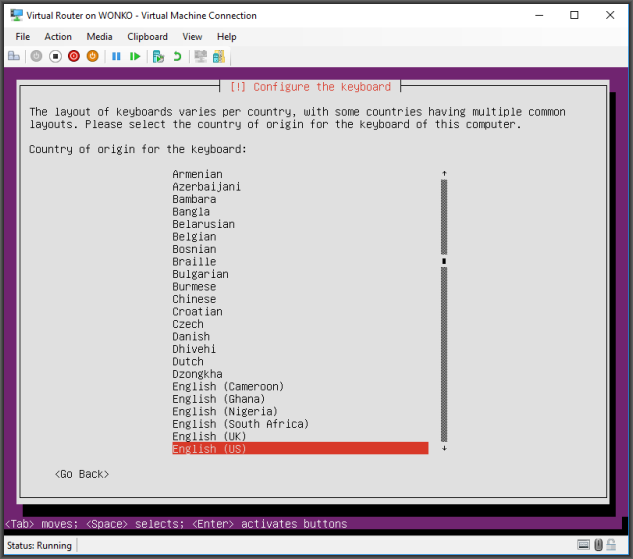
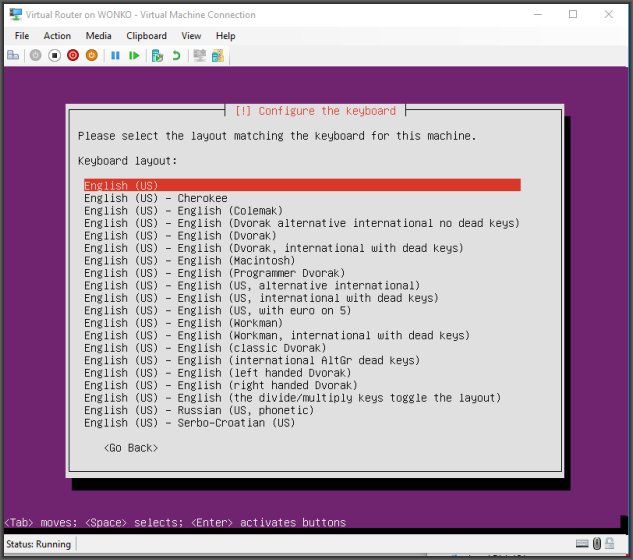
Again, change it if you need to; otherwise, accept the default values of “English (US)” and hit <ENTER> on both screens.
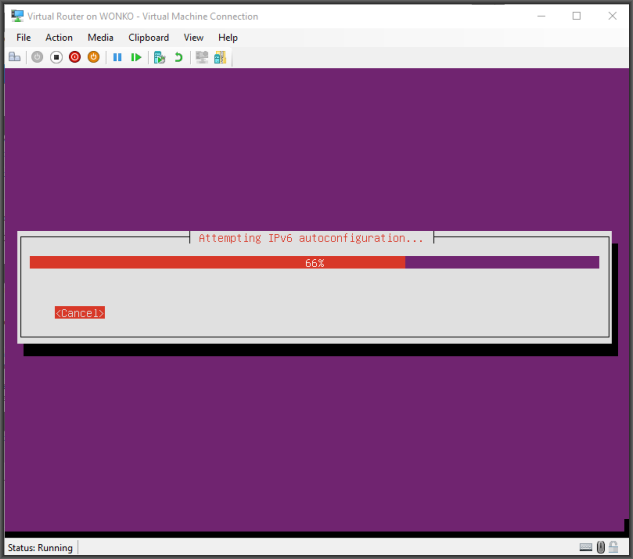
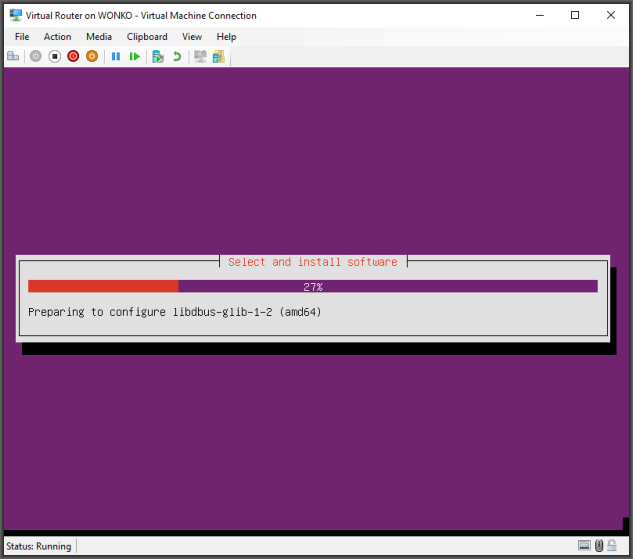
Next, come some progress bars:
It’s time to configure the network. Since I’ve got this VM on an isolated private virtual switch, there are no DHCP servers available to hand out IP addresses. Because of that, I get the following error:
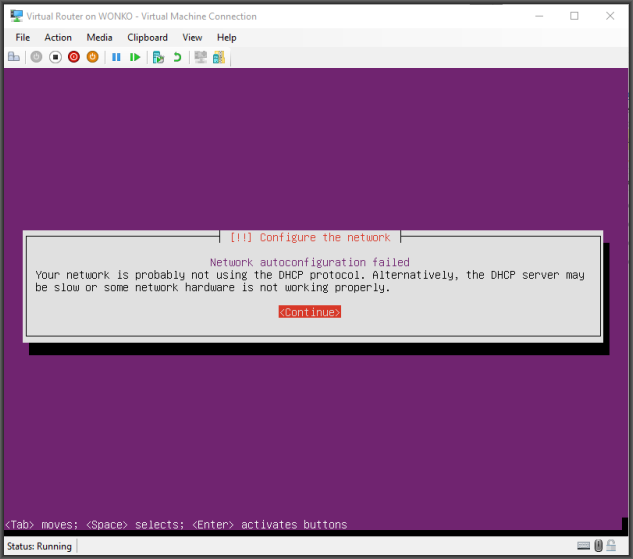
No big deal, we want a static IP address anyway.
Hit <ENTER> to get to a menu with some new options:
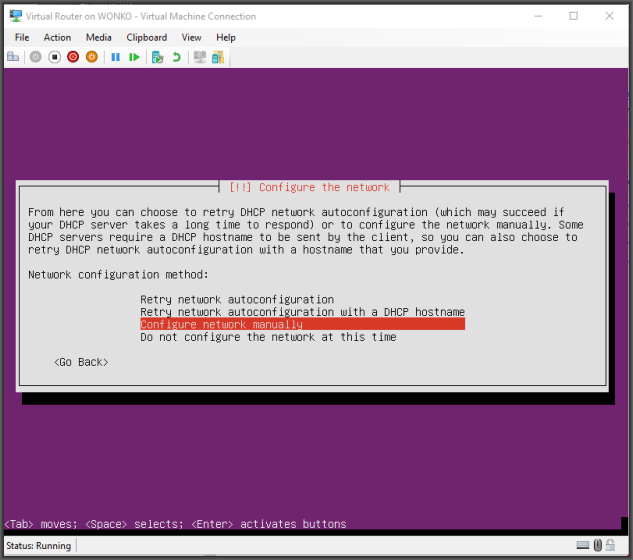
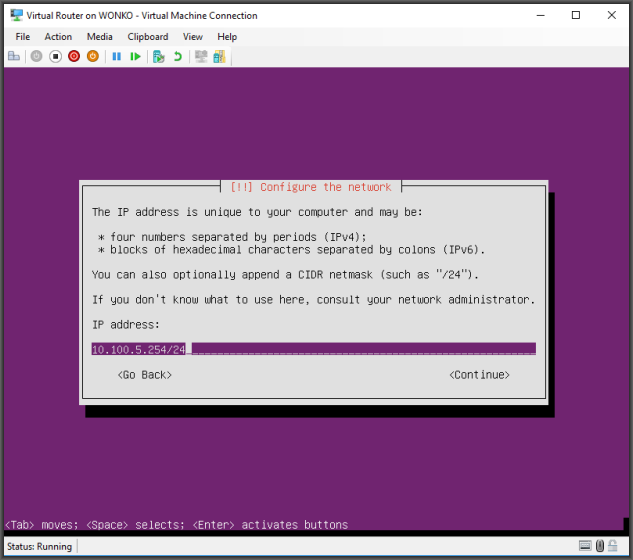
“Configure network manually” should be highlighted, so just hit <ENTER>. Configure the IP settings in the next few windows:
![]()
I don’t need a router address on this network, so I left the Gateway field blank. Ditto with the DNS settings… I won’t need to worry about DNS resolution on this VM. The next screen is the hostname, which I will use:
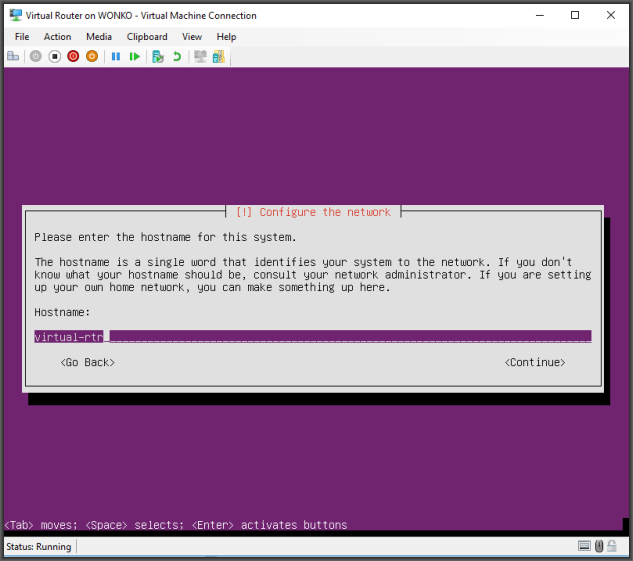
Put in whatever hostname you want, and this press <ENTER>:
![]()
Again, I’m not worried about DNS, so I’m not going to worry about a domain name, which is why I left it blank.
Enter whatever domain name you wish, then hit <ENTER>.
The next few screens are used for assigning a full name, a username and a password for logging into the router OS:
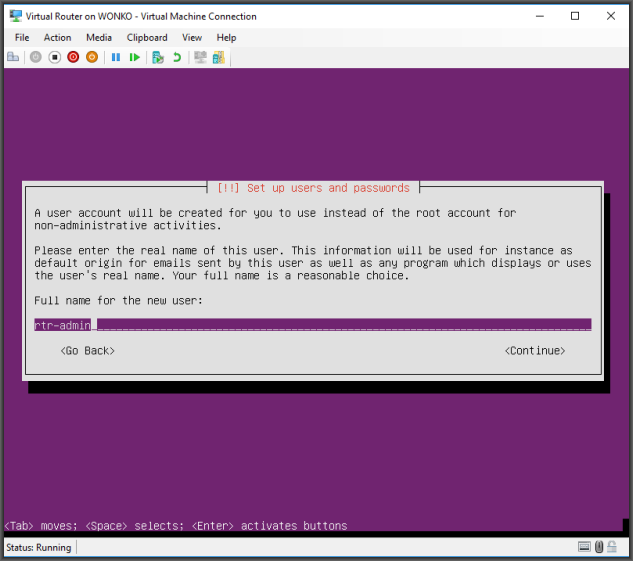
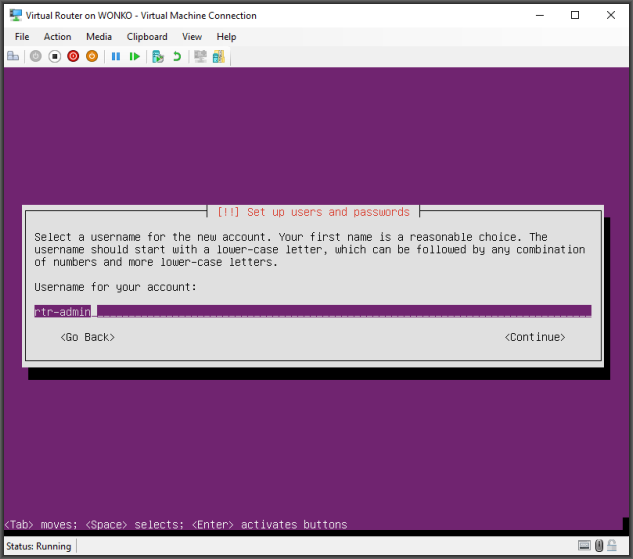
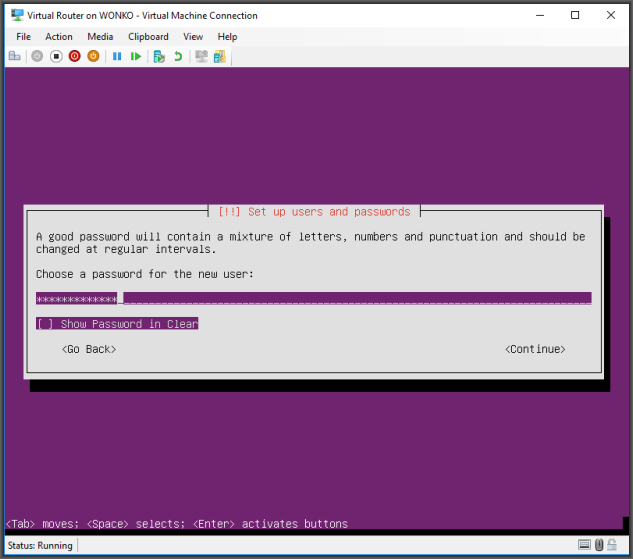

Enter the full name, the username and the password you’ll use to login to the router OS and hit <ENTER>:

If you want to encrypt your home folder (I don’t think it really matters for what I’m doing, but better safe than sorry, yes?), highlight “Yes” and hit <ENTER>:
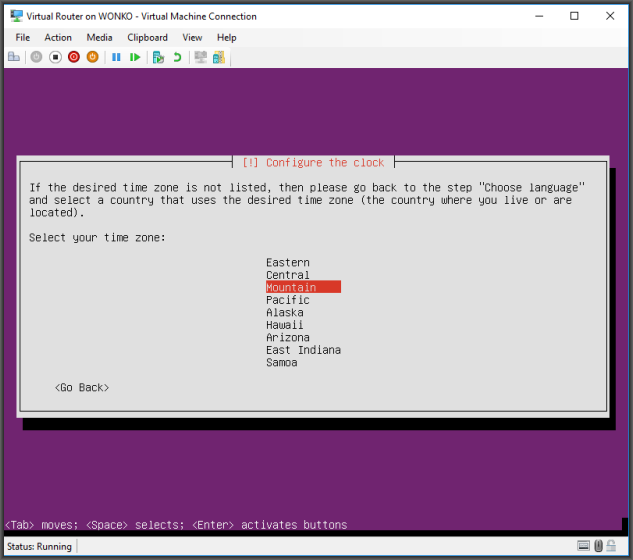
Select your time zone and hit <ENTER>.
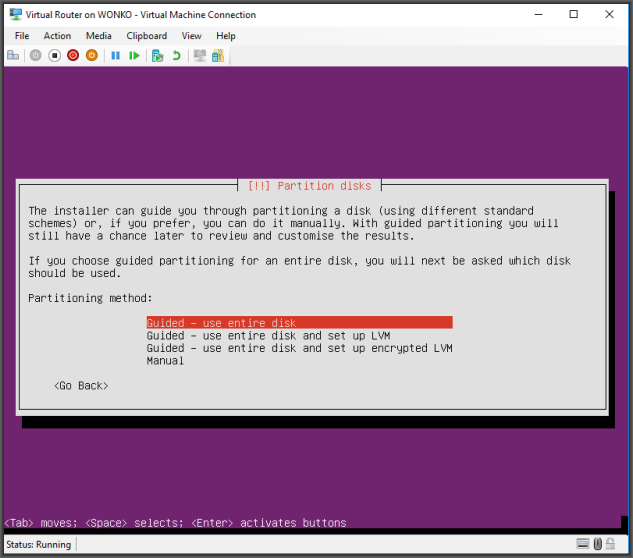
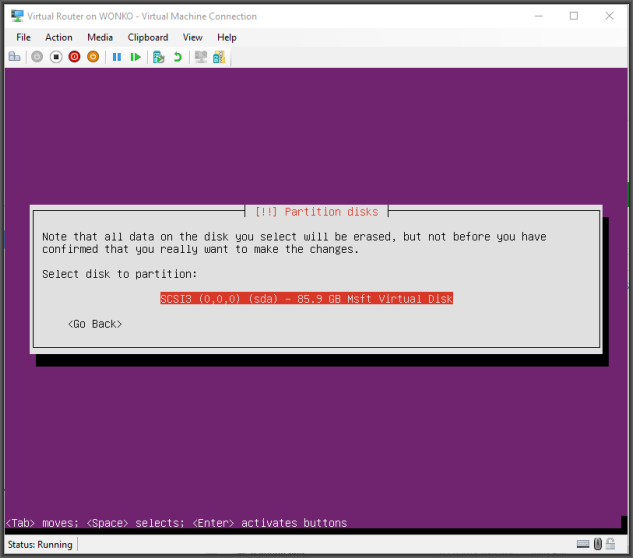
The next step is the disk setup. You have a lot of options for partitioning the disks. For what I’m doing, I don’t need anything fancy. So, I’ll just go with the easiest options:
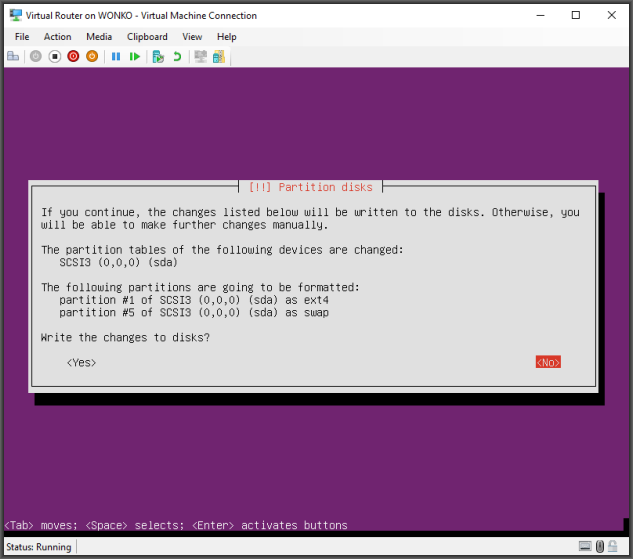
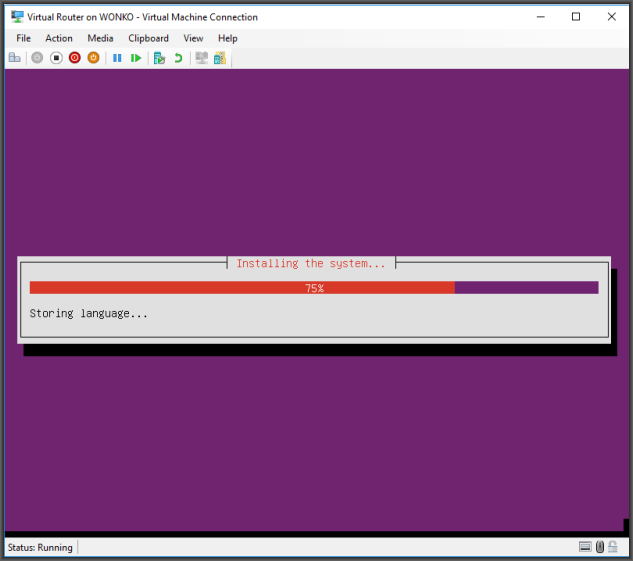
On the confirmation page, change your selection to “Yes” and hit <ENTER>. More progress bars:
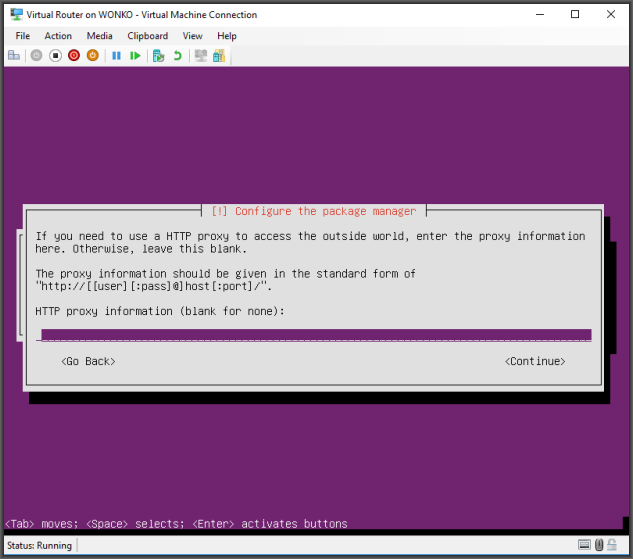
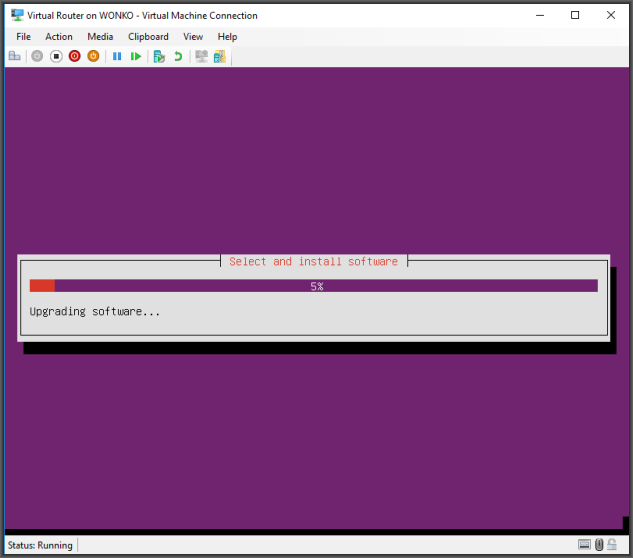
Unless you need one, which is highly unlikely, just leave the HTTP proxy field blank and hit <ENTER> so you can watch some more progress bars:
The next option gives the option of managing updates. I recommend installing security updates automatically. The other updates can always be downloaded manually:
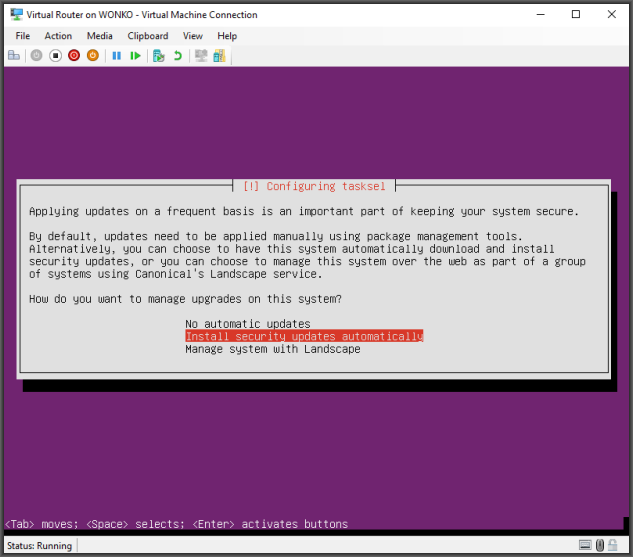
Highlight “Install security updates automatically” and hit <ENTER>:
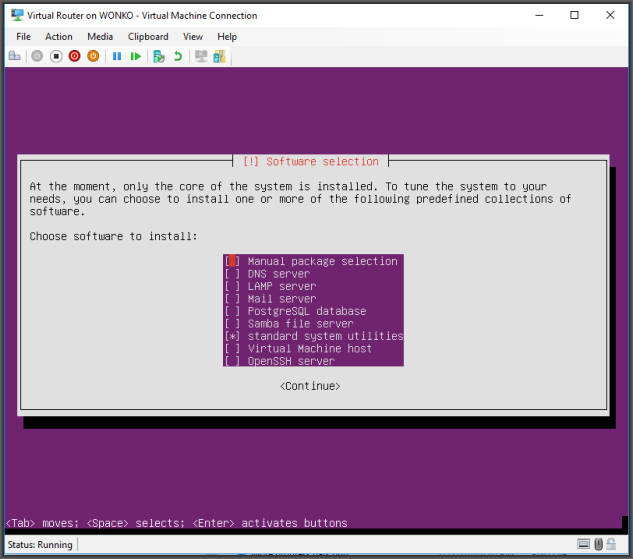
For my purposes, I need nothing but the very basics.
Leave this at the default settings (“standard system utilities”) and hit <ENTER> for another round of progress bars. After that, got GRUB?:
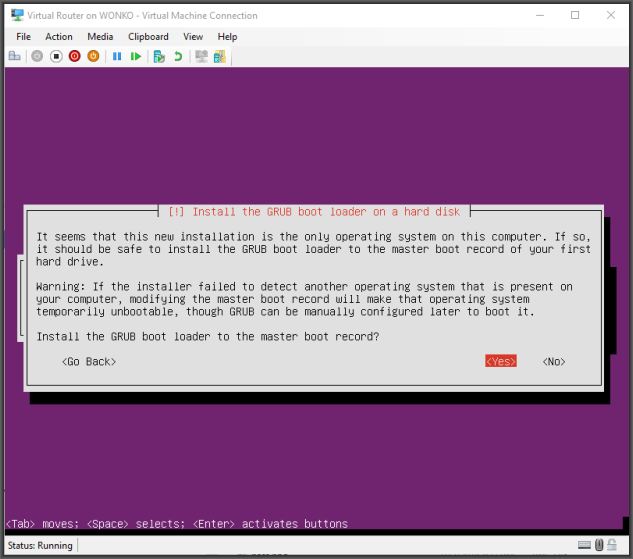
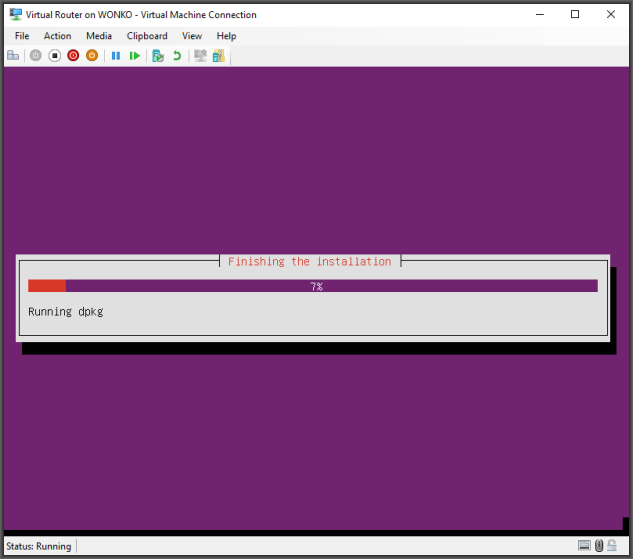
GRUB is fine. Accept the default value of “Yes” and hit <ENTER> for more progress bars and a friendly reminder to remove your installation media for the reboot:
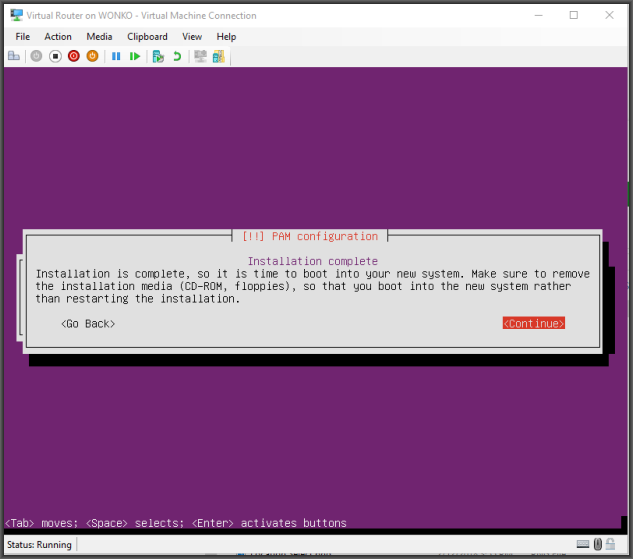
This wraps up the installation. If you found this helpful, please upvote below!
Have a question about something in this article? You can receive help directly from the article author. Sign up for a free trial to get started.
Comments (0)