HOW TO: Update the Vcenter Server password - Site Recovery Manager - Vsphere Data Protection


I hope the article will be very useful for all members of the community.
Introduction.
First, some basic concepts of the three services:
1- What is a vCenter?
vCenter is the centralized management console of Vmware since from here, we can manage all the objects in our inventory, such as virtual machines, datastore, virtual switches, folders, among other services.
2- What is the Site Recovery Manager (SRM)?
It is a Vmware utility, which allows replication from one vCenter to another; replication can be from storage to storage or from Host to Host.
3- What is Vsphere Data Protection (VDP)?
It is a tool responsible for performing backups and restores of the virtual machines that we have in our vCenter.
In my case, I use the account administrator@vsphere.local, to manage the three services, vCenter, SRM and VDP.
I had to make a password change in the three services for security reasons since some people who did not manage these services had knowledge of the previous password in productive environments; this is very delicate. So take the initiative to change the password.
Note: Once you update the password in the vCenter, the other two services will be affected since they will not work correctly, which is why we must update the password also in the SRM and VDP.
The process of updating the password is as follows:
1- Vcenter Server (Production Environment and Contingency).
2- Windows SRM Server (Production and Contingency Environment).
3- Reconfigure Main Site and Alternate Site in SRM. (Production Environment and Contingency)
4- Registration of VDP. (Production Environment and Contingency)
Tips that we must take into account:
a- To place the new password on the servers where the SRM was installed, they must authenticate with a service user account, not with a local account.
b- As we are working with SRM, the changes that are made must be executed in the Main Site and Alternate Site.
c- The registration of VDP, in the same way, must be done vCenter of Production and Contingency); otherwise, the backups will not be executed.
1-Password Change vCenter Server.
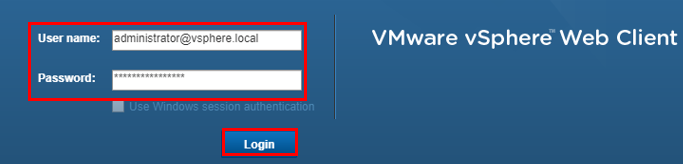
We will enter our Vcenter with our current credentials before proceeding to change them. (Image 1.1).
1.1.
Interface authentication of vCenter
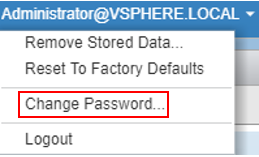
Once we enter the vCenter, in the upper right where the user administrator@vsphere.local is displayed, we will click on the arrow by sliding down. Select "Change Password".(Image 1.2).
1.2.
At this point we will do the following:
-In Current Password: we enter our current password.
-In New Password: the new password that we will use.
-In Confirm Password: we will confirm the new password. Then Click on Ok. (Image 1.3).
1.3.

2-Update a new password in Site Recovery Manager.
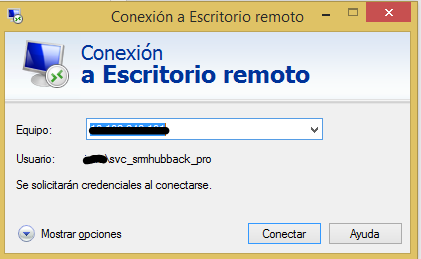
Connect via remote desktop to Windows server, where we install Site Recovery Manager. (Image 2.1).
Note: Authenticate to the server with the service user account with which you start the SRM service.
2.1.
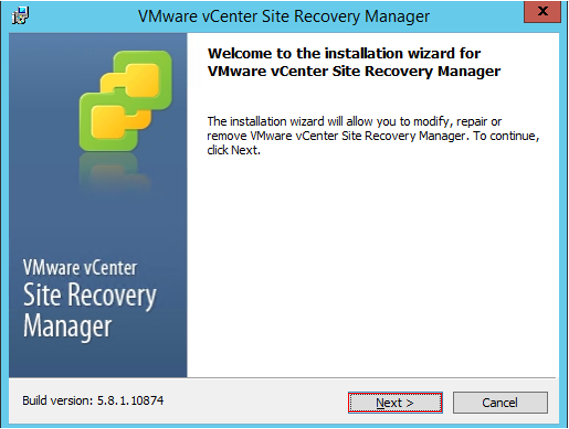
You must have a Vmware Site Recovery Manager executable to update the new password. Double click on the installer. (Image 2.2).
Note: In case of not having it go to the Vmware page and download it.
2.2.

The Site Recovery Manager installation wizard is displayed. Click on Next. (Image 2.3).
2.3.
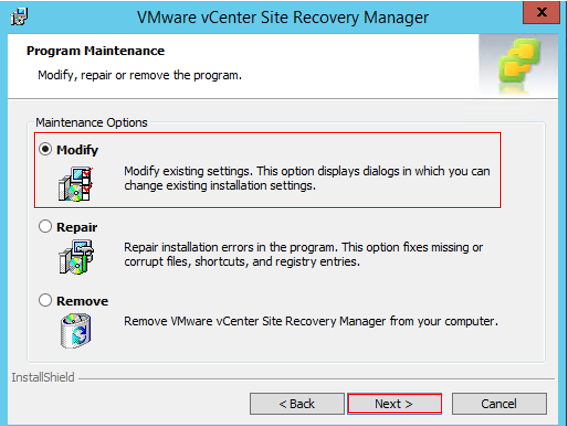
Select the Modify option. Click on Next. (Image 2.4).
2.4.
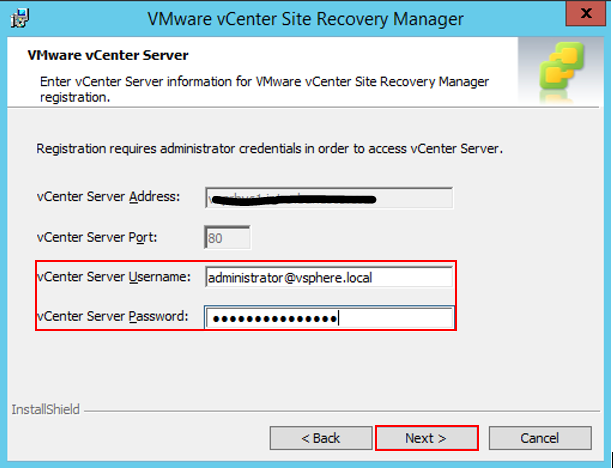
We will enter our new credentials for the user administrator@vsphere.local. Click on Next. (Image 2.5).
2.5.
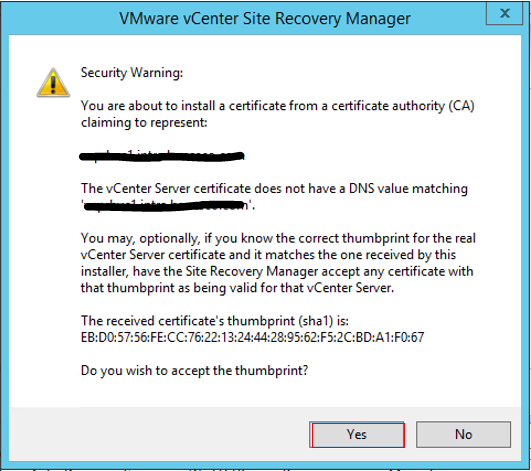
A warning about the Certificate of Authority is displayed. Click on "Yes". (Image 2.6).
2.6.
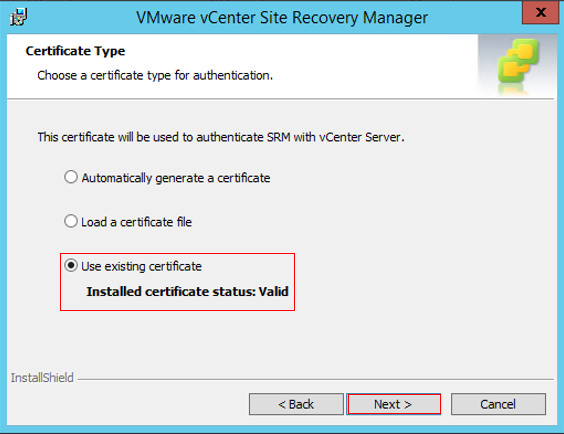
The interface of the Certificate Type is displayed. For my case, I will use an existing certificate. (Image 2.7).
2.7.
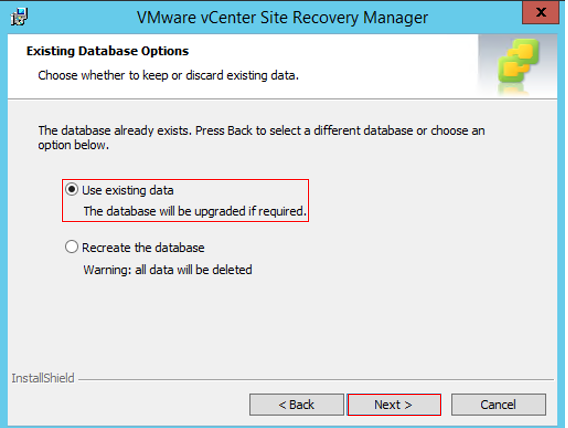
The database interface is displayed. In my case, I use the existing database. Click on Next. (Image 2.8).
2.8.
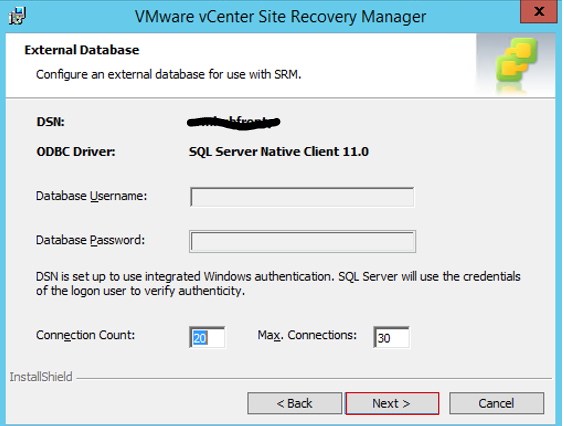
I select my external database. Click on Next. (Image 2.9).
2.9.
At this point, we will enter the credentials of our service user to execute the SRM. Click on Next. (Image 2.10).
2.10.

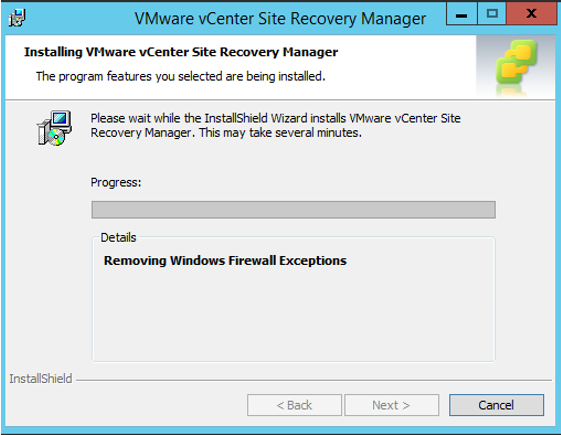
Then we click on Install. A progress bar will appear during the modification of the wizard. (Image 2.11 and 2.12).
2.11.

2.12.
Once the assistant finishes. Click on Finish. (Image 2.13).
2.13.

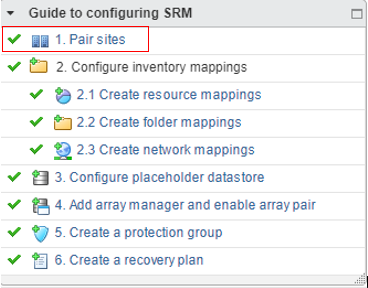
3-Reconfiguration of the Main Site.
Once the Site Recovery Manager wizard finishes, we will authenticate again in the vCenter and then enter the Site Recovery Manager. (Image 3.1 and 3.2).
3.1.
3.2.

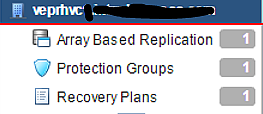
The Site Recovery Manager interface is displayed. Click on Sites. (Image 3.3).
3.3.

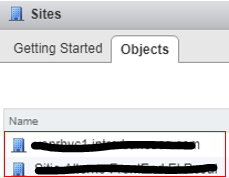
In the Sites tab, our Main Site and Alternate Site are displayed. Click on the Main Site. (Image 3.4).
3.4.
Enter credentials to authenticate to the Site Recovery Manager. (Image 3.5).
3.5.

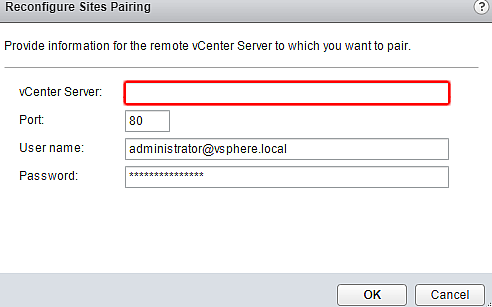
In the SRM, select the Main Site, right-click and select the option "Reconfigure Pairing". (Image 3.6 and 3.7).
3.6.
3.7.

Enter the new user password administrator@vsphere.local. (Image 3.8).
3.8.
It is visualized that the Main Site is already configured and enabled with the new credentials and working without problems. (Image 3.9).
3.9.
4-VDP registration in the vCenter.
Once the changes to the Sites have been made, we must register our Vsphere Data Protection in the vCenter with the new credentials.
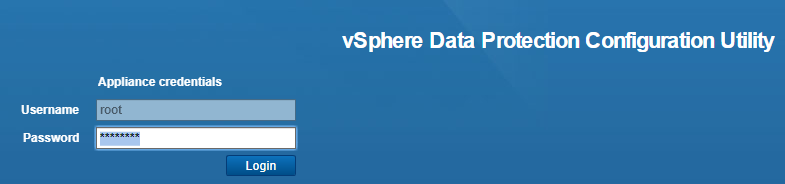
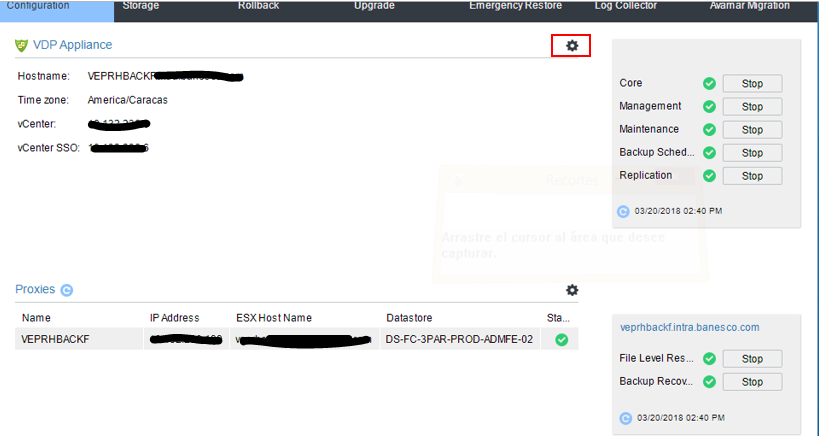
In this step, we must enter the Vsphere Data Protection Configuration Utility link. Here we will authenticate with the root user, which is the default user when the VDP is deployed for the first time. (Image 4.1).
4.1.
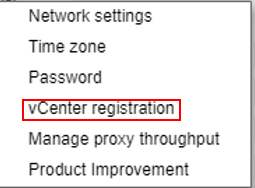
The main interface of the VDP Configuration Utility is displayed. Click on the icon that I am marking in a red box. Select vCenter Registration. (Image 4.2 and 4.3).
4.2.
4.3.
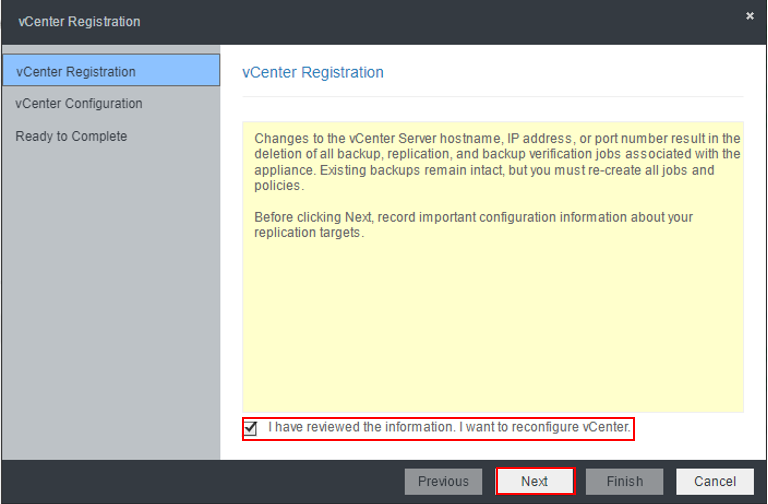
The vCenter Registration interface is displayed. Enable "I have reviewed the information. I want to reconfigure vCenter.". Click on Next. (Image 4.4).
4.4.
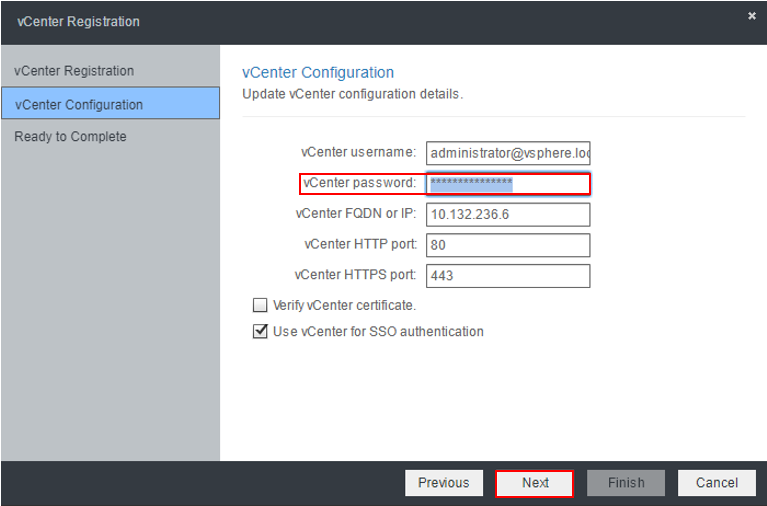
Enter the new authentication credentials of the vCenter. Click on Next. (Image 4.5).
4.5.
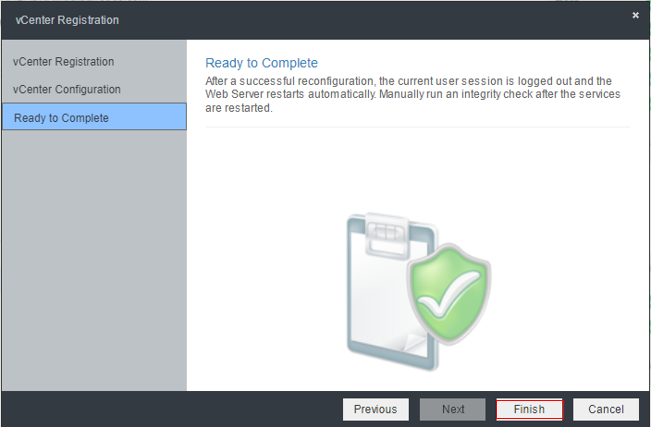
Click on Finish to start the VDP registration. (Image 4.6).
4.6.
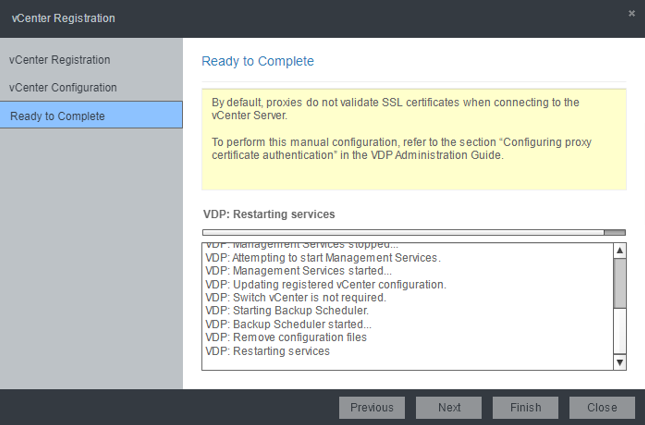
A progress bar is displayed, validating all services and VDP configurations. (Image 4.7).
4.7.
During the registration process, once it finishes, there will be a reconnection of the configuration utility, and it will take you back to the authentication interface. During this stage, the registration process was successful. (Image 4.8 and 4.9).
4.8.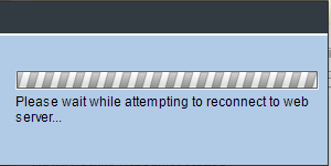
4.9.

It is noted that the backups were executed satisfactorily in the VDP. (Image 4.10).
4.10.

Congratulations, all the changes made were successful.
Have a question about something in this article? You can receive help directly from the article author. Sign up for a free trial to get started.
Comments (0)