Migrate Outlook PST to Office 365 Exchange Online by Azure AzCopy tool


Office 365 Suite is a cloud platform that has seen a huge surge in popularity. Often people want to back up their Outlook PST files in Office 365 by importing. This is undoubtedly a useful way to backup PST file. However, most users do not know how to migrate Outlook PST to Office 365 Exchange Online.
This post will provide the complete guide to the process of PST to Office 365 migration. Readers will know the methods after going through the write-up and be able to export PST for backup or any other reason. Before going to the methods to upload PST file to Office 365, we will read a related user query.
“In our organization, we have started to use Office 365 recently. I want to backup my Outlook data by importing PST file to Office 365 cloud. I heard this is a good solution to Outlook backup but do not know how to perform it. If anyone knows, kindly come forward and share.”
Learn Techniques to Migrate Outlook PST to Office 365 Webmail
When it comes to transferring your PST file to Office 365, users can implement two different techniques. This post is going to shed light on both techniques so that users can choose according to their choice.
#1: Manual Method to Import Outlook PST File to Office 365
In the manual process, we use Microsoft Azure to perform the PST file transfer. However, users must obtain permission to Import Export Mailbox. This is one of the compulsory conditions of this method. As the process is quite lengthy, we have divided into five sections.
Part I: Download Microsoft Azure AzCopy Tool
- Visit https://protection.office.com and sign in with your organization’s Global Admin account.
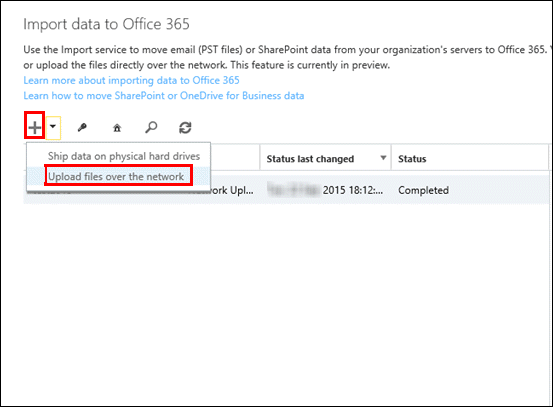
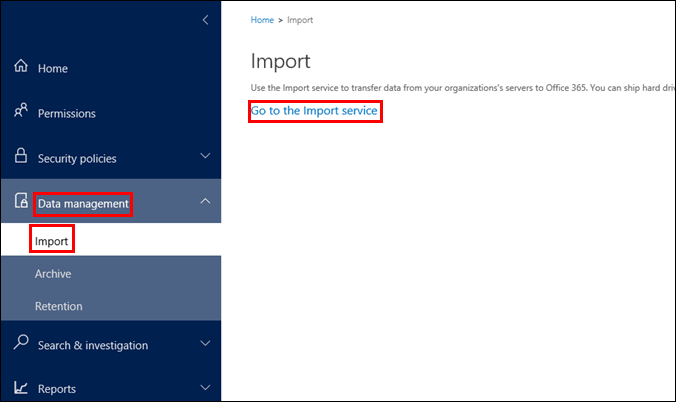
- Click on Data Management from the left panel and then click on Import >> Go to the Import service.

- Click on + icon to make a drop-down menu appear. Choose ‘Upload Files Over the Network’ from the list.
- From the next page, download Azure AzCopy by clicking on “Download Tool” link.

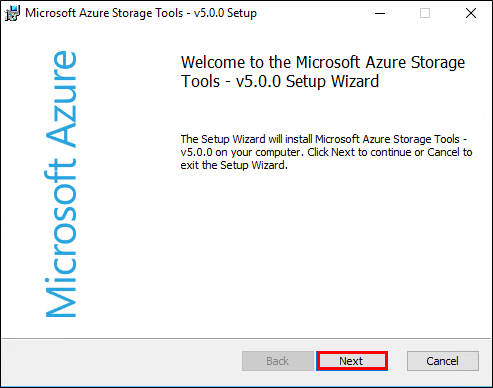
- Click on Run button to import PST file to Office 365.

- Click Next on the setup page of Azure AzCopy.
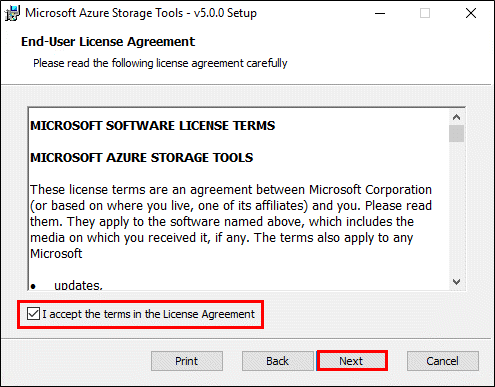
- Tick to agree to the license agreement and click on Next.
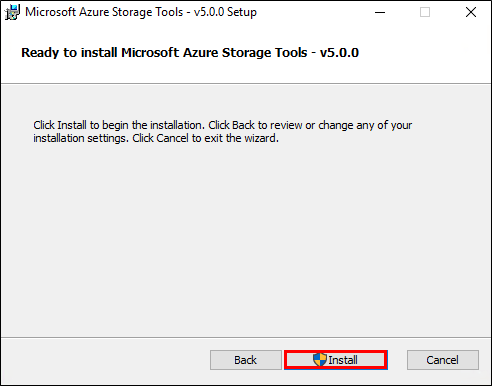
- Accept the default location for installation.
- Click Next >> Install.
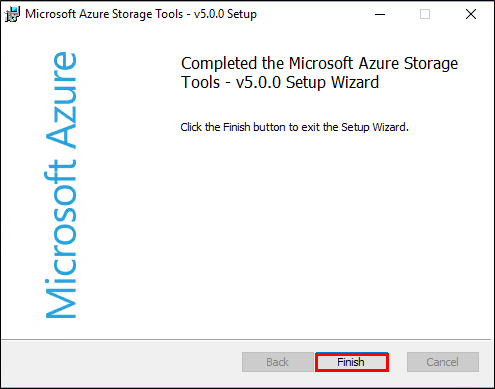
- Click Yes >> Finish to complete the process.
Part II: Collect “Storage Key” & “Upload URL”
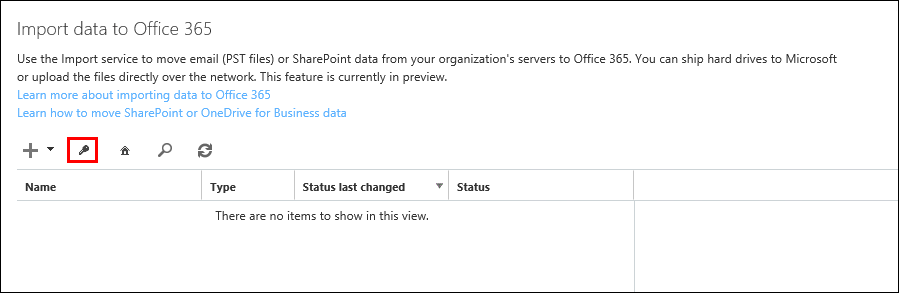
- Open “Import Data to Office 365” page.
- Click on the Key icon of this page to save secure key and URL in a secured place.
- Now click on Copy Key. The full process may take almost five minutes to get finished.
- Then users have to click on Show URL for PST Files links.
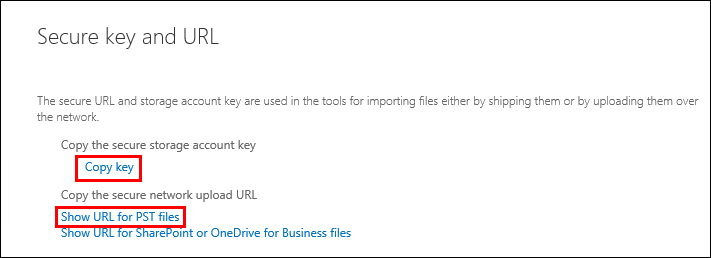
- Copy both the key and URL because these will be needed in the next part.
Part III: Upload PST File to Office 365
- Open the system where AzCopy is installed. As Admin, run the command prompt.
- Go to the directory path of AzCopy.
- Run the below command. This will upload the PST file.

In this command,
\\SERVER01\PSTshare is the PST file location. If you have multiple PST files there, AzCopy will upload all PST files.
C:\PSTshare\Uploadlog.log is the location of the log file on the local system.
Part IV: Create CSV File for Mapping PST
- Users need to download ‘PST import mapping file’ from Microsoft’s site.
- Enter all required information in the CSV file. Each line should be used for a single PST file you have uploaded and fill as many lines as you need.
- c) Save the complete CSV file in a safe place.
Part V: Create Import Job in Office 365
- Users have to go to https://protection.office.com again and sign in with the account of Global Admin.
- Again, click on Data Management >> Import >> Go to the Import Service options consecutively.
- Click on the + icon to choose “Upload Files Over the Network” option.

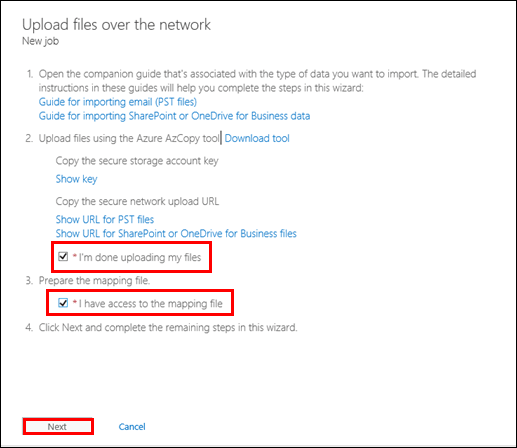
- There will be two options namely I’m done uploading my files and I have access to the mapping file. You need to check both the options and then click Next.
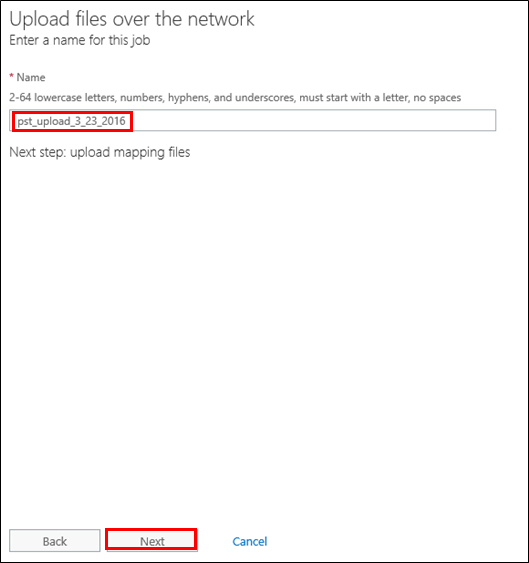
- You have to add a job name and then click Next.
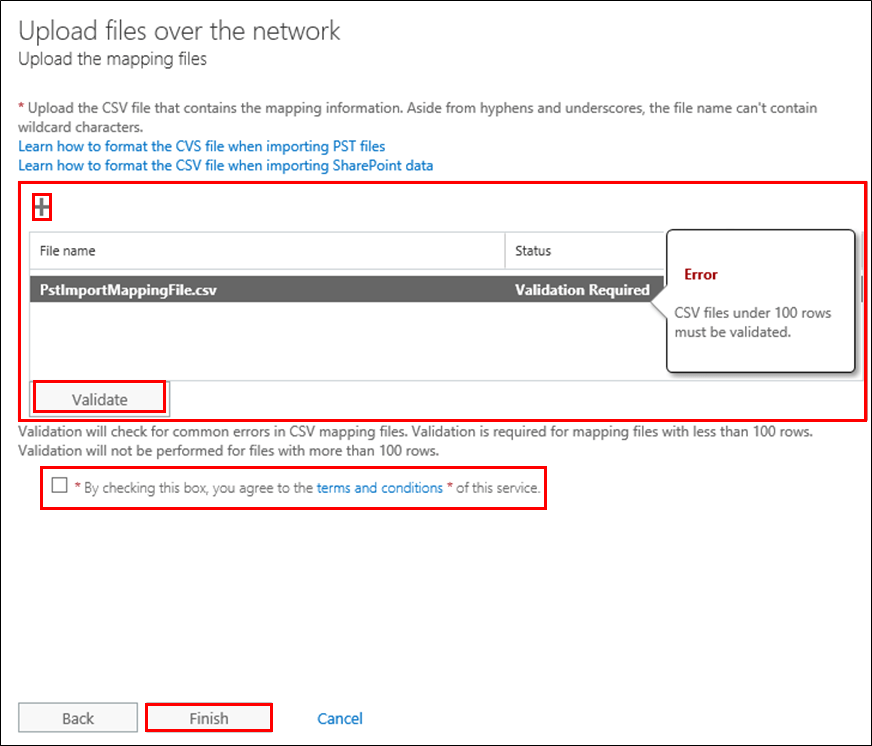
- Add the PST mapping file by clicking on the + icon. Click validate if your file contains less than 100 rows. Tick for terms and conditions and click on Finish.
- Click Close.
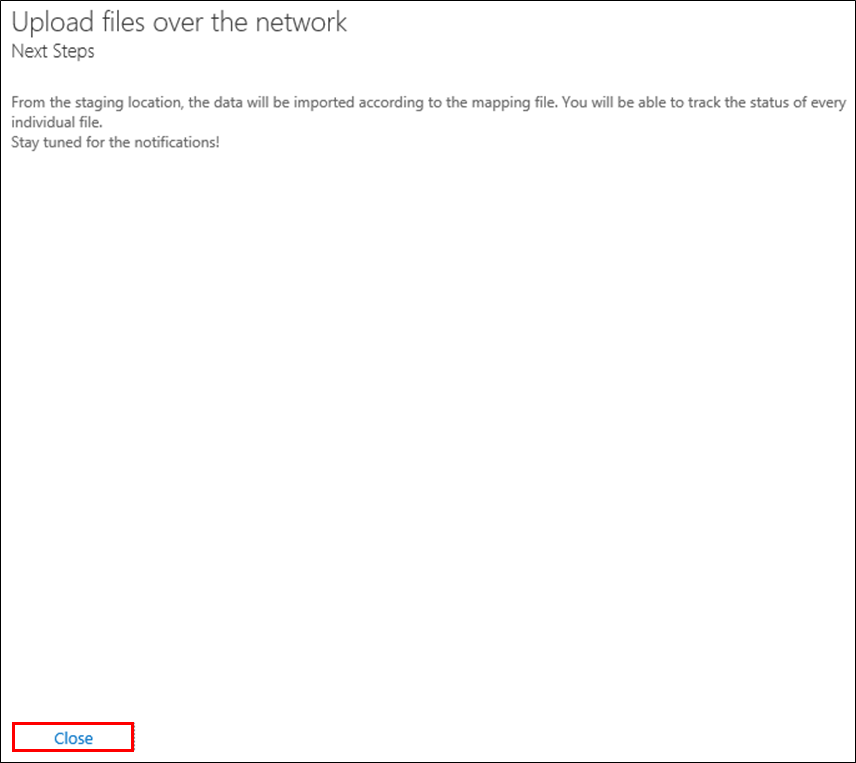
- Office 365 will begin to import PST files in Office 365. the current status of the process can be checked by going to Office 365 Admin Center and opening Import tab. Clicking on Refresh button will update the status.
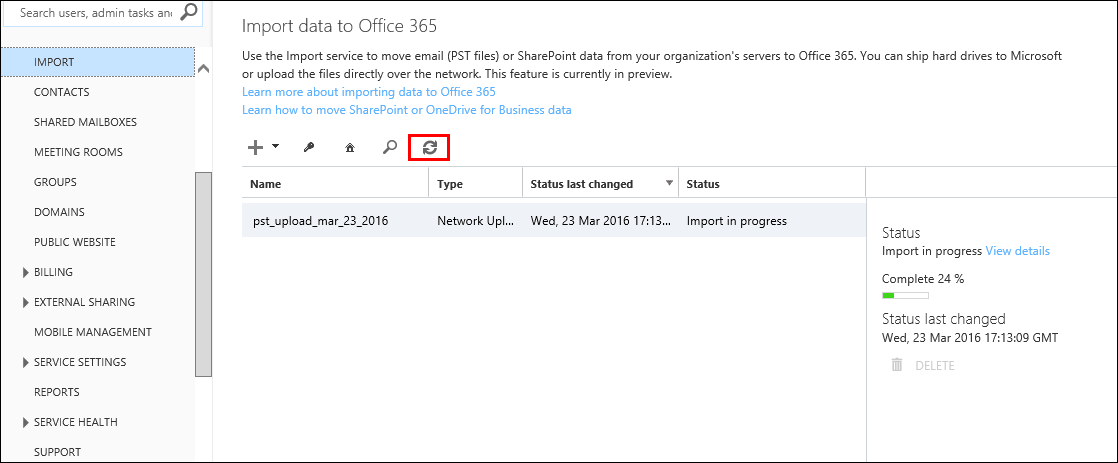
- Look out for any error or the completion notification during the import process. If any error occurs. Click on the particular job and select View details.
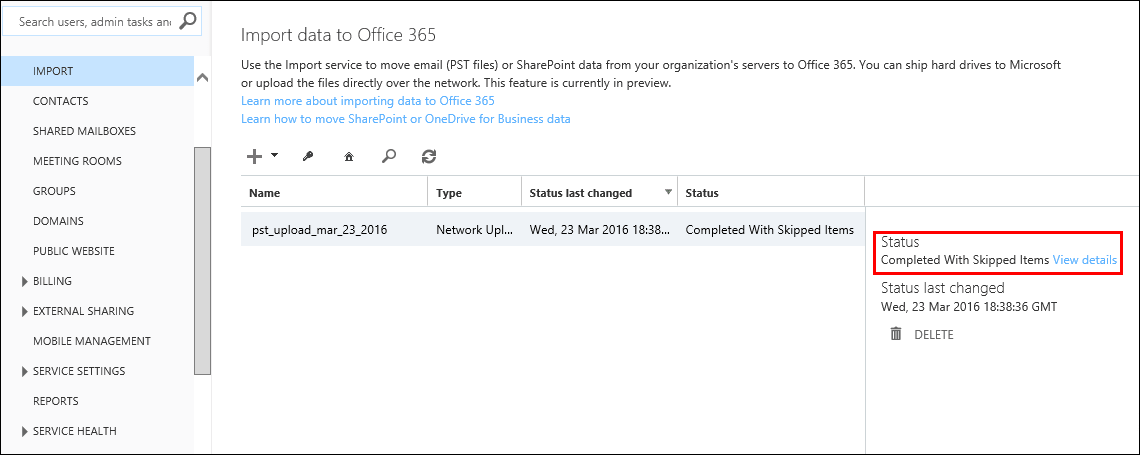
Now, your PST file has been successfully imported in Office 365 cloud.
Disadvantages of PST to Office 365 Migration
This method we have just mentioned is not an easy one to perform. It is not only complex and lengthy, it also requires Global Admin credentials to import PST file to Office 365. All these shortcomings make this process a difficult and complex one. As a result, people always look for another technique when it comes to transferring PST files into O365.
#2: Trouble-free Method to Move PST Files to O365
To avoid all these shortcomings of the manual methods, you may try a trouble-free method of using Office 365 Import PST Tool. This software migrates Outlook PST files into Office 365 cloud. All data items of PST file including emails, contacts, and calendar is possible to import to Office 365 by using this tool. You do not have to worry about exporting email attachments as it transfers the attachments also. If users want, they can migrate selective data items of the PST file. Here are the basic features of Office365Import tool:
- Imports all PST file items to Office 365 cloud
- All items of Outlook PST file can be exported
- Facilitates attachment export to MS Office 365
- Maintains all metadata intact after migration from Outlook PST to Office 365
- Both selective and complete PST export available
- Allows incremental import from the same PST file
Conclusion
The above discussion explores different ways to migrate Outlook PST to Office 365 Exchange Online. By reading this post, users can learn how to import PST File to Office 365 Cloud. As the manual method is a hard method to implement, users should choose the mentioned application. This tool will seamlessly migrate all PST items to Office 365 and save you from all the trouble of performing manual PST to Office 365 migration.
Have a question about something in this article? You can receive help directly from the article author. Sign up for a free trial to get started.
Comments (1)
Commented: