
This is a story (not really a “how-to” article) about reinstalling Windows 10 on my Lenovo Desktop computer. I wrote this article to assist and to give confidence to those who wish to, or need to, completely reinstall Windows.
My desktop computer is one that I got some time in 2016 and right now it has about 600 days of Lenovo warranty remaining. I purchased it with two 1-TB hard drives and had been using the second drive as a third backup of my files and documents. I keep most of my files and documents on my laptop computer and synchronize these files back to the main hard drive of the desktop computer with Sync Back Pro. I use Sync Back Pro to add the new files to the backup drive.
The second (backup) drive failed earlier this year. It is sitting on my bench downstairs and I cannot read it either on the computer or in a USB carrier. I cannot see it, so Recuva and like tools do not work. It has older files and other files along with my documents and files described above, and I need to decide in the next month or so whether to spend the money to recover the files from the defective drive.
In any event, I need to replace the drive, and I wish to keep the old drive in the event I send it out for recovery, so having Lenovo replace it under warranty does not serve my purpose. Earlier this year, I ordered a Samsung 860 EVO 2-TB SSD drive as a replacement for the failed drive. Upon receipt of the SSD drive, I thought to myself “It would be silly to install the SSD drive as the second drive. Why not install it as my main drive?” But of course, installing the SSD drive as the main drive involves backing everything up and reinstalling Windows.
How shall we approach this project? In terms of things you need to do a project like this, all you need is the new drive, the Recovery USB Key from the Manufacturer and the Manufacturer’s instructions. That will allow you to proceed.
I have not done a recovery from Lenovo OEM Media since 2003 (my XP laptop back then). Even in 2008, when I installed Windows 7 Pro on my Vista computer, I used a Retail license for Windows 7 (not an OEM license). Using an OEM recovery media resulted in one surprise for me, and there were several other surprises along the way which is the subject of this story.
As a bit of additional background, I am not new to Windows 10. I decided to move to Windows 10 before it even came out in production in 2015 by running a pre-release version as a virtual machine. I upgraded my Lenovo X230 laptop that was running Windows 8.1 to Windows 10 in August 2015. I got a new Windows 10 Pro laptop in 2016 and a new Windows 10 Pro Desktop in 2016 as well. These came with OEM licenses. If you want to reinstall Windows 10 on these machines on a new drive, you either need to have the Vendor Recovery Media or purchase a new license for Windows 10 from Microsoft. I already had recovery USB keys from Lenovo for both my Lenovo computers.
I needed time to do the reinstall and I decided to do it on Easter weekend 2019 (Friday, April 19 through Monday, April 22, 2019, inclusive). I started to write this article on Sunday, April 21, 2019, while the project was fresh in my mind. I did not have any clients booked for that holiday weekend and reinstall did not interfere with our family events.
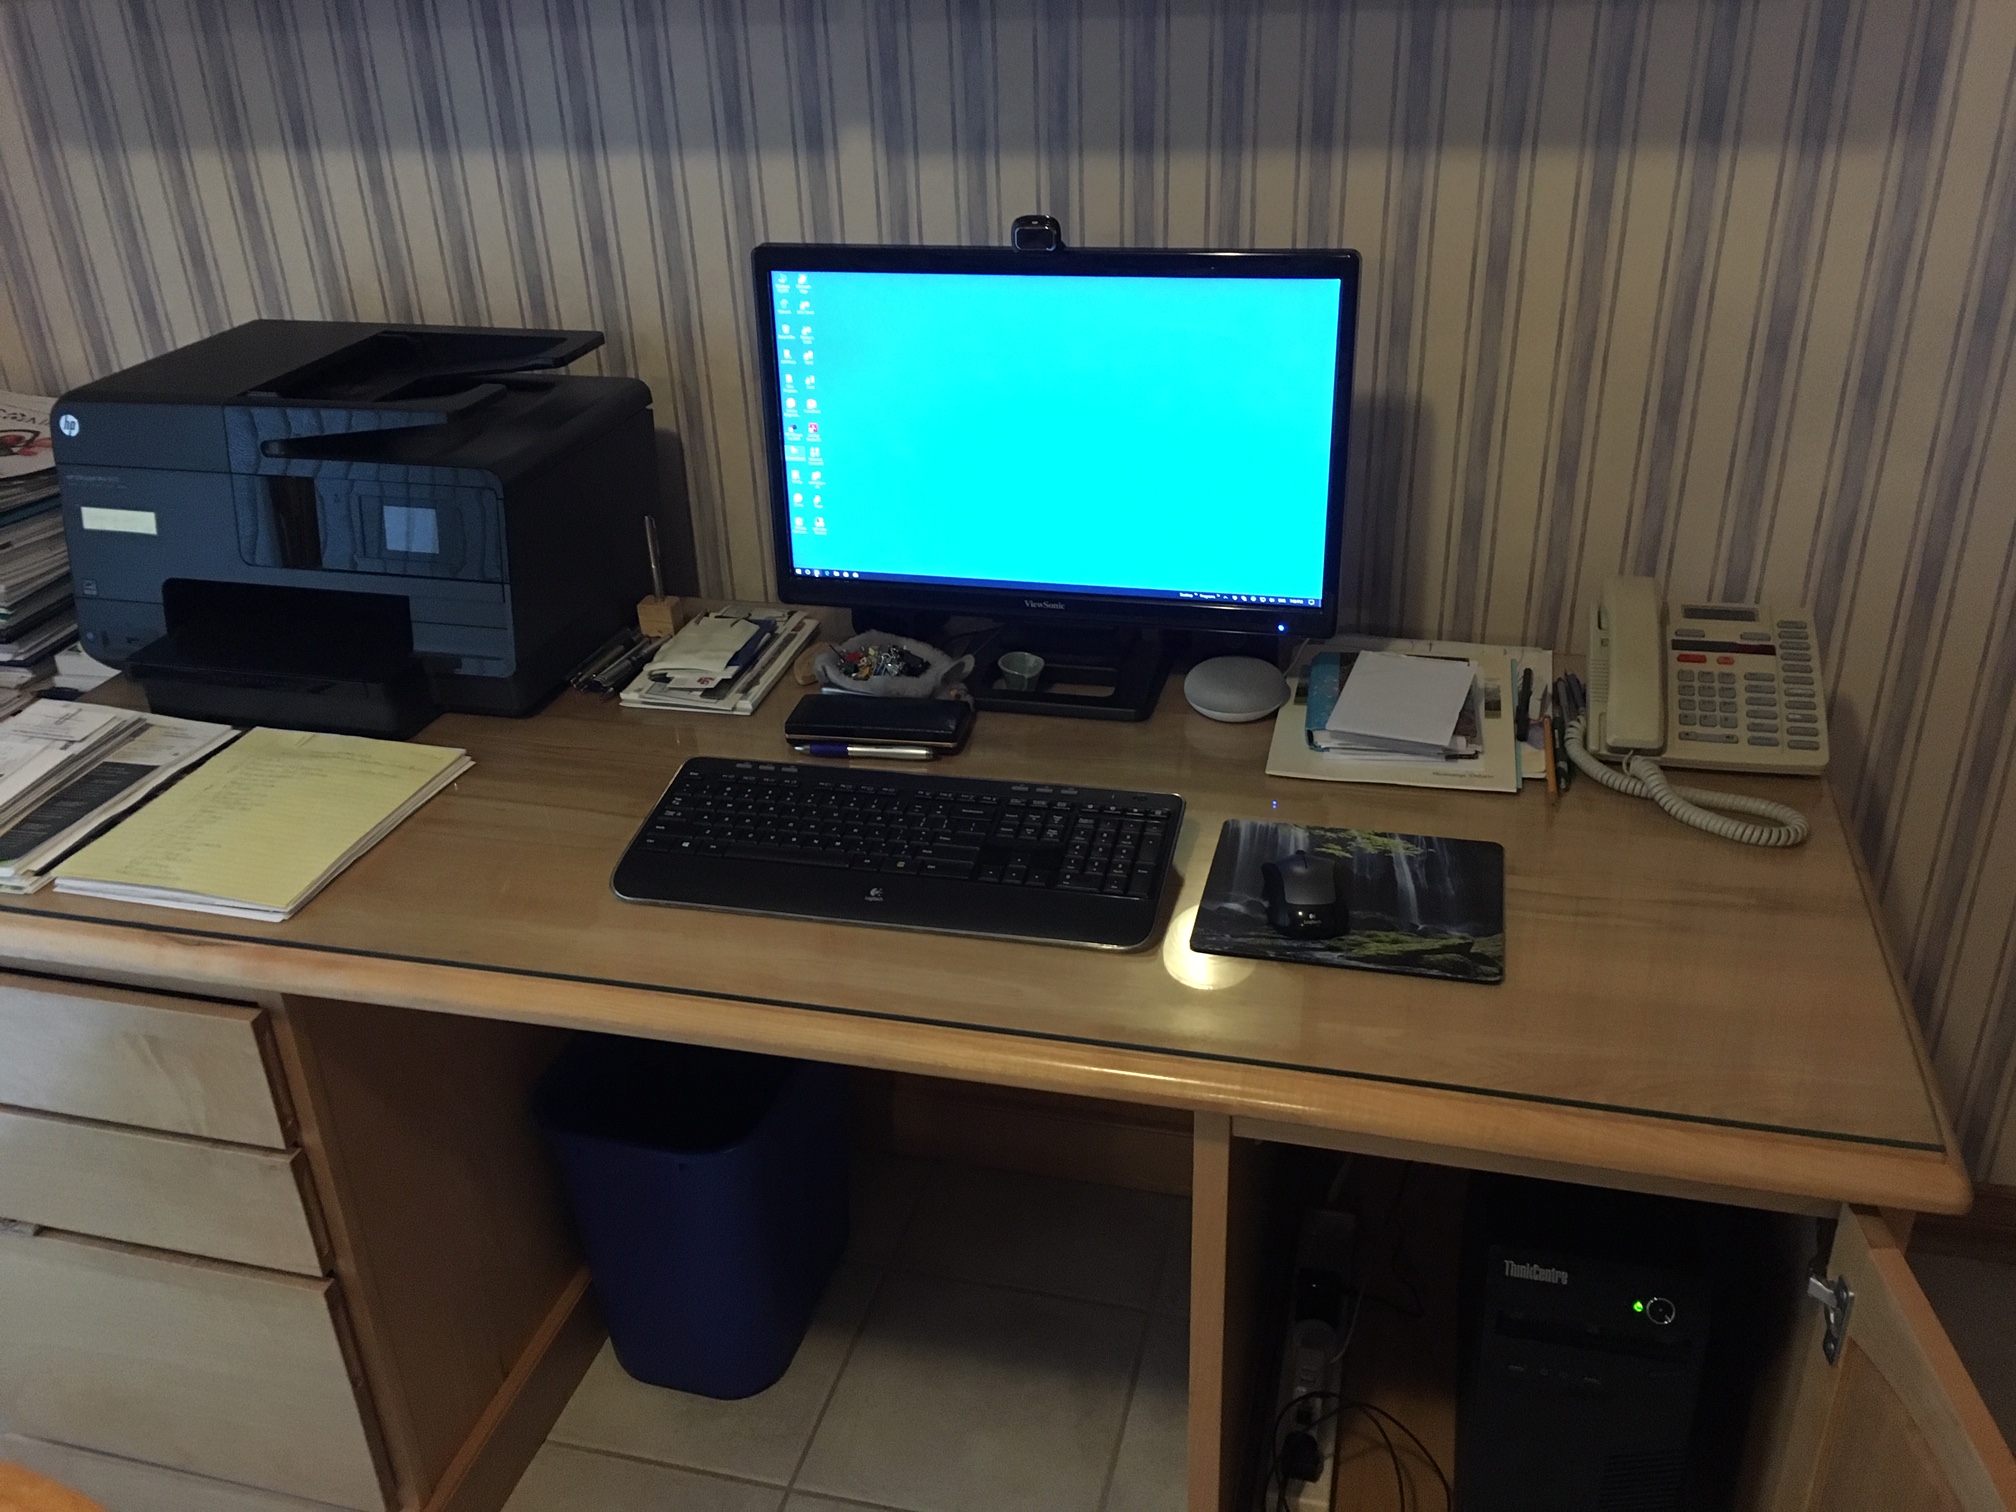
I assumed that but did not know for sure if the Desktop BIOS and SATA adapter would accept the SSD Drive. The only way to know conclusively was to try. I started Thursday evening (April 18) to adopt the new hardware into the computer. The Samsung drive is in an aluminum enclosure about the size of a small smartphone, and the hard drive bay is for a 3.5-inch hard drive. I ordered an adapter caddy to hold the SSD drive. The plastic adapter had holes in the side but not the bottom. The drive fits sideways (vertically) in the Desktop tower chassis, so I needed to drill tiny pilot holes for number 4 self-tapping screws in the bottom of the adapter. I did that, installed the drive, vacuumed out the computer, the cabinet and around the cables in the cabinet that holds the tower and made ready to start up. You can see the setup below here with the computer tower in the cabinet on the right.
Part 1: Recovery.
The Lenovo instructions with the USB Key said to ensure the BIOS settings were default. I knew that to be the case and I knew BIOS was current (having updated the BIOS a week earlier). The instructions said to power on, press F12 repeatedly, and select USB as the start device. I did that. Nothing for 30 to 60 seconds (twitch); then the Lenovo trademark on screen; and then the recovery began (joy!). It took about an hour for the recovery to complete.
First surprise: It should not have been a surprise, but I have never done a modern recovery like this. Near the end of the recovery process, I saw a small Sysprep window. This is obviously the step in the setup that makes the Manufacturer’s OEM volume license to be my own Windows 10 license when I register it. This is the step that assures my machine remains activated permanently. The recovery completed and the machine started up.
Second surprise: Still Thursday evening. I looked at System Update and it was trying to update to Windows 10 V1511 from the original recovery version. That completed but did not demand a restart (normally it should) and the update process kept right on going to V1809 direct in a single jump from V1511. That was indeed a surprise. I knew you could skip a couple of versions, but this skipped about five versions. It took a very long time – about 2 hours. That seems to make sense because every item of the operating system would need to be changed and updated. Upon restart, there were still some updates to do in order to be completely current. I did the updates, removed the SSD drive, put in the old hard drive, started up to be sure and then shut down for the evening. I had not yet recovered my email and other files from the old hard drive, so this was a necessary step.
Part 2: New Setup.
Friday morning April 19, I started up, hooked up my USB hard drive, copied email, favorites, and some other stuff to the USB hard drive. Then I deactivated Office and a number of other applications that keep track of the number of installations. This was somewhat time-consuming to ensure I could install the same applications on my “new” desktop. When that was complete, I put the SSD drive back in the machine, set up access for my laptop to network to it and copied 75 GB of files and documents from the laptop to the desktop. I set up WinZip, my password application, my HP 8610 printer and then set up personalization and my desktop settings.
Email was starting to arrive on my laptop so there was a need to install set up Office. I have a subscription to Office 2016, went to the Microsoft Account login page and installed Office. I noticed that One Note 2016 seemed to be missing. When I tried to find it, indeed it had not been installed. I remember that it had been installed when I originally set up the desktop computer in 2016.
Third Surprise: I know from my attendance at the Microsoft MVP Global Summit in March 2019 that development of One Note 2016 had ended, and Windows 10 Modern One Note is the replacement. That will be for another time and right now I wanted my traditional One Note. I Googled for One Note 2016 and instantly found it along with the admonishment that development has stopped. I clicked on the install and it failed!
What I should have also remembered (I heard this at the Global Summit) is that beginning in 2019, the default Office install will be 64-bit going forward. My laptop is using Office 2016 32-bit. So I went back to the One Note site, found One Note 2016 64-bit, installed it and it all worked with my existing notes. I set up Outlook – one Profile for me with 3 accounts and one PST file and one Profile for my wife with 1 account. I use a desktop shortcut to run Outlook with the desired Profile. This allows us to have one Windows User Profile (Account) and two different Outlooks. We remember to keep our own Outlook closed when not using it because you cannot run two Outlook Profiles simultaneously.
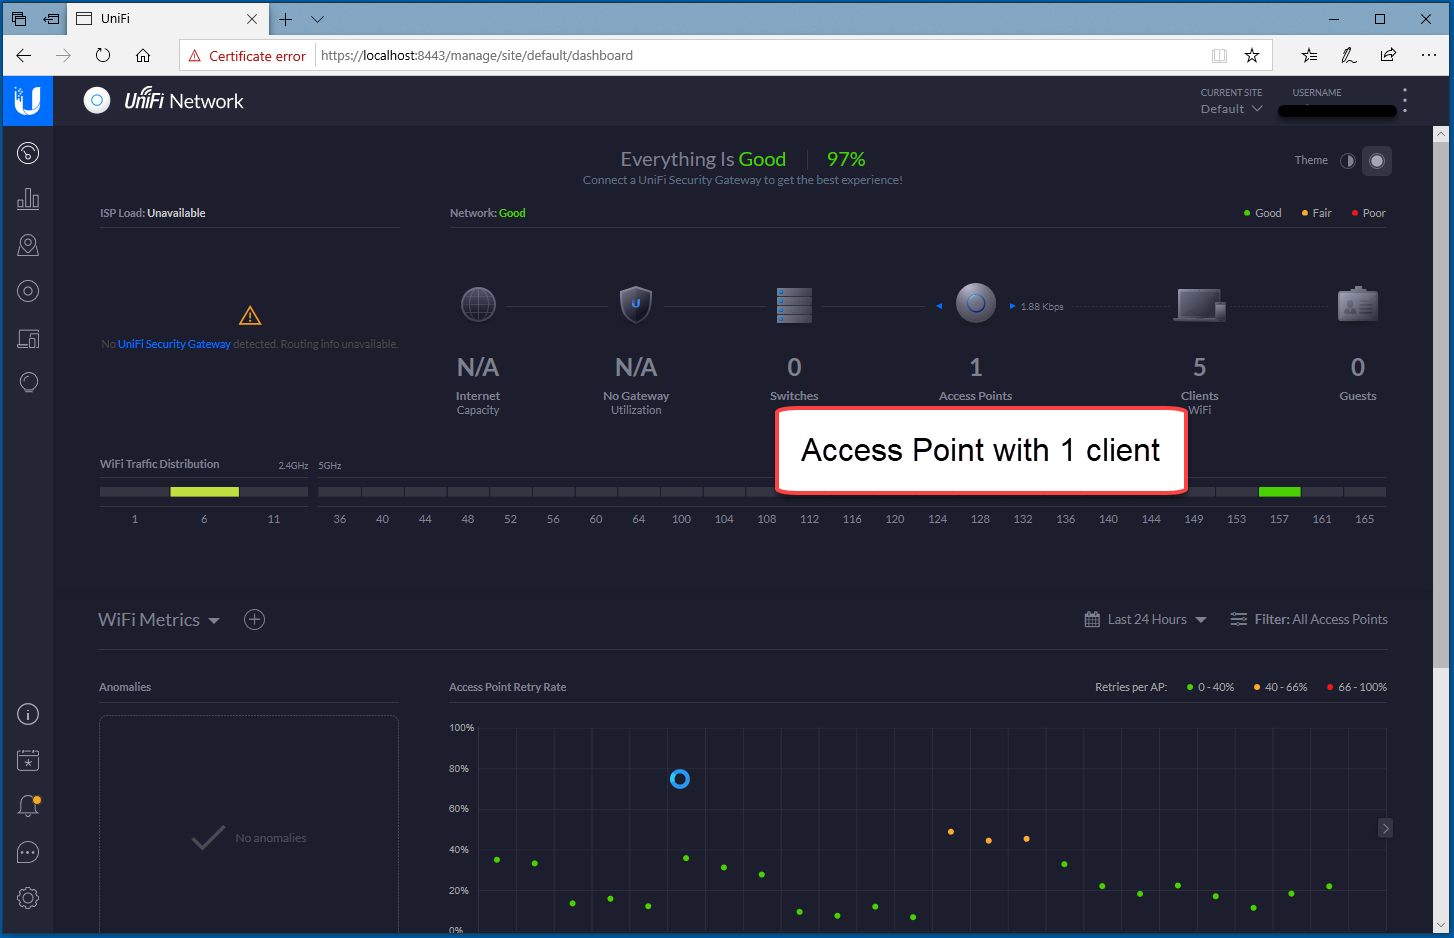
I started the installation of Adobe Reader, xPlorer 2 (my outstanding replacement File Manager), Radmin Server, Skype, Lenovo applications and so on. I made sure document syncing between machines with Sync Back Pro, printing and email were all working perfectly. I continued installing software and by mid-Friday afternoon, I decided to install the Ubiquiti Unifi controller software (this needs Java JRE 8 and so I installed Java JRE 8u211 32-bit). The Ubiquiti Controller software runs the Ubiquiti Access Point in my upstairs office, so I needed to install this.
Fourth Surprise (and a BIG one): I restarted the Ubiquiti Access Point and it could not be found in the Controller Software. It had been working just fine in my prior desktop setup. I restarted all the network components, ensured the correct Wi-Fi security and passphrase and nothing! The Controller could not see the Access Point.
The whole point of the Ubiquiti Access Point is to provide solid Wi-Fi to my upstairs office so for it to not work is not really acceptable. It was not likely to be a hardware issue (same computer, same Access Point, same wiring, same routers). After some thought and some experimenting, I clicked on Chat in the Controller Software (3:30 pm or so my time on Good Friday). After a short wait, I was relieved that a support person came on to the Chat screen and we started.
Is the AP hooked up and on? Yes
What color is the LED? Blue and Solid.
More questions and answers.
Try resetting the AP. I was chatting on the Desktop computer main floor, the Access Point is upstairs, and the routers and hookup are in the basement. So, there was some running upstairs and downstairs to answer the questions. I reset the AP but there was no change after the reset.
Try resetting again but this time hold down the reset button for 30 seconds or more. I did this and now the Access Point LED was flashing non-stop (not good because that means it is not connected).
It appears the Access Point has not been adopted because it was on a different system (old hard drive) What do you mean “adopted”? I have not used the word “adopted” in the same sentence with Wireless any time that I have set up Wireless.
Unfortunately, I will have to exit this Chat (dinner time), but I will work on your comment about “adoption”.
I shut everything off except the ISP modem and my laptop and stopped for dinner. After about an hour, I restarted everything (no change in the AP) and started the Controller Software. I looked at the dashboard and I see the Access Point is not connected. I then tried double clicking on the Access Point icon (no need to do this before) and then I could see small red print that said, “Not adopted”. Over on the right, there was another message/icon that said, “Do you want to adopt this AP?” Yes! by all means, Yes! I waited a few moments and the Access Point lit up with clients saying everything was good (I had left the laptop upstairs beside the Access Point).
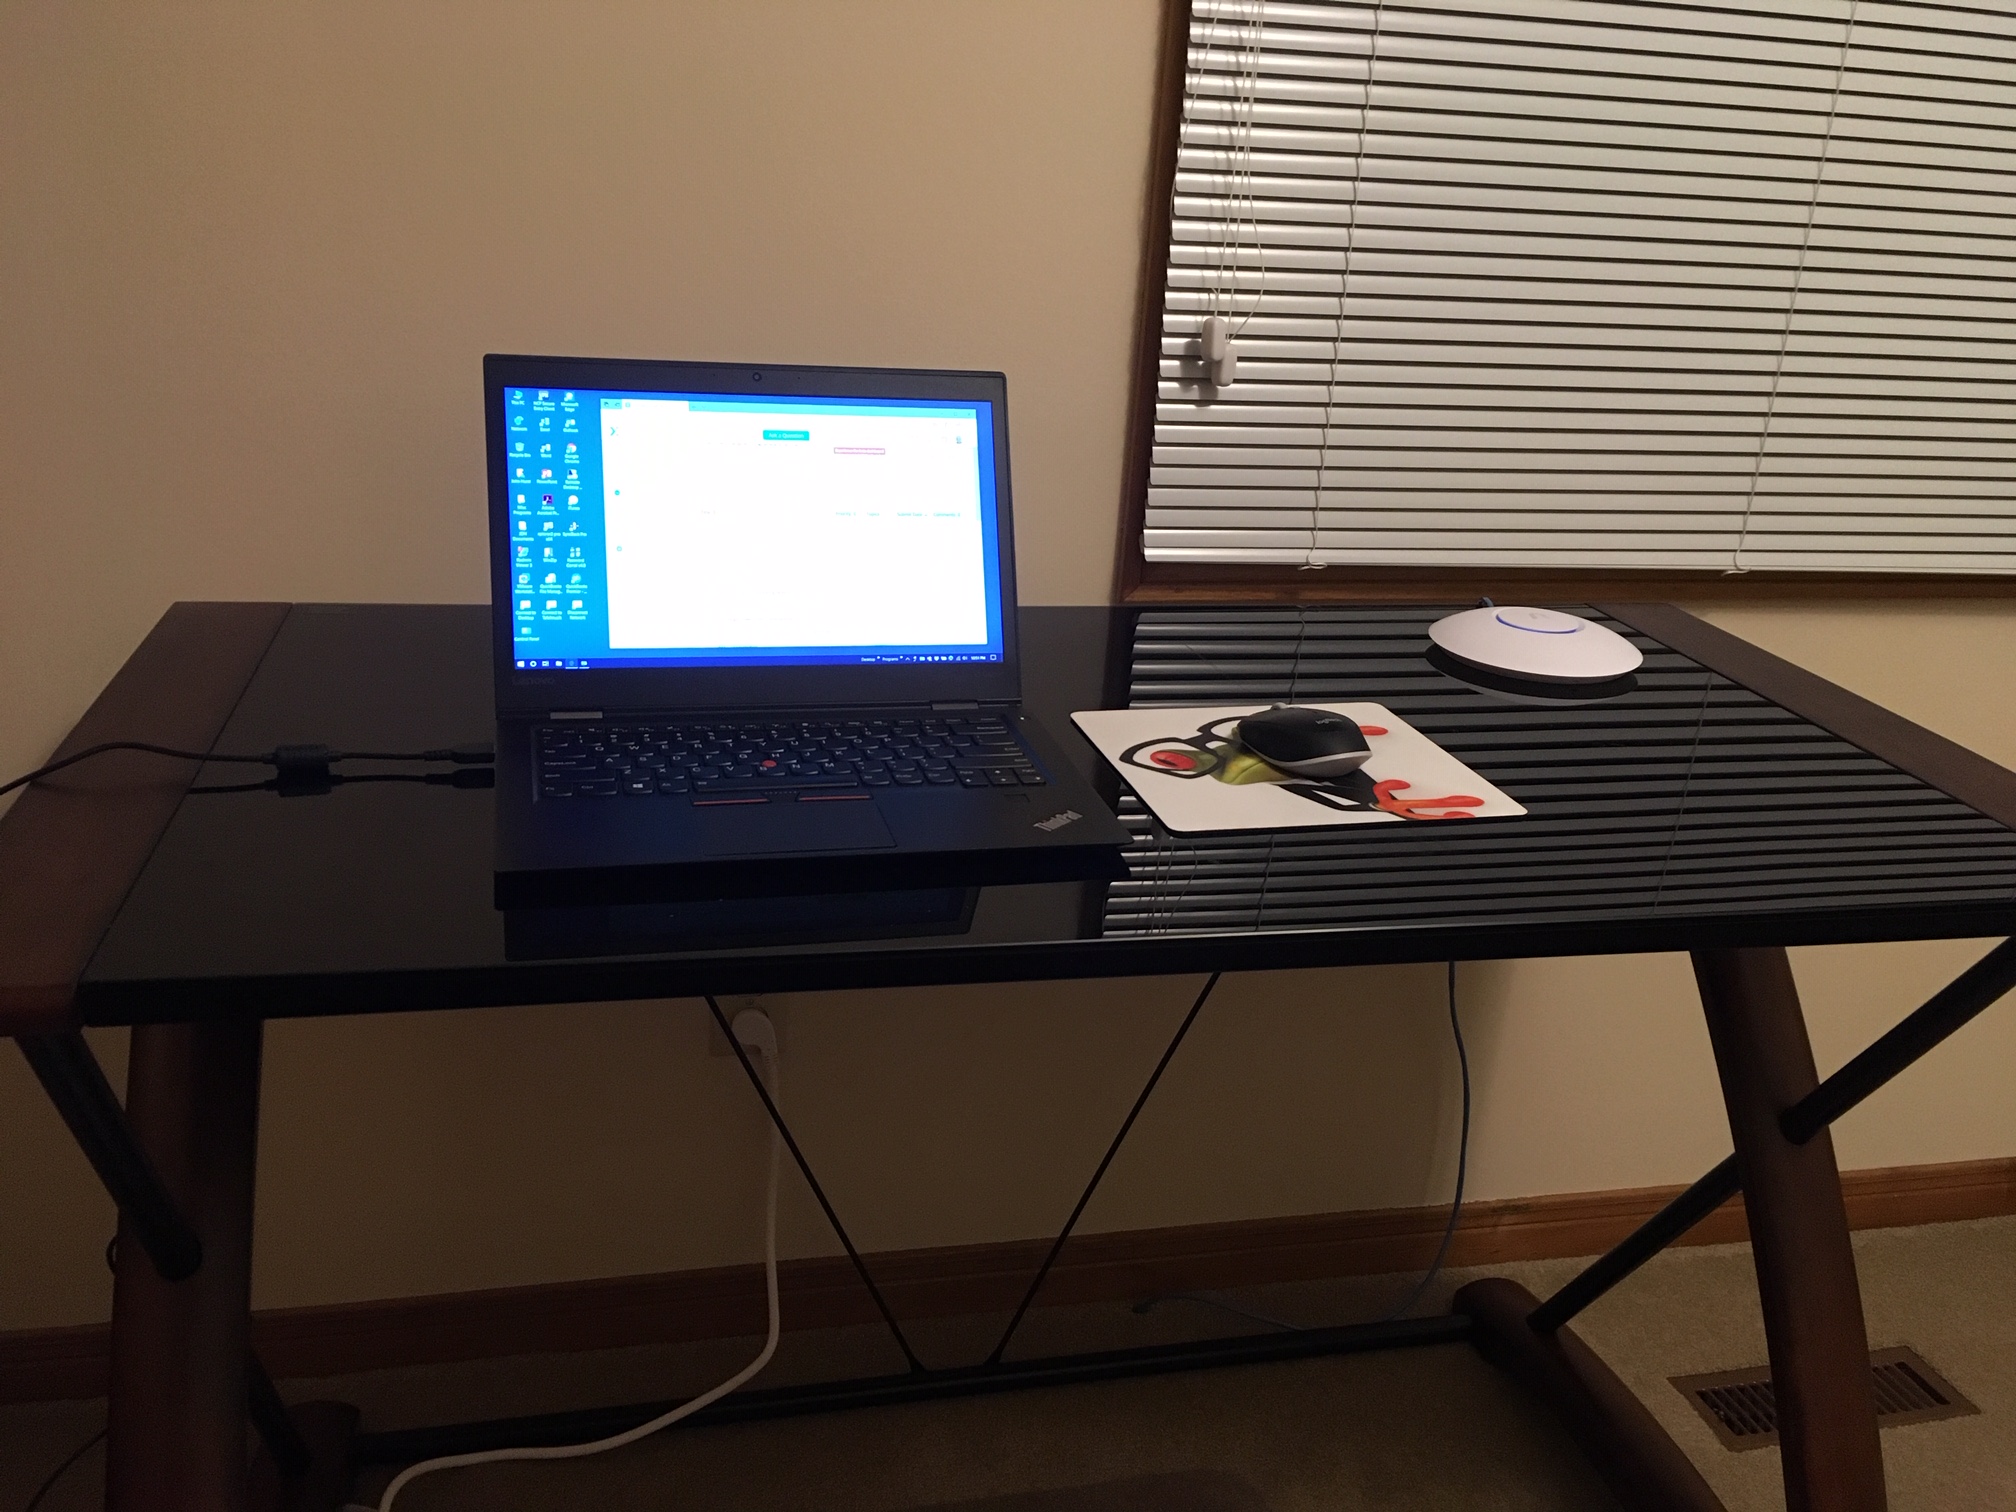
All is well and I reported back to the Ubiquiti Support emails that everything was working. This was new ground for me, and I was pleased to have my access point working properly with the excellent help of Ubiquiti Support (and I said that to them). Below is a picture of my upstairs office. The round white device to the right of the laptop is the Ubiquiti Access point
Part 3: Wrapping up.
Fifth Surprise: I continued installing and testing software, sat back, and realized that I had left many Photos behind in the user profile folders of the old hard drive. I put it all down and went to bed. I should have done a better job of reviewing the old hard drive.
Saturday morning, I put the hard drive in a USB carrier, and I was able to get some neutral folders, but when I went to the user folder, I could not access it (normal Windows 10 security). I was not even able to get at permissions. So, it was easier (conceptually, not in applied time) to reinstall the old hard drive one last time, recover the photos, music and peruse the entire disk for anything else I had forgotten, copy these to the USB hard drive, reinstall the SSD drive for the last time and finish the job.
I spent several hours Saturday installing and testing software and at this point, the machine was almost complete – about 5 applications remain to be installed (out of about 50 at the start). But thorough testing (especially with Office 64-bit) has not revealed any issue. I tested Radmin Viewer on my laptop to ensure I could access the desktop remotely. All that was working.
Bonus:
Any modern Lenovo laptop I have seen (including my own X1 laptop) that came from the factory with an SSD drive does not have a hard drive activity LED. My X230 laptop that came with a hard drive does have a hard drive activity LED.
Now so also does my Lenovo Tower computer have a hard drive activity LED. The bonus is that I can see SSD activity by watching the hard drive activity LED flash. I used this feature while waiting for the update from V1511 to V1809 – a long period of inactivity where the percent complete indicator was not moving, but there was vigorous LED flashing indicating SSD activity. Of course, it did finish. I do like a “drive” activity LED.
The machine is very quiet now. There are no moving parts except for the button fan attached to the CPU and it is barely audible. There is no vibration at all and no heat above room temperature. My prior tower (Windows 7) ran quite warm and I kept the cabinet door open a crack to permit good air flow.
The future:
This tower computer (Lenovo M73 ThinkCentre) has a high-end i5 CPU, 16 GB of memory, now a 2-TB M2 SATA SSD drive, and still has 600 days of warranty remaining. I plan to get a second 2-TB SSD drive and caddy to be my backup drive D:Then I will probably decide to send the defective hard drive out to recover the data on the drive. I am fairly sure the issue is the hard drive controller and not the platters, so this should be the least expensive data recovery operation.
This computer really has a new lease on life and should be trouble-free for the next two or three years and possibly longer.
Learnings:
What did we learn here?
- In a modern computer with UEFI BIOS, it is possible to replace a hard drive with a fast SSD drive. My desktop now starts in seconds.
- You need Vendor Recovery Media. If you have a modern computer, make and test a recovery USB (Windows 10 Settings), or else contact your Vendor and purchase one.
- Have current backups. I sync nearly 100 GB of organized files and folders between laptop and desktop daily. This greatly eases the backups needed to reinstall a new drive.
- Make sure the old drive continues to operate in case (as happened to me) something was inadvertently left behind. Do a final review of the old drive.
- Office 64-bit appears to be truly ready for prime time as Microsoft has said. There have not been any issues thus far by having Office 64-bit on my new Desktop installation.
- You can update from any prior version of Windows 10 to the newest Windows 10 in one update. Remember that it may take some time for the update to complete.
- Installing a new drive is not death but do allow some time for the project. I reckon 20 hours for the project and at that point, I was nearly done.
- When I installed Windows 10 fresh this time, it demanded to know a PIN even for my local administrator account. I have a PIN on my Laptop with Microsoft Account and Windows Hello, but now a new install of Windows 10 is enforcing PINs for local administrator accounts as well.
If you decide to undertake a project like this, good luck. I hope this article gives you the confidence to forge ahead.

Have a question about something in this article? You can receive help directly from the article author. Sign up for a free trial to get started.
Comments (0)