HOW TO: Install and Connect a VMware vCenter Server 7.0 in linked mode.

Andrew Hancock (VMware vExpert PRO / EE Fellow/British Beekeeper)![]() VMware and Virtualization Consultant
VMware and Virtualization Consultant
 VMware and Virtualization Consultant
CERTIFIED EXPERT
EE Fellow, MVE, Expert of the Year 2021,2017-11, Scribe 2016-2012, Author of the Year 2018-6,2013-2012 VMware vExpert Pro, vExpert 2022-2011
Published:
Edited by: Andrew Leniart
Browse All Articles > HOW TO: Install and Connect a VMware vCenter Server 7.0 in linked mode.
HOW TO: Install and Connect a VMware vCenter Server 7.0 in linked mode.
In my previous Experts Exchange Articles, most have featured Basic and Intermediate VMware and Virtualisation Topics.
If you would like to read my Basic VMware articles, they are listed at the end of this article for your convenience.
This article will show you HOW TO: Install and Connect a VMware vCenter Server 7.0 in linked mode.
You will need an additional license for every vCenter Server 7.0 you install.
Why use Linked Mode?
Download the VMware-VCSA-all-x.y.z-abcdefg.iso (DVD image) from VMware. The filename used in this tutorial is called VMware-VCSA-all-7.0.0-16749653.iso, the build number and filename are likely to change in the future when it's been updated to a newer version. At the time of writing this article, the latest build of vCenter Server was vCenter Server 7.0.0d.
Burn or Mount the VMware-VCSA-all-7.0.0-16749653.iso (DVD image) on your Administration workstation. (The Personal Computer where you perform your daily server and network administration).
In the vcsa-ui-installer\win32 folder on the DVD, click the installer.exe file to start the installation the VMware vCenter Server 7.0.
Please follow this article HOW TO: Deploy and Install VMware vSphere vCenter Server 7.0 (VCSA 7.0) which will show you how to install vCenter Server 7.0, and follow the article up to 2. Configuring VMware vCenter Server 7.0, and then continue with this article.
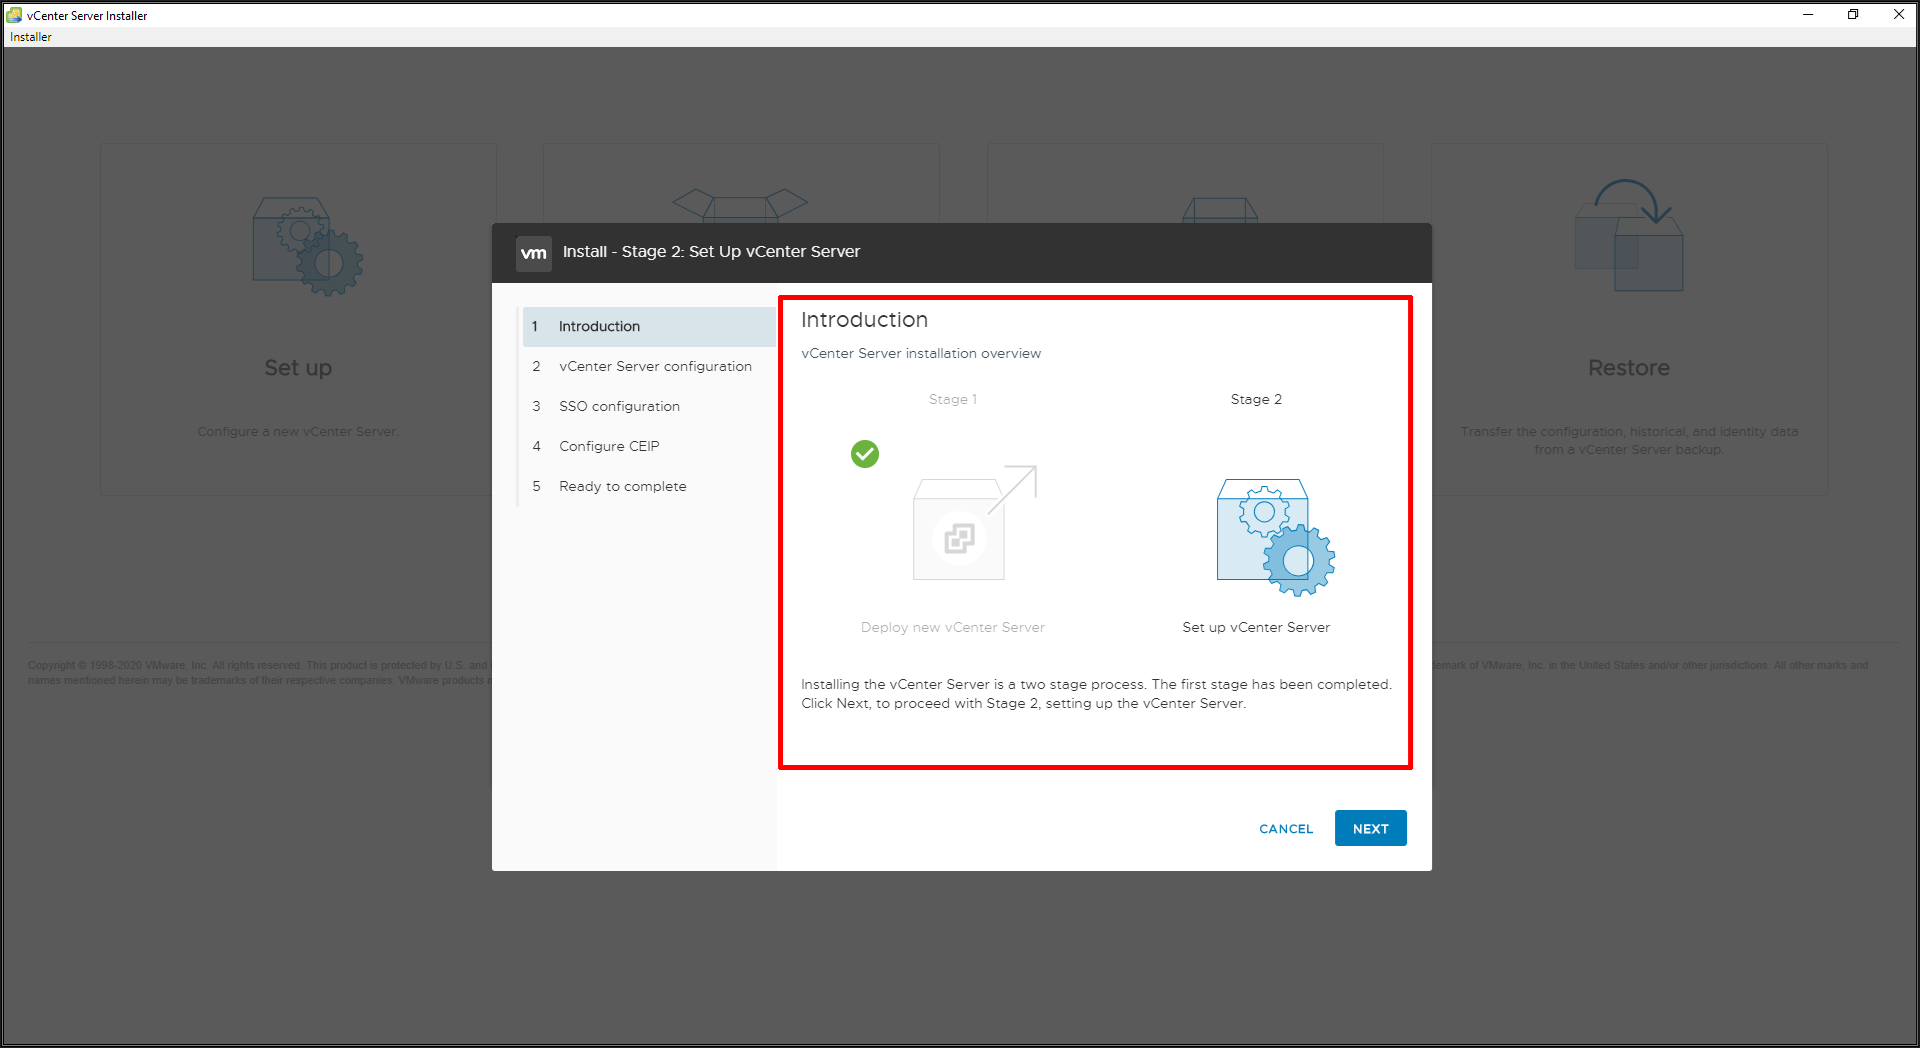
Click next to continue.
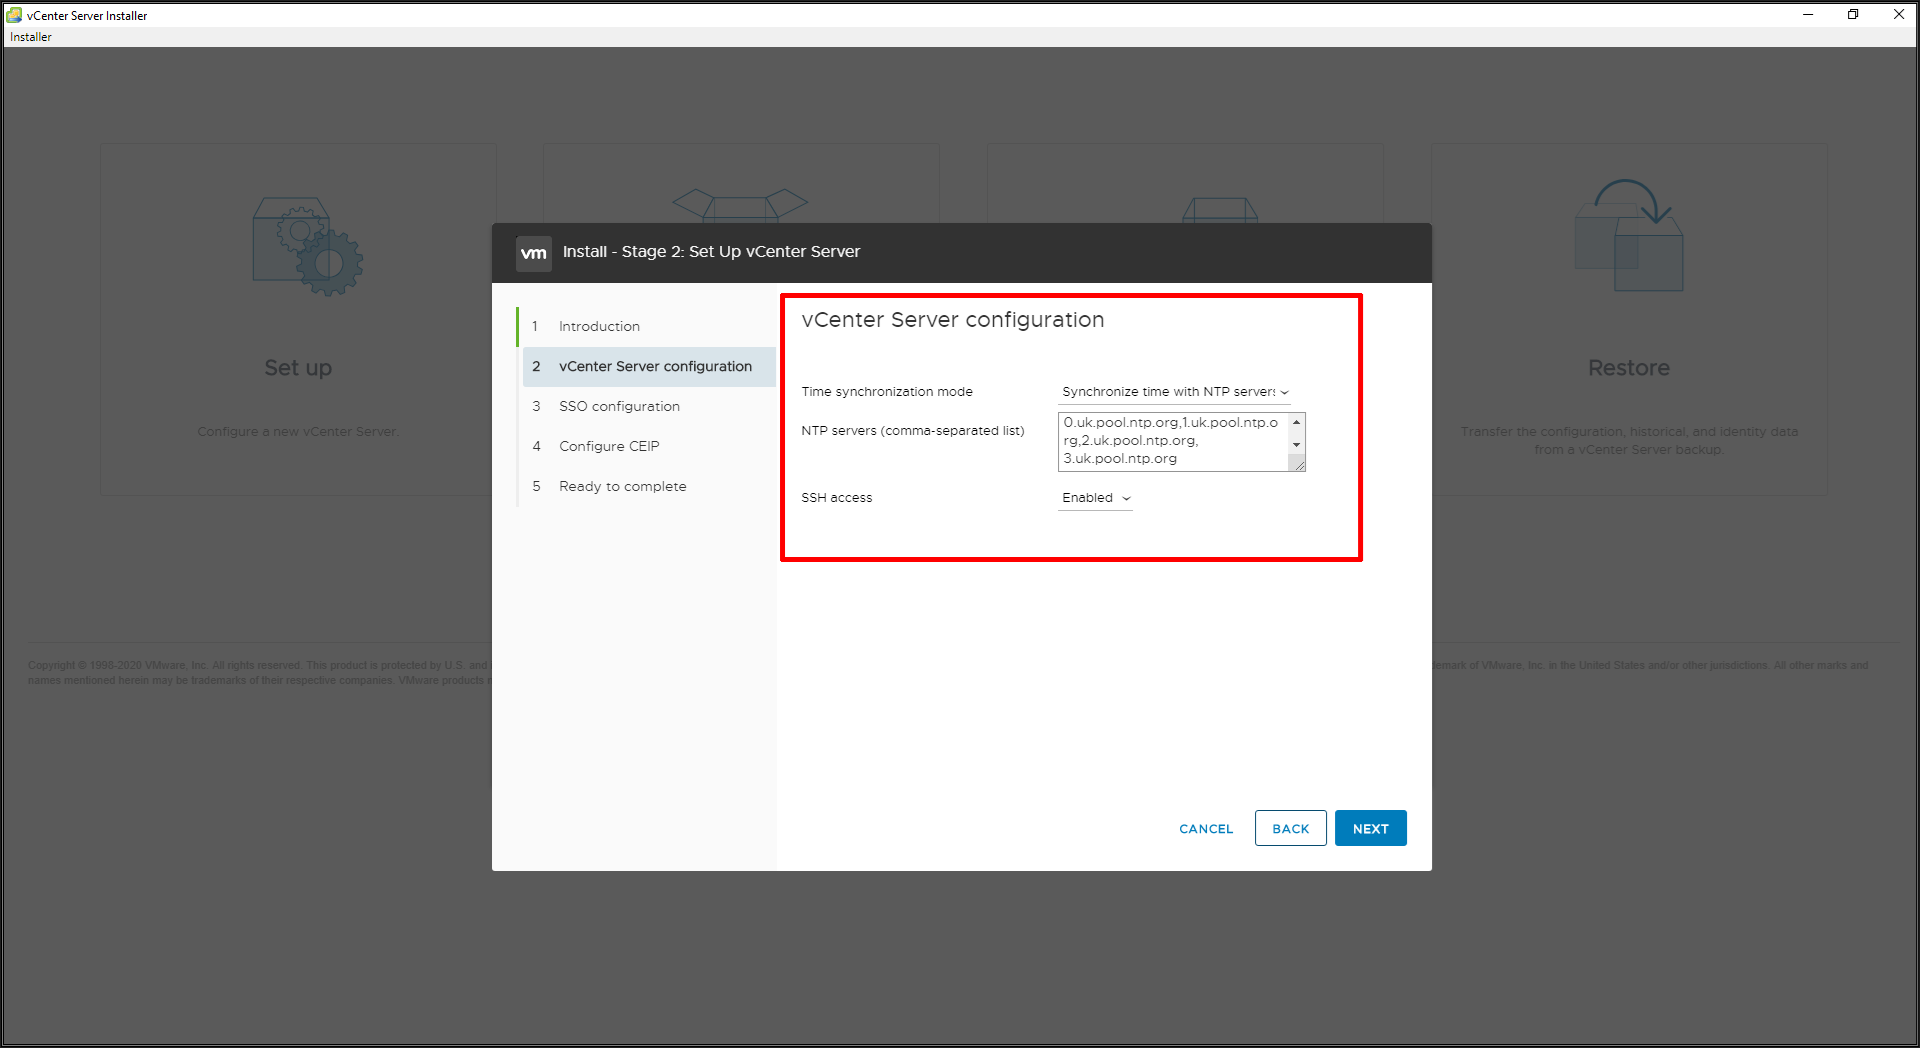
We also selected an external NTP server for time synchronization and enabled SSH. Accurate time synchronization is very important for Single Sign-On. If vCenter Server time is not synchronised with ESXi host time, you will not be able to add them to vCenter Server!
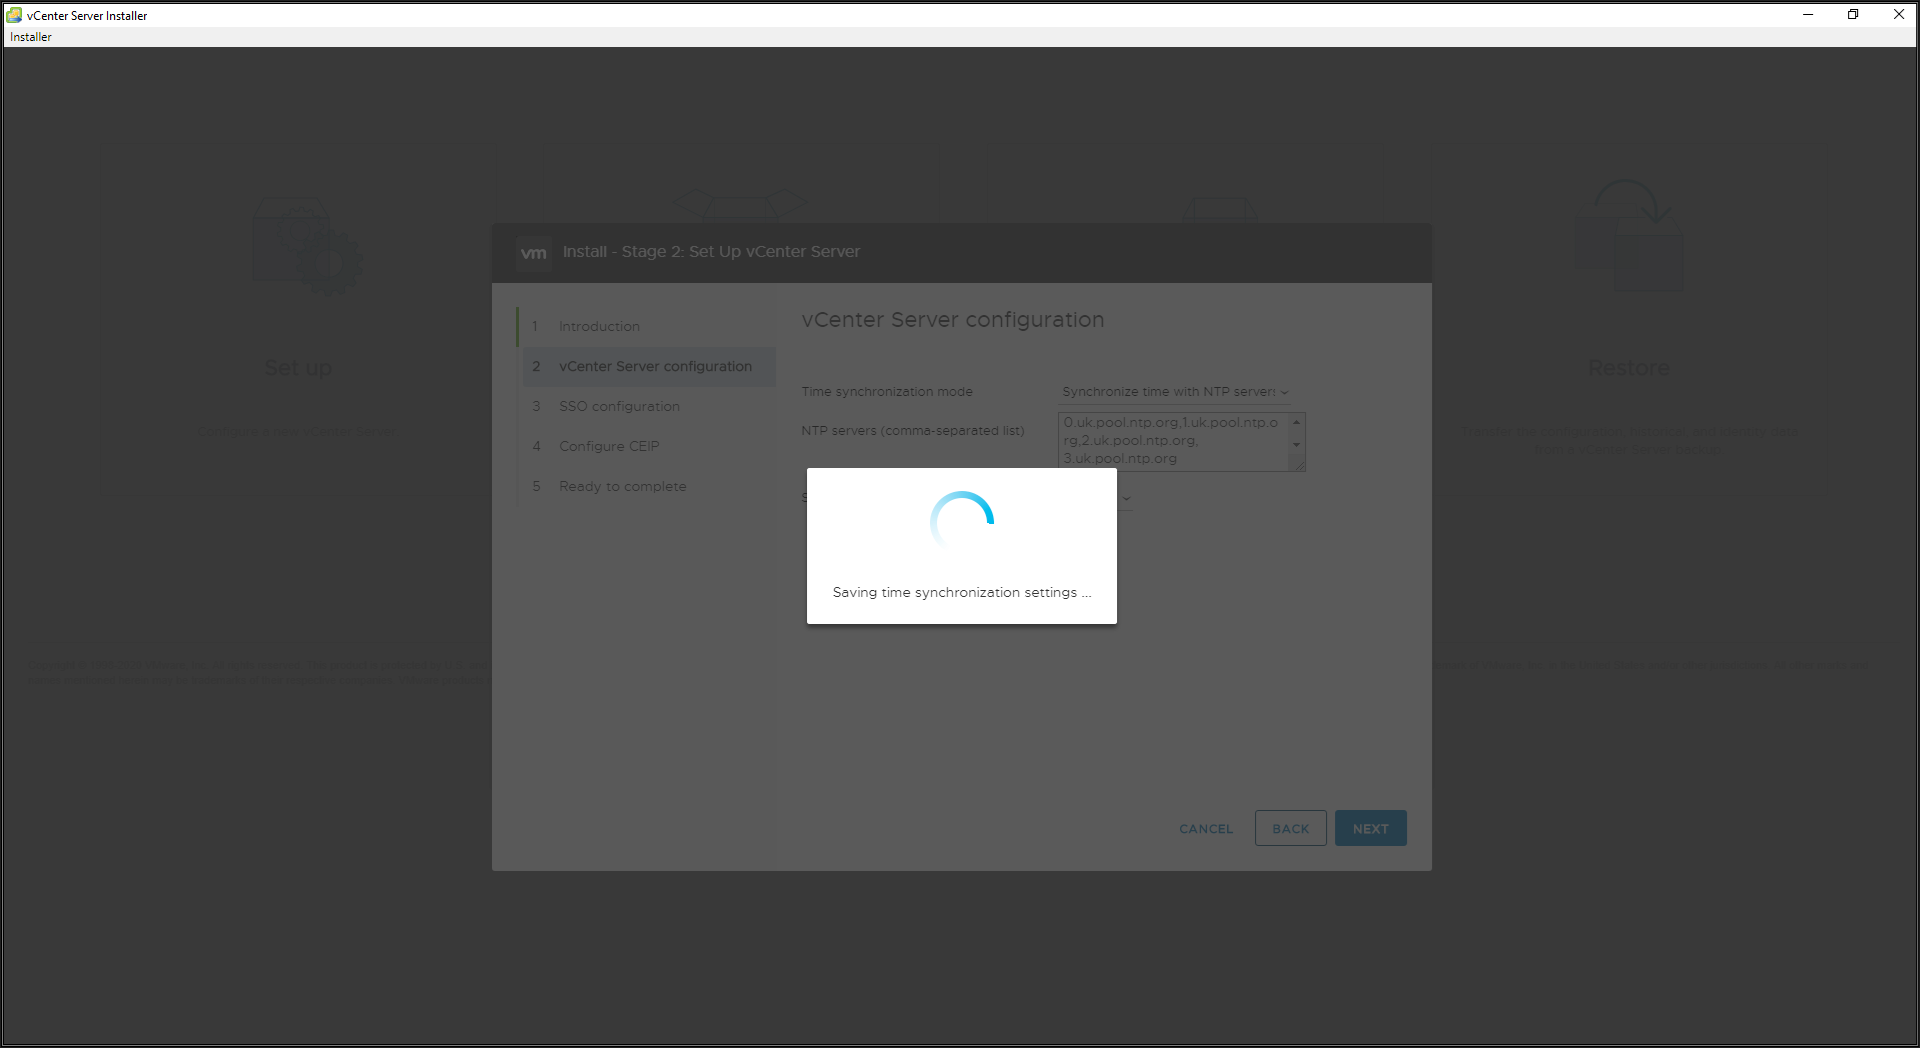
The NTP settings are saved.
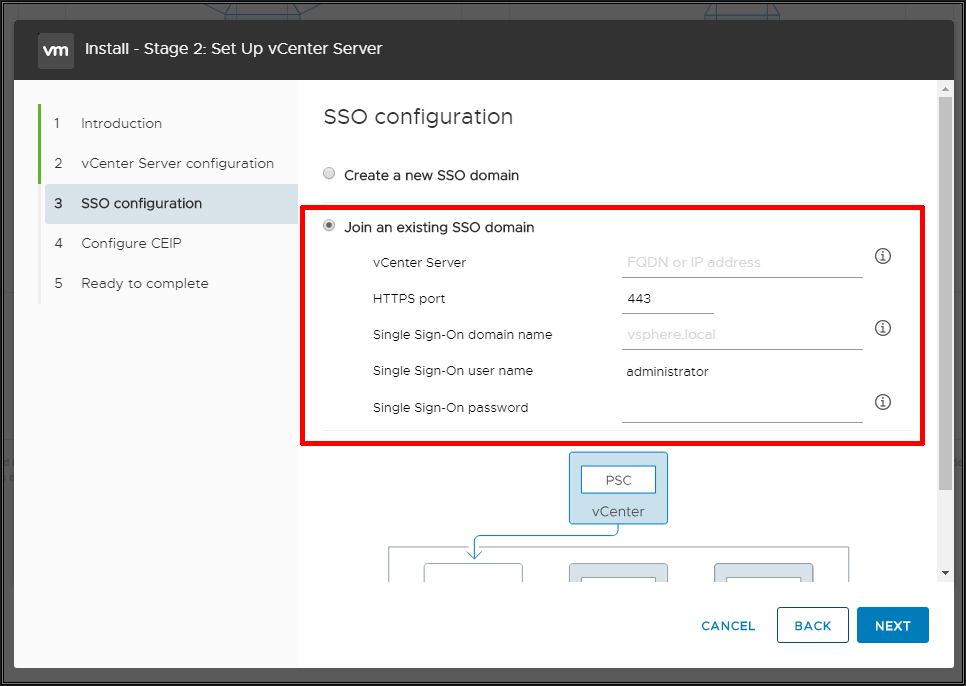
This is where the installation changes from completing a standalone vCenter Server 7.0 installation. This Linked Mode vCenter Server needs to be joined to the existing SSO domain running on the existing vCenter Server.
Please enter the FQDN for the vCenter Server, and the Administrator@vsphere.local username and password.
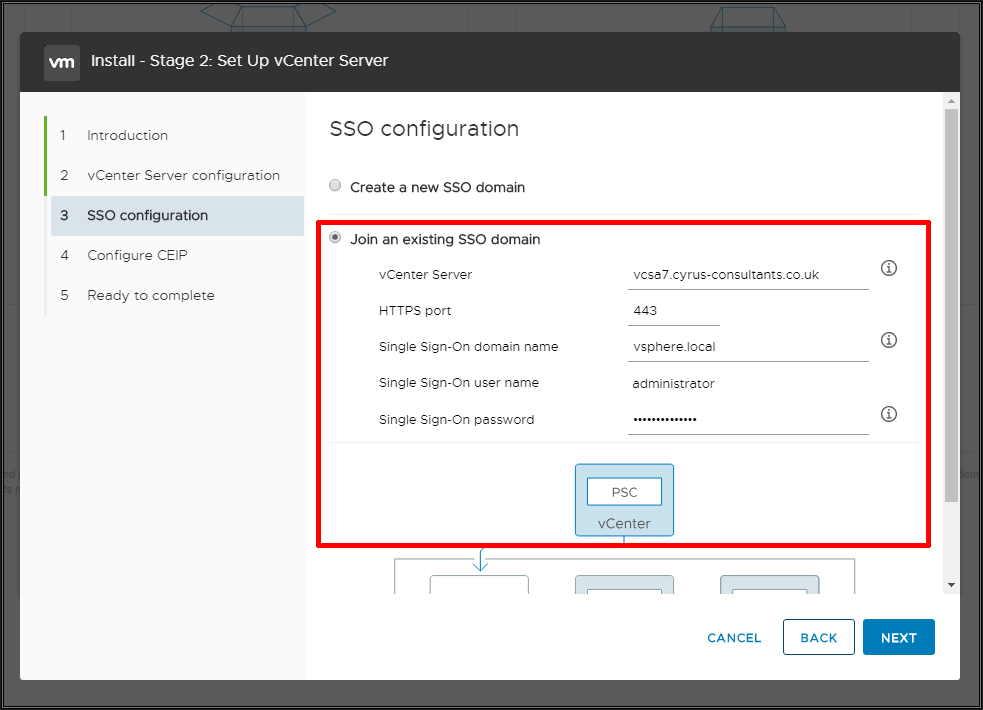
In this tutorial, I'm connecting to an existing vCenter Server - vcsa7.cyrus-consultants.co.uk. Make sure this server can be resolved! Click Next to continue.
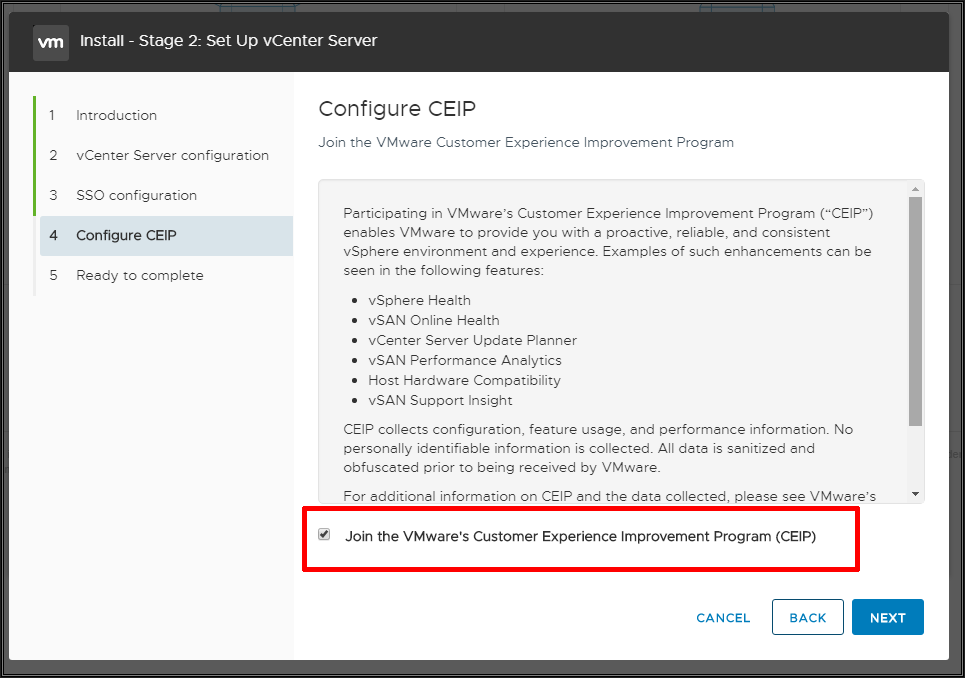
Select if you want to join VMware's Customer Experience Improvement Program (CEIP).
Click Next to continue.
Review the summary screen, and click Finish.
You will not be able to pause or stop the install from completing once it's started. Click OK to continue, or Cancel to stop the install. If the FQDN you have used is NOT RESOLVABLE your configuration of the appliance WILL FAIL.
HINT: Make sure you have a working Domain Name Server (DNS). Your VMware vSphere infrastructure is only as good as your networking, and DNS.
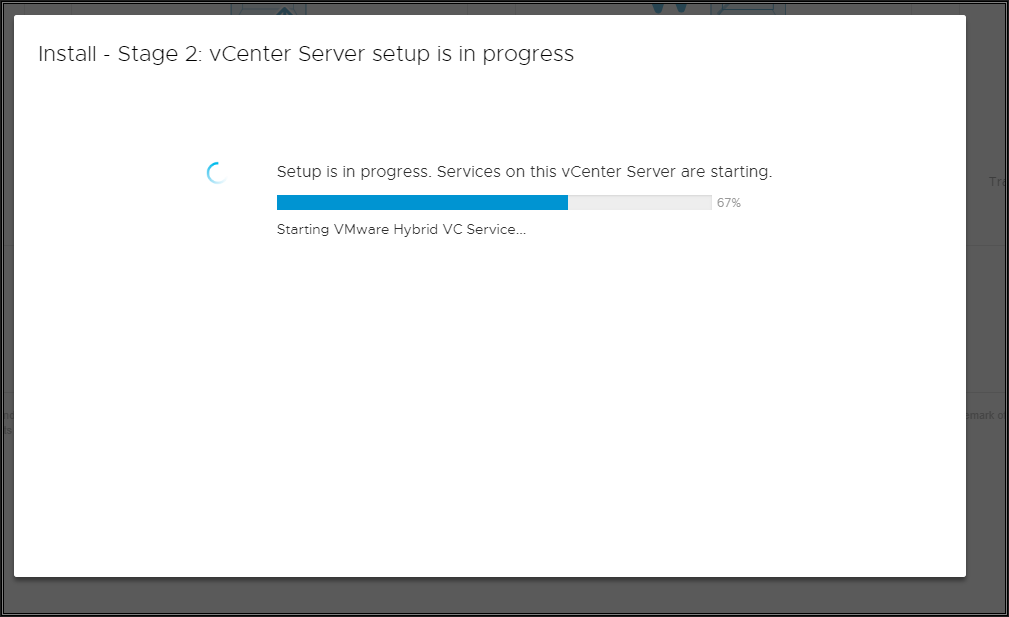
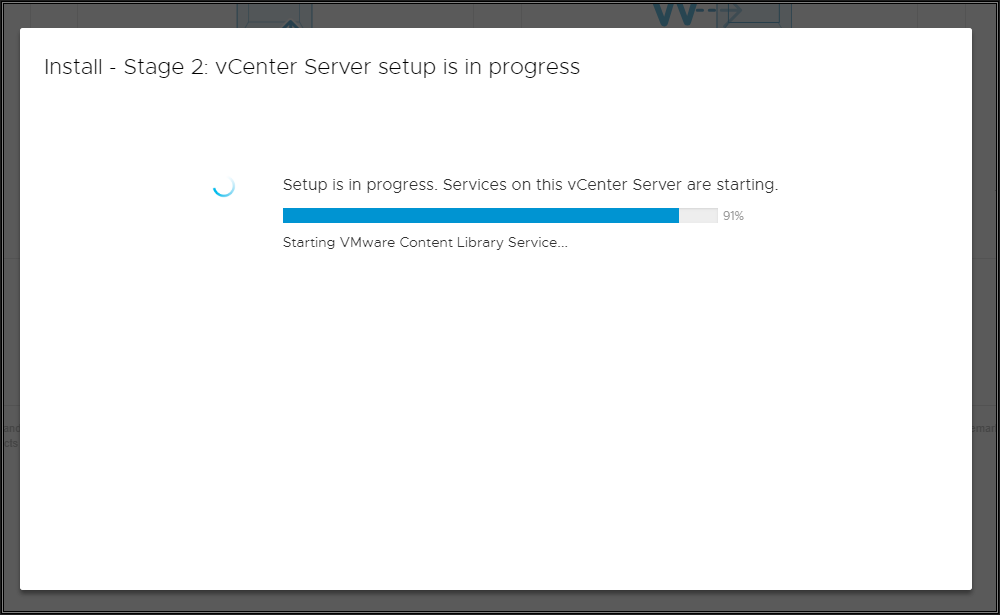

After several minutes the configuration of this vCenter Server will be completed. You can either click close which will open up a browser to the new vCenter Server, or click the link.
Login to the new vCenter Server and the following will be shown.
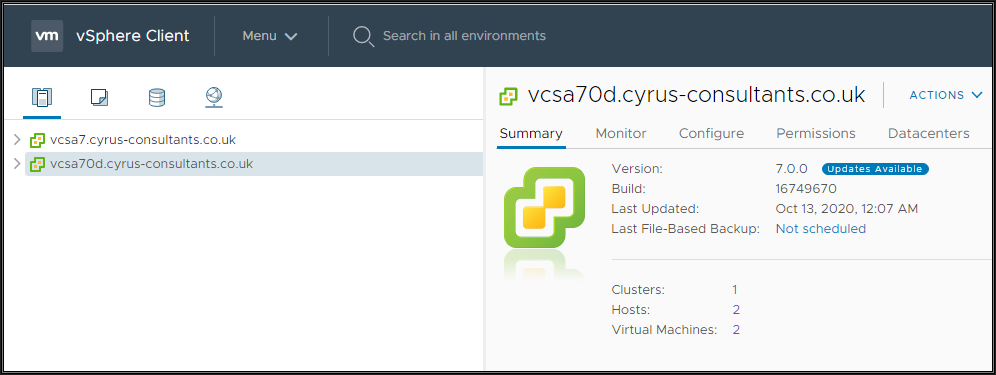
The new vCenter Server and the Linked vCenter Server.
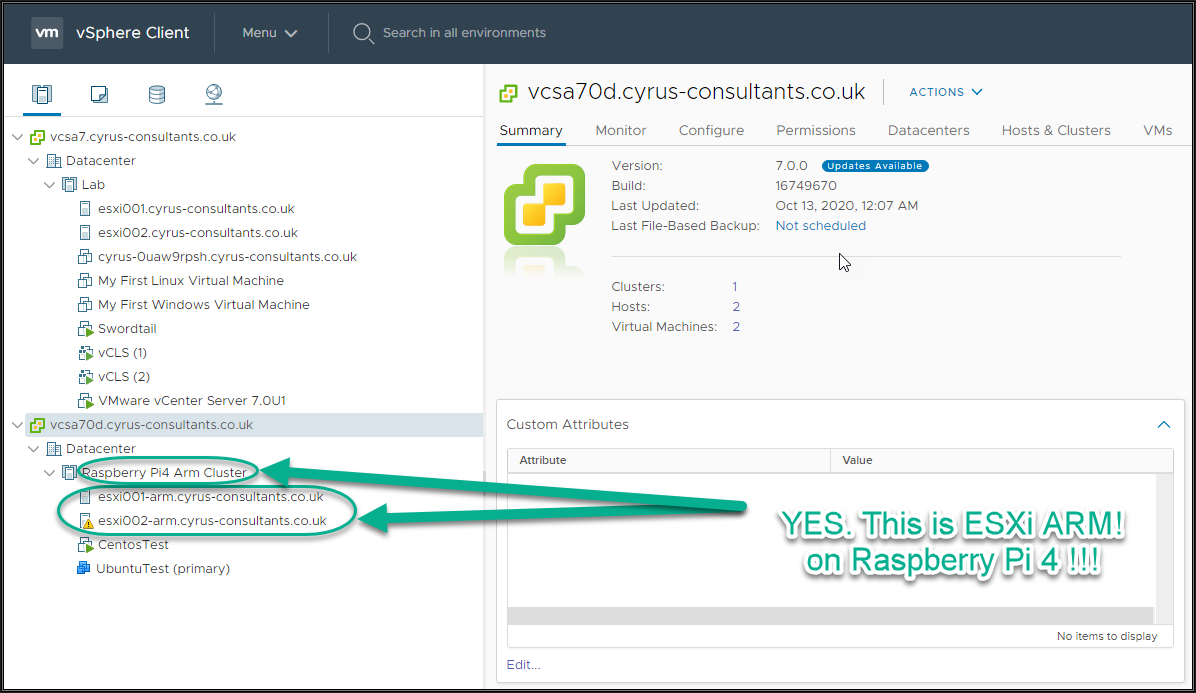
Congratulations you have successfully Installed and Connected a VMware vCenter Server 7.0 in linked mode.
Basic VMware Articles Series:
These articles are also applicable to VMware vSphere Hypervisor ESXi 5.0, 5.5, 6.0.
These articles are applicable to VMware vSphere Hypervisor 6.5.
These articles are applicable to VMware vSphere Hypervisor 6.7.
Previous articles in this VMware vSphere 7.0 series are here.
If you found this tutorial helpful, please do click the Thumbs-Up icon below. This lets me know what is valuable for EE members and provides direction for future articles. If you have a related question based on this article, please click here.
Thank you very much!
Regards, Andy
If you would like to read my Basic VMware articles, they are listed at the end of this article for your convenience.
This article will show you HOW TO: Install and Connect a VMware vCenter Server 7.0 in linked mode.
You will need an additional license for every vCenter Server 7.0 you install.
Why use Linked Mode?
- Allows a single pane of glass view to all objects across your organisation vSphere infrastructure.
- vCenter Server per office installation.
- Easier now with vSphere 7.0 to Link a new vCenter Server.
- Multi-site deployment.
- Hosts and Clusters Maximums reached.
Download the VMware-VCSA-all-x.y.z-abcdefg.iso (DVD image) from VMware. The filename used in this tutorial is called VMware-VCSA-all-7.0.0-16749653.iso, the build number and filename are likely to change in the future when it's been updated to a newer version. At the time of writing this article, the latest build of vCenter Server was vCenter Server 7.0.0d.
Burn or Mount the VMware-VCSA-all-7.0.0-16749653.iso (DVD image) on your Administration workstation. (The Personal Computer where you perform your daily server and network administration).
In the vcsa-ui-installer\win32 folder on the DVD, click the installer.exe file to start the installation the VMware vCenter Server 7.0.
Please follow this article HOW TO: Deploy and Install VMware vSphere vCenter Server 7.0 (VCSA 7.0) which will show you how to install vCenter Server 7.0, and follow the article up to 2. Configuring VMware vCenter Server 7.0, and then continue with this article.
Click next to continue.
We also selected an external NTP server for time synchronization and enabled SSH. Accurate time synchronization is very important for Single Sign-On. If vCenter Server time is not synchronised with ESXi host time, you will not be able to add them to vCenter Server!
The NTP settings are saved.
This is where the installation changes from completing a standalone vCenter Server 7.0 installation. This Linked Mode vCenter Server needs to be joined to the existing SSO domain running on the existing vCenter Server.
Please enter the FQDN for the vCenter Server, and the Administrator@vsphere.local username and password.
In this tutorial, I'm connecting to an existing vCenter Server - vcsa7.cyrus-consultants.co.uk. Make sure this server can be resolved! Click Next to continue.
Select if you want to join VMware's Customer Experience Improvement Program (CEIP).
Click Next to continue.
Review the summary screen, and click Finish.
You will not be able to pause or stop the install from completing once it's started. Click OK to continue, or Cancel to stop the install. If the FQDN you have used is NOT RESOLVABLE your configuration of the appliance WILL FAIL.
HINT: Make sure you have a working Domain Name Server (DNS). Your VMware vSphere infrastructure is only as good as your networking, and DNS.
After several minutes the configuration of this vCenter Server will be completed. You can either click close which will open up a browser to the new vCenter Server, or click the link.
Login to the new vCenter Server and the following will be shown.
The new vCenter Server and the Linked vCenter Server.
Congratulations you have successfully Installed and Connected a VMware vCenter Server 7.0 in linked mode.
Basic VMware Articles Series:
These articles are also applicable to VMware vSphere Hypervisor ESXi 5.0, 5.5, 6.0.
These articles are applicable to VMware vSphere Hypervisor 6.5.
These articles are applicable to VMware vSphere Hypervisor 6.7.
Previous articles in this VMware vSphere 7.0 series are here.
- Part 7: HOW TO: Create your first Windows Virtual Machine on a VMware vSphere Hypervisor 7.0 (ESXi 7.0) Host Server
If you found this tutorial helpful, please do click the Thumbs-Up icon below. This lets me know what is valuable for EE members and provides direction for future articles. If you have a related question based on this article, please click here.
Thank you very much!
Regards, Andy
EE Fellow, MVE, Expert of the Year 2021,2017-11, Scribe 2016-2012, Author of the Year 2018-6,2013-2012 VMware vExpert Pro, vExpert 2022-2011
Have a question about something in this article? You can receive help directly from the article author. Sign up for a free trial to get started.
Comments (0)