How to Migrate Public Folder Calendar to Office 365?


Experienced and Skilled with a demonstrated history of working in the information technology and services industry.
Published:
Browse All Articles > How to Migrate Public Folder Calendar to Office 365?
Public Folders in Exchange Server - Amazingly flexible and a lot more than just emails.
The best thing about public folders in Exchange Server is that apart from emails, they can hold several items, such as contacts, journals, notes, tasks, and calendars.
Creating a calendar in a public folder is quite easy. Here are the steps to do so:
Here are the steps to export public folder calendar to PST: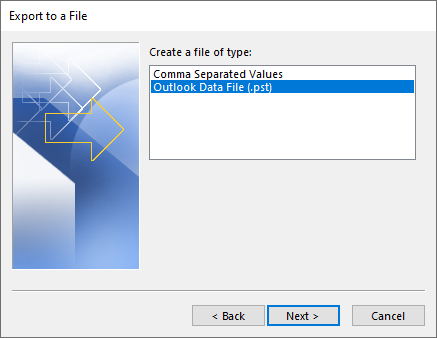
This will export the public folder calendar to PST from the local Exchange Server.
To manually export and import the public folder calendar, follow these steps: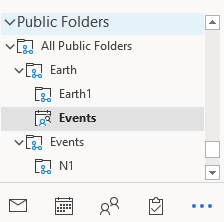


There are a few limitations with both methods. As seen from the methods, the public folder on the on-premises needs to be online. If the Exchange has been decommissioned and you only have the EDB file, you will not be able to use this method. With the same thought, if the public folder has an issue and it is not mounted, you will not be able to export it from the folder. The other issue is that you need to export to PST and the PST can be easily corrupted and lost. The Copy and Paste method requires you to delete everything and start from scratch if an issue is encountered as you cannot re-run and remove duplicates. The last thing is that you can only export one public folder at a time.
One of the easiest ways to export a public folder calendar to Office 365 is by using third-party EDB conversion tools. There are a number of tools out there such as Veeam, SysTools, EDBMails and more. By using these tools, you can easily open and export any information of the public folder. The software can open any EDB file from any version of the Exchange Server and export the data to PST and other formats. You can also export directly to a live Exchange Server database and Office 365 tenant.
Creating a calendar in a public folder is quite easy. Here are the steps to do so:
- Open Outlook and expand Public Folders.
- Then expand All Public Folders.

-
Right-click on the public folder and click on New Folder.
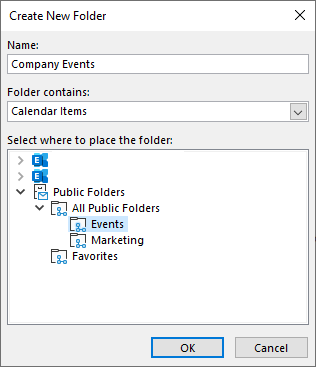
- Click on the Folder Contains drop-down and click on Calendar Items.
- Enter the name of the Calendar you want to create.
- Select the path of the folder and click OK.
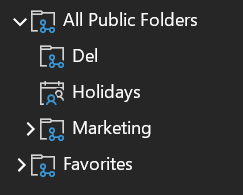
- Once created, it will be shown as a different icon.
Export to PST and Then Import
Here are the steps to export public folder calendar to PST:
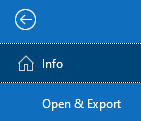
- Open Outlook and click on File.
- Click on Open & Export.

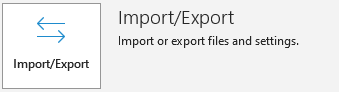
-
Click on Import/Export.

-
Click on Export to a file.
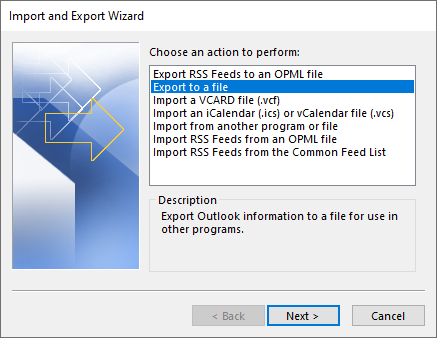
- Click on Next.
- Click on Outlook Data File (.pst) and click Next.
- Expand the Public Folders and All Public Folders.
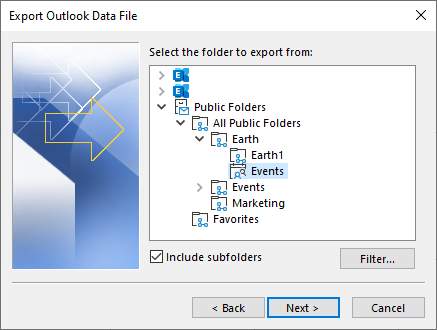
- Click on the Public Folder calendar with the type of calendar you want to export.
- Tick the Include Subfolders checkbox.
- Click on the Filter button to set the search criteria for messages and other things, like categories.

- When done, click on the Next button.
- In the next screen, select the patch and the name of the PST file to export to.

- Choose any option for duplications:
- Replace duplicates
- Allow duplicates
- Do not export duplicates
- Once ready, click on the Finish button.
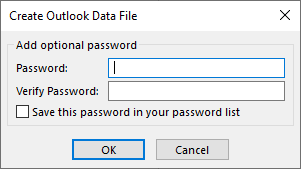
- In the next screen you will be asked to enter the password for the exported PST file.
Note: It is strongly suggested for security purposes to setup a password for the export of the PST. This is needed as PST file is a portable file and anyone with an Outlook application can open the file.
- Once the OK button is clicked, the export will start.
This will export the public folder calendar to PST from the local Exchange Server.
Now, follow the given steps to import public folder calendar into Office 365
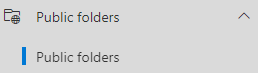
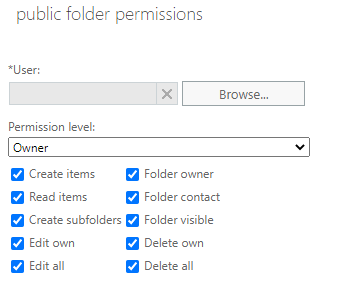
- Setup an Outlook, connected to Office 365, by using a mailbox that has owner permission on the Office 365 Public Folder (see the below screenshot that has been taken from the Public Folder section using the new Exchange Admin Center).
-
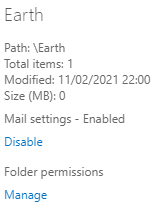
Click on the folder from which you will be importing the calendar events and click on Manage under Folder Permissions on the side.
-
Click the user in question and then click on the edit button to confirm the permission that the user has on the public folder. If the user is not set as owner, you can change the Permission level to Owner and click on the Save button.
- From Outlook, click on File.
- Click on Open & Export.
-
Click on Import/Export.
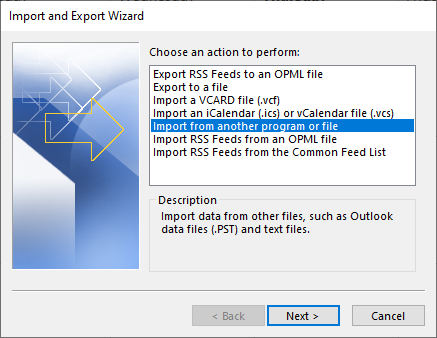
- Click on Import from another program or file and click Next.
-
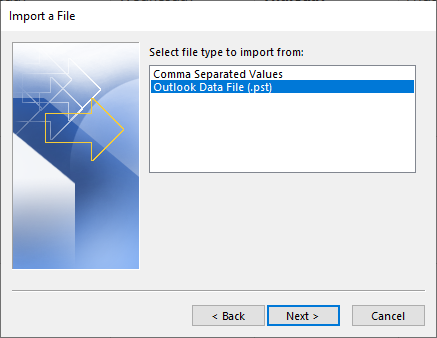
Click on Outlook Data File (.pst) and click Next.
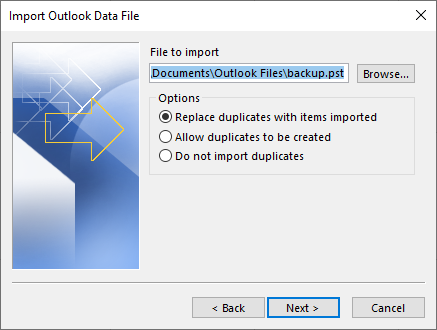
- Select the PST file, you’ve exported from on-premises Exchange server and choose the duplicate options as given below, and then click Next.
- Replace duplicates
- Allow duplicates
- Do not export duplicates
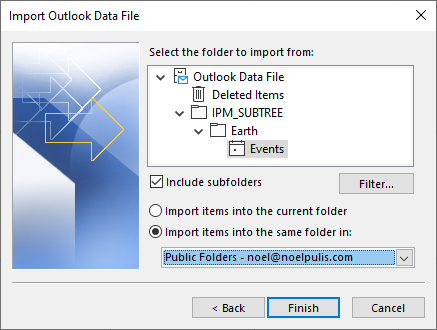
-
Select the folder to import from and where to import it to
-
Click Finish to start the import.
2. Manual Export and Import (Copy/Paste)
To manually export and import the public folder calendar, follow these steps:
- Open Outlook, having both on-premises account configured and the Office 365 account.
- Open the calendar and click on the calendar you need to export.
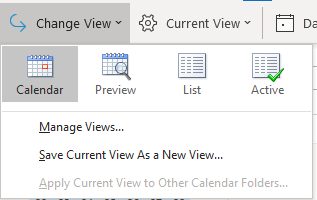
- Click on View.
- Click on Change View and then click on List.
- From the view, select all appointment entries, right-click on the selection, and click Copy.
- Now open the Office 365 Public Folder with the calendar you need to paste them in.
- Click on View
- Click on Change View and then click on List.
- In the main pane, right-click and press CTRL+V to paste the entries. The items will be imported.
- After the job is ready, depending on the volume of calendar entries, click on Change View under View and click on Calendar.
Pros and Cons of both Methods
There are a few limitations with both methods. As seen from the methods, the public folder on the on-premises needs to be online. If the Exchange has been decommissioned and you only have the EDB file, you will not be able to use this method. With the same thought, if the public folder has an issue and it is not mounted, you will not be able to export it from the folder. The other issue is that you need to export to PST and the PST can be easily corrupted and lost. The Copy and Paste method requires you to delete everything and start from scratch if an issue is encountered as you cannot re-run and remove duplicates. The last thing is that you can only export one public folder at a time.
The Ideal Solution
One of the easiest ways to export a public folder calendar to Office 365 is by using third-party EDB conversion tools. There are a number of tools out there such as Veeam, SysTools, EDBMails and more. By using these tools, you can easily open and export any information of the public folder. The software can open any EDB file from any version of the Exchange Server and export the data to PST and other formats. You can also export directly to a live Exchange Server database and Office 365 tenant.
Experienced and Skilled with a demonstrated history of working in the information technology and services industry.
Have a question about something in this article? You can receive help directly from the article author. Sign up for a free trial to get started.
Comments (0)