Part 5 - Build an immutable backup repository for Veeam Backup & Replication.


Published:
Browse All Articles > Part 5 - Build an immutable backup repository for Veeam Backup & Replication.
For Veeam Backup & Replication, this guide will show you, step by step, how to create and implement a disk-based immutable backup repository from scratch.
In this part: Prepare for backup of the Linux server itself.
In this part: Prepare for backup of the Linux server itself.
Veeam immutable repository by under a Public Domain Work license
Introduction
Purpose of these articles
You are a Windows administrator running Veeam Backup & Replication and wish to raise protection against malware attacks and hackers without reverting to shuffle or rotating physical media.This you can accomplish by immutable backups stored on a physical server running Linux. However, you have no Linux servers running and don't want to.
But, like it or not, that is your only option, as the XFS file system is the only one capable of immutability, and XFS only runs under Linux.
Thus, a Linux server is a must. When you have accepted this fact, then what? Where to start?
Like me, you have about zero experience with Linux and, therefore, hesitate to set up a Linux server, indeed in a production environment.
If so, this guide is for you. Here, nothing about Linux is taken for granted.
Sections
The guide has been split in nine parts. This allows you to skip parts you are either familiar with or wish to implement later if at all.- Part 1 - Prepare the install of Linux
- Part 2 - Install Linux on the server
- Part 3 - Prepare the Linux server for Veeam
- Part 4 - Create the immutable Veeam backup repository
- Part 5 - Prepare for backup of the Linux server itself
- Part 6 - Backup of the Linux server itself
- Part 7 - Bare Metal Recovery of the Linux server
- Part 8 - Tighten security on the Linux server (MFA/2FA)
- Part 9 - Maintenance and deactivation/reactivation of MFA/2FA
Requirements
You are familiar with:- the usual tasks administering at least a small network with one Windows Server
- Veeam Backup & Replication and have it installed and running
- the command line - from PowerShell, Command Prompt, or even DOS
Veeam Backup & Replication is assumed to be of version 11 or later. It can be a licensed trial or paid version or even the free Community Edition.
Part 5. Prepare for backup of the Linux server itself
In this section, following Part 4, we will configure a backup job for the Linux server itself which can be used to perform a bare-metal recovery of the server in case its system drive should cease to function.Concept
As you already have Veeam Backup & Replication running, thus having at least one backup repository at your disposal, all we need is:- install the Veeam Agent for Linux on the Linux server
- create a recovery media to boot from in case of a system drive failure
- create a backup job that will back up the Linux server's system drive
This section will cover the two first tasks. Creating the backup job will be described in the next section of this series.
Install Veeam Agent for Linux
To install the Veeam Agent for Linux, we need the install package. This can be downloaded from the Veeam site, though not directly, as a direct URL to the install package is not published.To obtain that URL, follow these steps.
First, go to the Veeam site hosting the download:
https://www.veeam.com/linux-backup-download.html
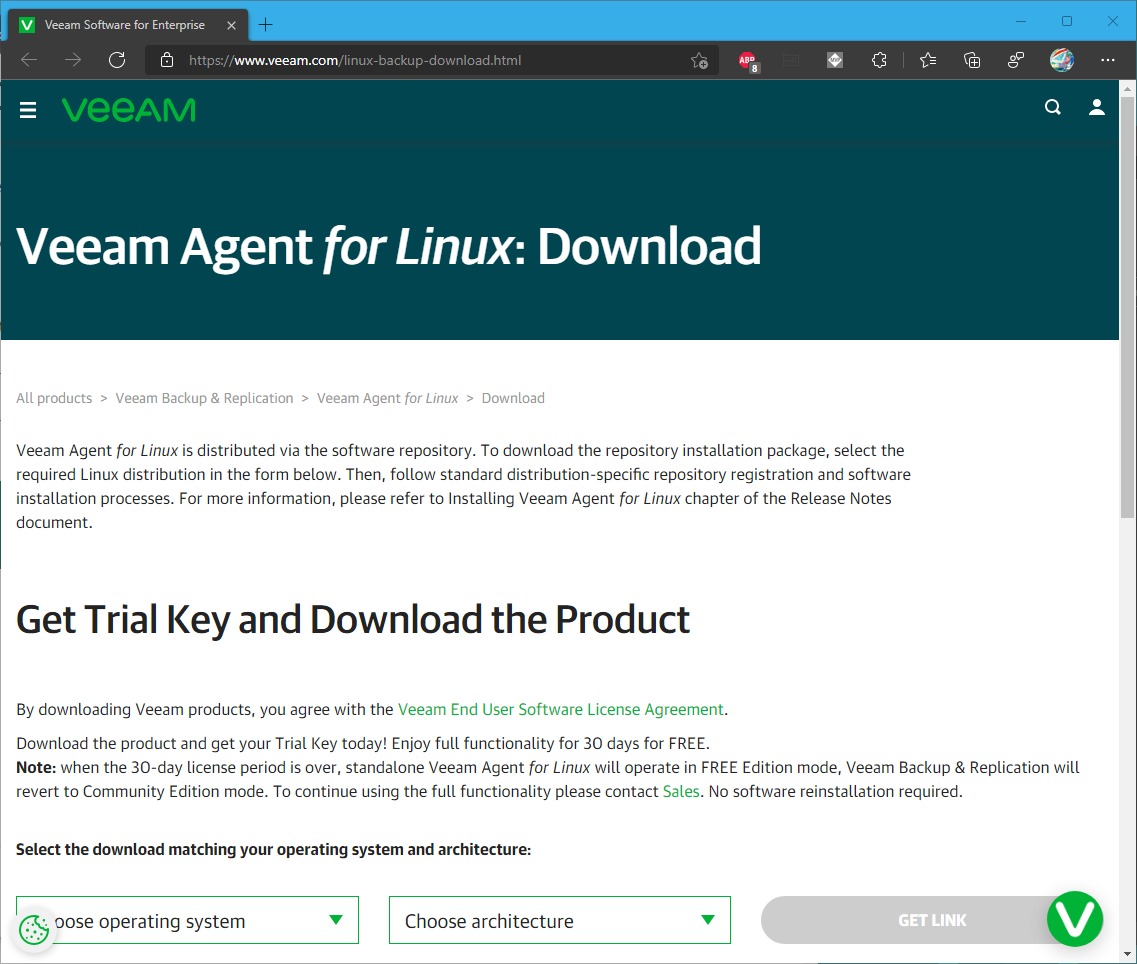
Go to Choose operating system and Choose architecture select:
Debian/Ubuntu x64 (64-bit)
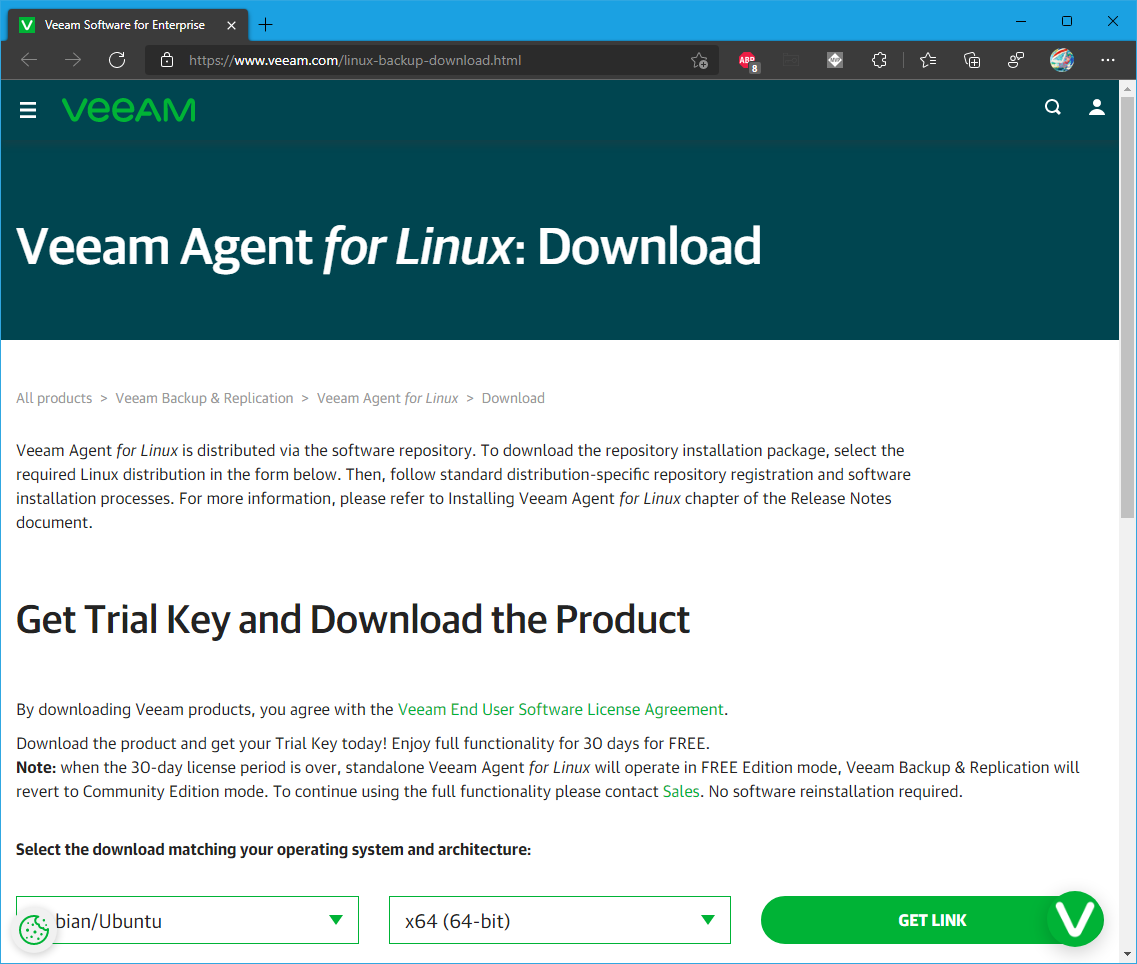
Click the green GET LINK button down-right, and the Download page is shown:
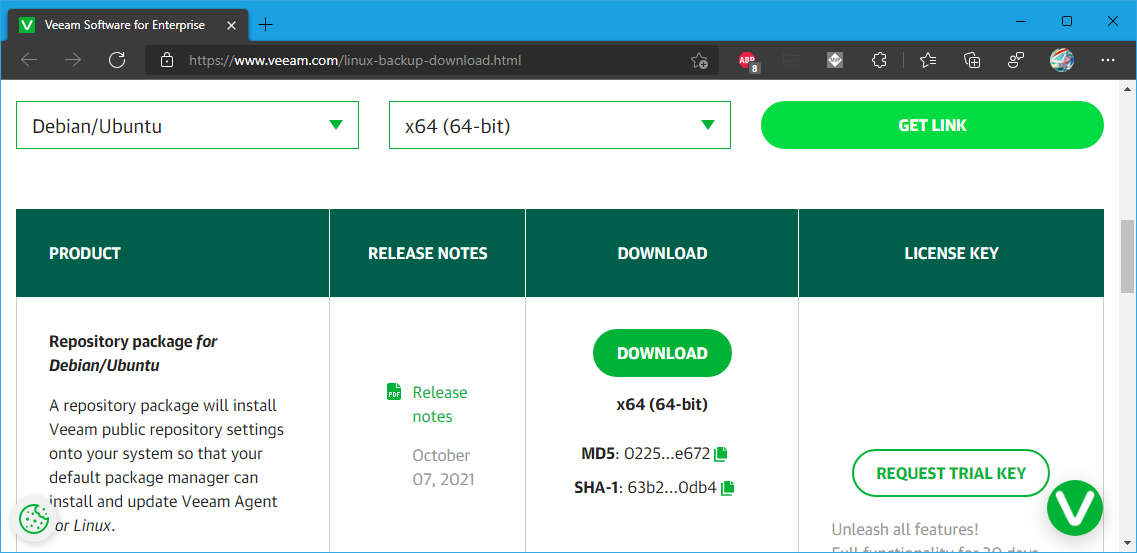
Click the green DOWNLOAD button, and the download will start. Here it will download the package of version 1.0.8:
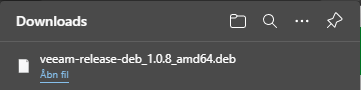
The file will be downloaded to your machine.
When ready, it will be listed in the Downloads info box of Edge. Right-click the filename and, from the popup menu, select Copy download link:
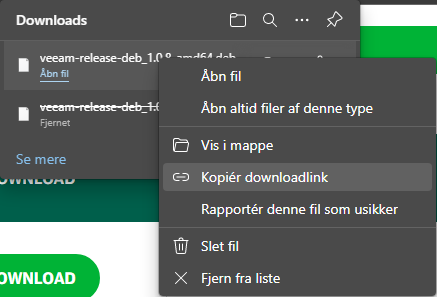
Paste the link somewhere where you can find it later. It will appear similar to:
https://download2.veeam.com/veeam-release-deb_1.0.8_amd64.deb
You may close the browser window.
Now, create a bin folder in the home folder to host the package using the mkdir command:
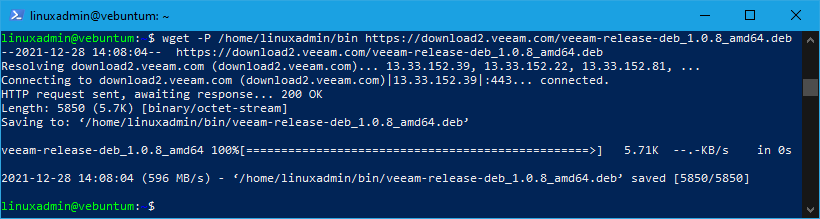
mkdir /home/linuxadmin/binNext, using the command wget, we can download the install package to this folder (one line, no line breaks) from the URL you copied above. The -P is used to specify the local folder:
wget -P /home/linuxadmin/bin https://download2.veeam.com/veeam-release-deb_1.0.8_amd64.debThe output will be similar to this:
Prepare to install the package (the star (*) means what-ever-version) and also install any updates (one line):
sudo dpkg -i /home/linuxadmin/bin/veeam-release* && sudo apt-get update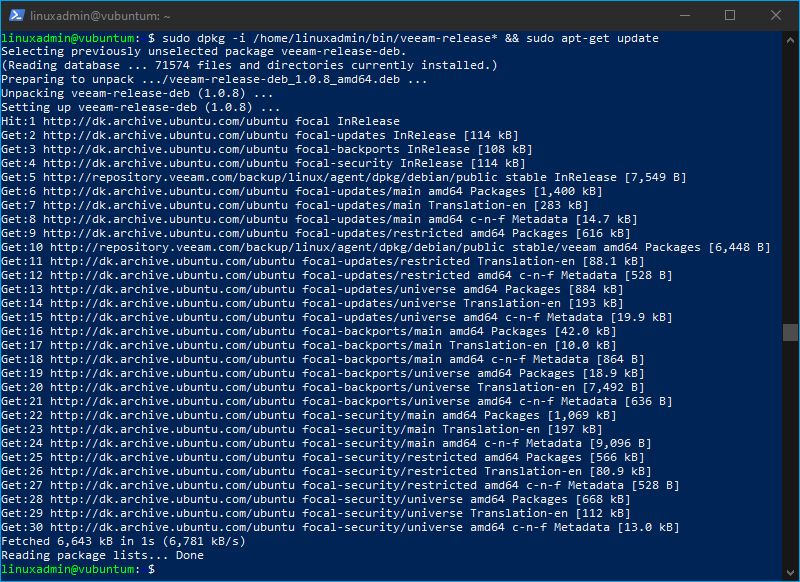
Finally, retrieve and install the agent itself:
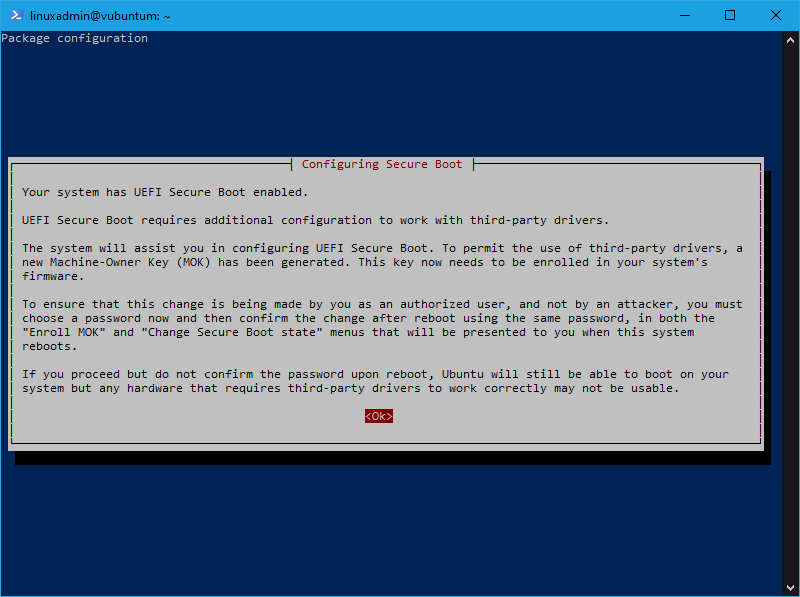
sudo apt-get install veeamThis can take a minute or so, and will run like this:
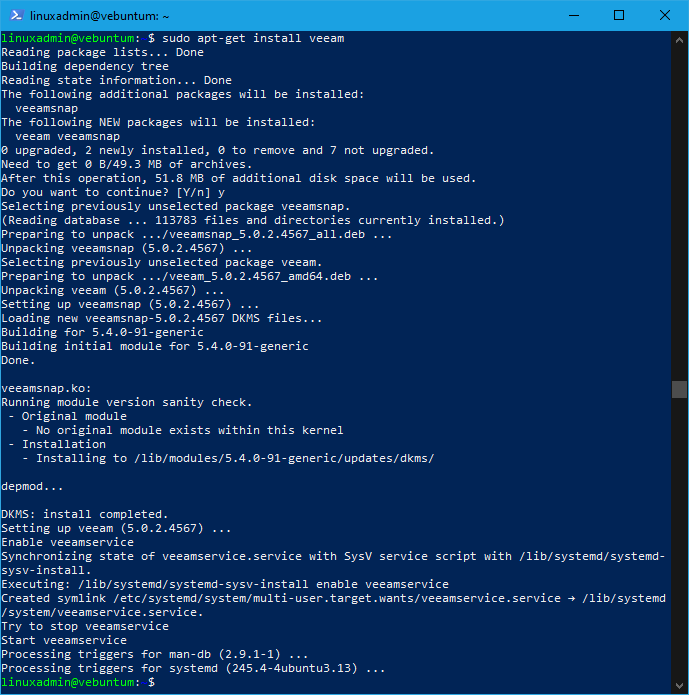
but you will hardly be able to see it, as it at once will pause to show the Configuring Secure Boot window as UEFI is enabled (which you should have):
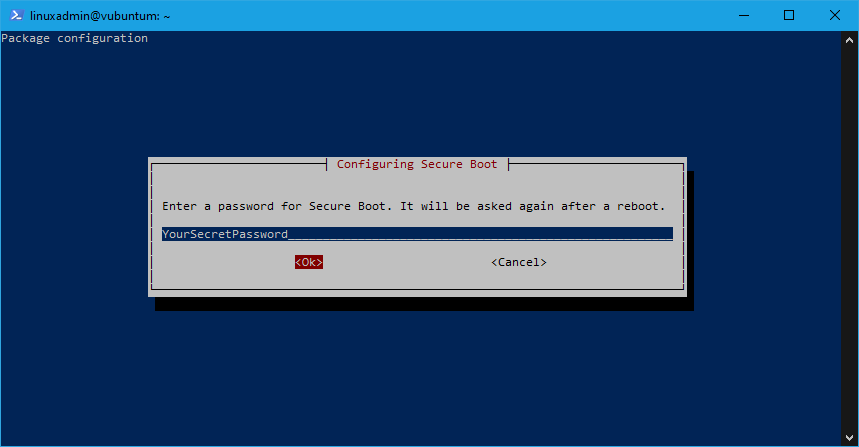
Press OK and enter your secret password for MOK (see later):
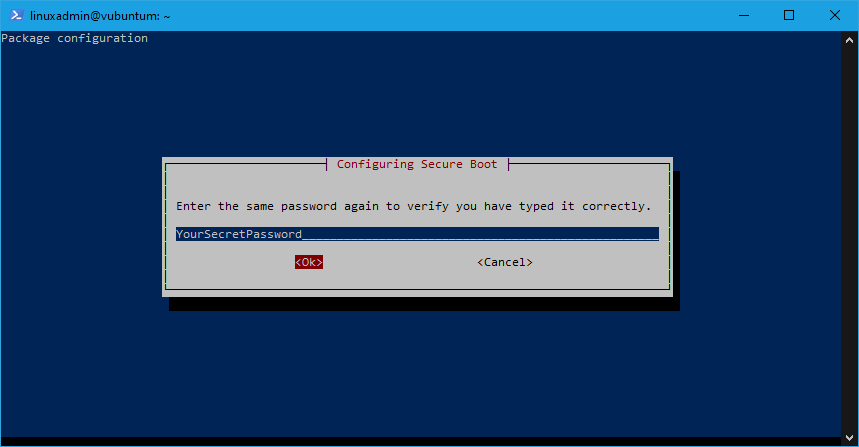
and confirm the password:
The install will now run to an end:
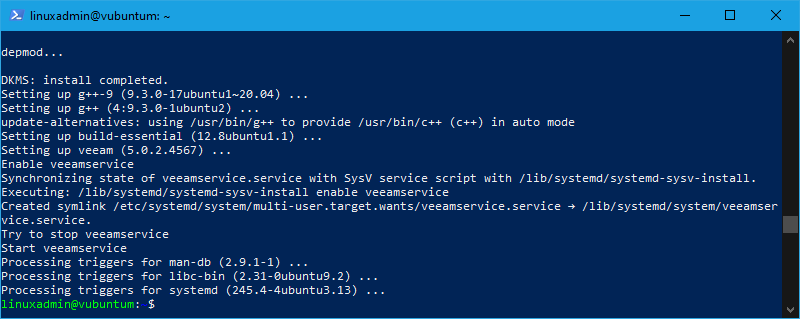
The Veeam Agent for Linux is now installed. Leave the remote control if you use this, and go to the physical machine and its keyboard to manage MOK (Machine Owner Key).
ImportantWhen you have approached the physical machine, reboot it.
Do not proceed further before you have enrolled the Secure Boot password entered above.
To do so, don't use remote control, but go to the physical console
When booted, it will at once launch the MOK management and display:
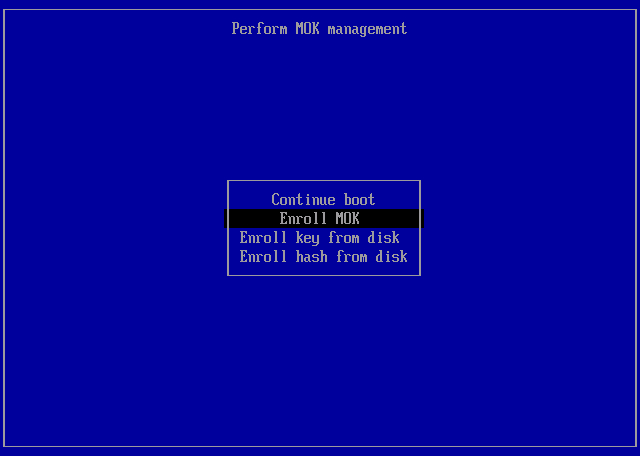
Select Enroll MOK and press Enter to proceed:
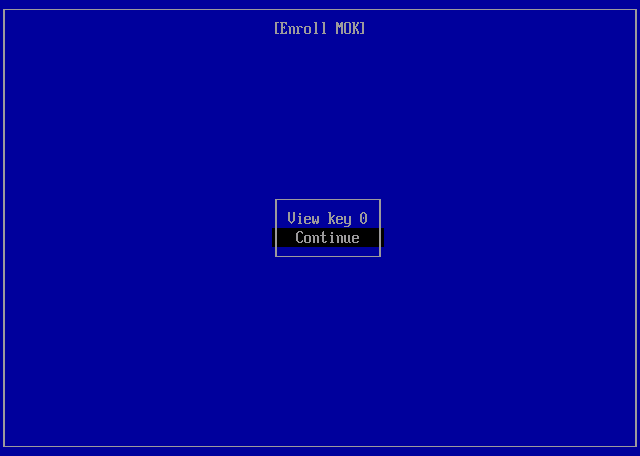
Select Continue and press Enter to proceed:

Select Yes and press Enter to proceed:
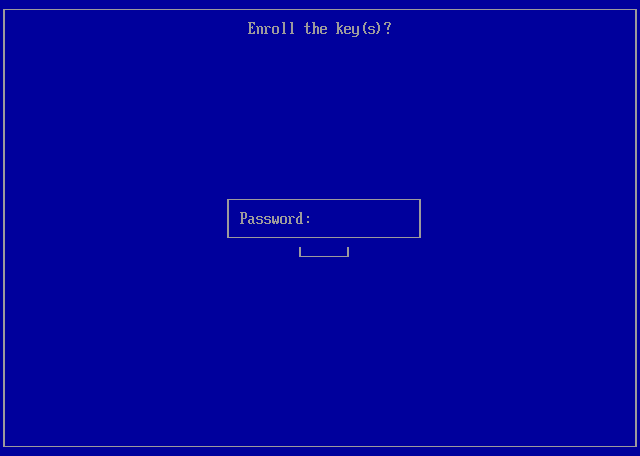
Enter the password (YourSecretPassword as you entered above) and press Enter:
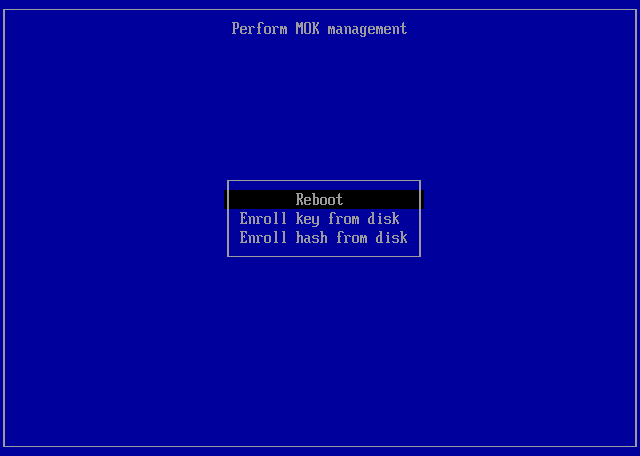
You must reboot now, so select Reboot and press Enter.
The machine will restart, and then you can let the machine boot the normal way.
Proceed with the next steps.
Prepare to create the recovery media
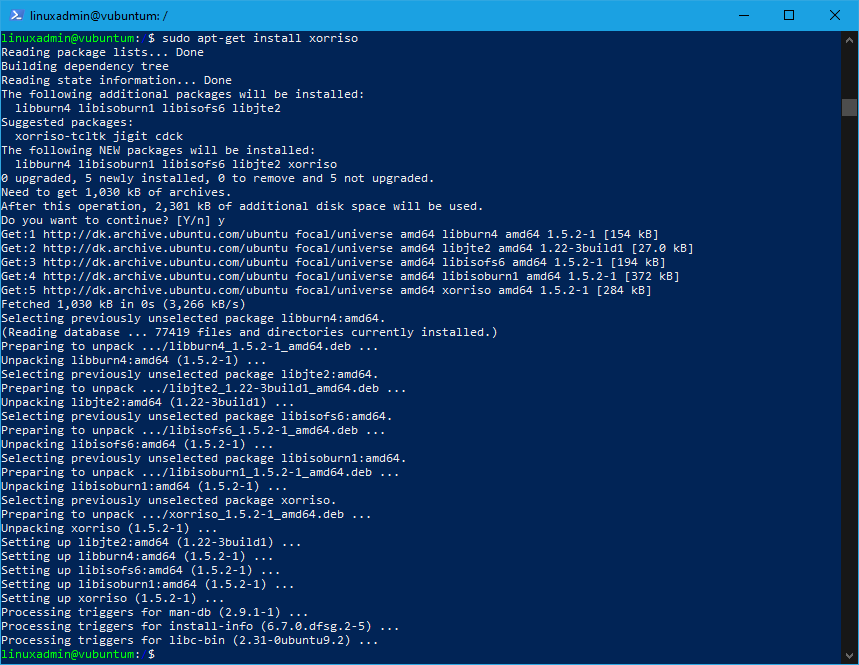
First, a module is needed, that the Veeam Agent for some reason doesn't check for. Install xorriso, or the recovery ISO can't be created.Use this command:
sudo apt-get install xorrisoand it will quickly install:
Also, resources available for the Veeam Agent must be increased, or the creation of the ISO file will fail. Call this command:
sudo systemctl edit veeamservice.serviceand the Nano editor will open its service file (it is blank).
Insert these lines:
[Service]
LimitNOFILE=524288
LimitNOFILESoft=524288
As you will see, there are few rules in Linux; this file, for example, uses the well-known (if you are old enough) syntax of Windows INI files, but it is not named as such.
It should appear like this:
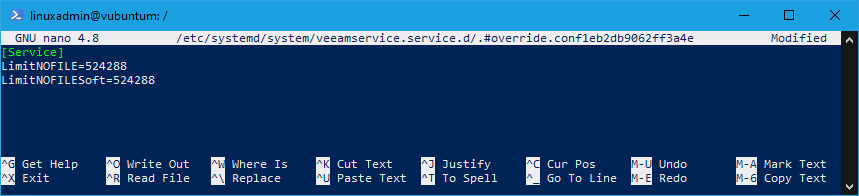
When confirmed, press Ctrl+O and Enter to save the file, and then Ctrl+X to exit.
Finally, restart the veeamservice with these commands:
sudo systemctl daemon-reload
sudo systemctl restart veeamservice.service
Create the recovery ISO file
Now, open the Veeam Agent with this command:sudo veeamAccept the license terms:

Press Enter to open the Custom Recovery Media window:
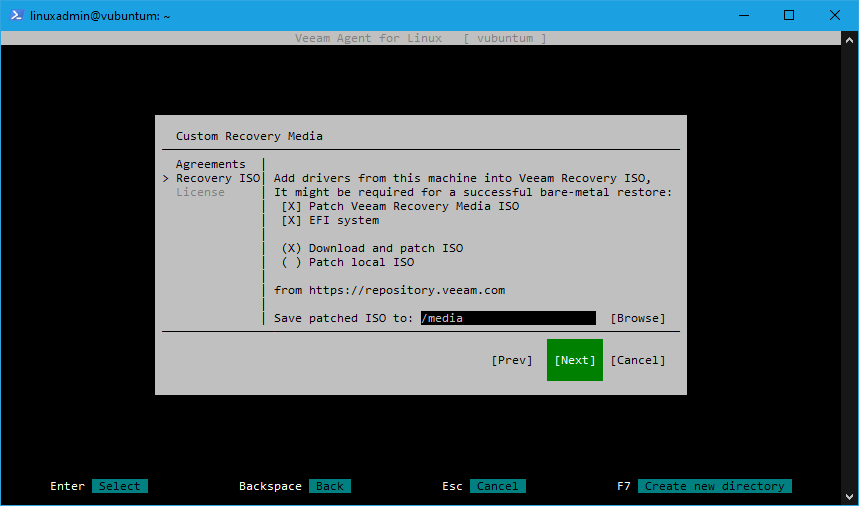
Press Tab a couple of times to navigate to:
- Patch Veeam Recovery Media ISO
Mark this and the next entry, that will show up:
- EFI system
and select to Download and patch ISO.
Also, fill in - or browse to and select - the folder where to save the patched ISO file. Here, /media is chosen.
When ready, press Finish, and the ISO will be build:
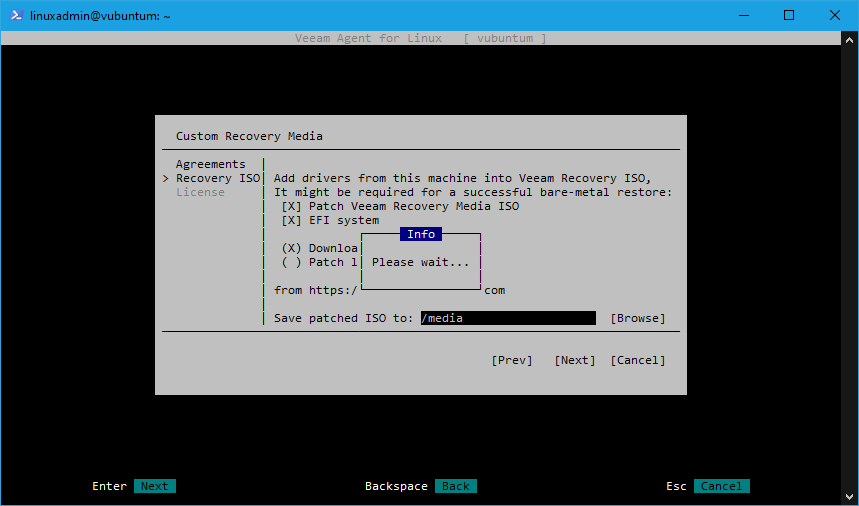
This will take a little while.
When done, the license window is displayed:
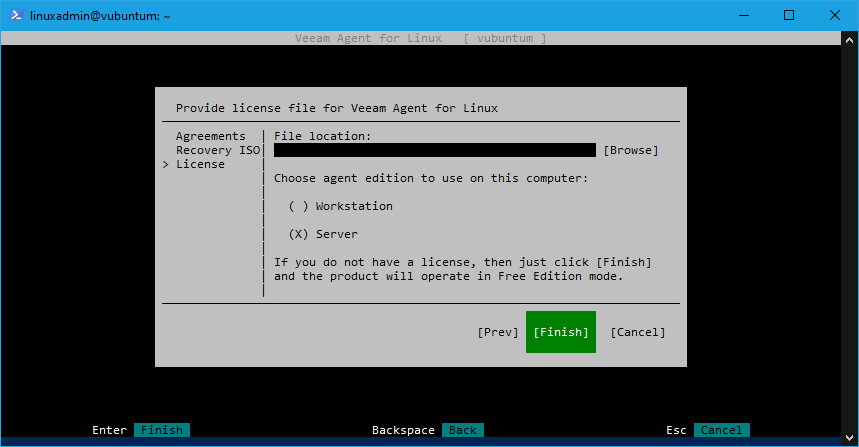
Select Server and click Finish to proceed, and the Welcome message will be displayed:
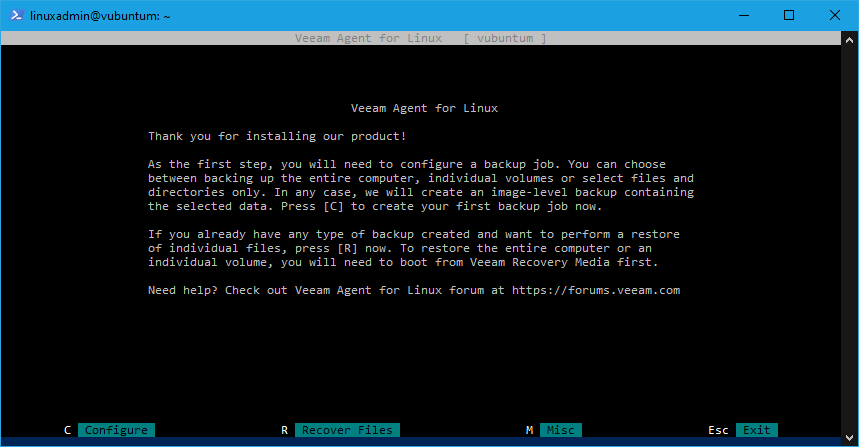
Press Esc to exit to the command line.
This concludes the installation of the Veeam Agent for Linux and the initial creation of a recovery ISO file that can be used for restoring the system.
Create the recovery media
Now, armed with the ISO file just created, it is time to create the physical recovery media - an external USB drive.It can be a stick or an SSD/hard disk as you prefer, but an old USB stick of decent quality will fit, as the requirements are very modest: A capacity of 1 GB will do for Ubuntu 20.x and 2 GB for 22.x.
Insert the USB drive in your Windows workstation and format the drive - preferably not using a quick format - to be sure it is absolutely healthy.
When done, insert the USB drive in the Linux server and run this command to list all the available drives:
sudo fdisk -lThe last disk listed should be the USB drive, most likely labeled /dev/sdg:
Disk /dev/sdg: 960.77 MiB, 1007419392 bytes, 1967616 sectors
Disk model: PDU01_1G 63G2.0
Units: sectors of 1 * 512 = 512 bytes
Sector size (logical/physical): 512 bytes / 512 bytes
I/O size (minimum/optimal): 512 bytes / 512 bytes
Disklabel type: dos
Disk identifier: 0x00bbea81

Device     Boot Start     End Sectors   Size Id Type
/dev/sdg1  *     2048 1967615 1965568 959.8M  7 HPFS/NTFS/exFAT
When located, you can now copy the ISO file to the drive using the dd command.
Here, the file path and the drive respectively are:
- /media/veeam-recovery-amd64-5.0.0.iso
- /dev/sdg
and the full command will be (no line break):
sudo dd bs=4M if=/media/veeam-recovery-amd64-5.0.0.iso of=/dev/sdg status=progress oflag=syncHad you used an internal separate disk, it would most likely have been labelled /dev/sdc.
When the copy is done, your recovery media is ready for use. However, for quick identification, do add a label to the drive, for example VEEAM BOOT, with this command:
$ sudo fatlabel /dev/sdg2 "VEEAM BOOT"If you are the cautious type, you will - of course - pick yet a USB drive and repeat the last steps to have a spare recovery drive, just in case.
Reinstall the Veeam Agent for Linux
In case a reinstall is desired or needed - to update or to correct some misbehaviour - first remove the agent. It can safely be done, as neither the backup job(s) configured, nor the backup history will be removed.Use this command:
sudo apt-get remove veeam veeamsnapThen perform the reinstallation like the install as described above.
Conclusion
The server has now been equipped with a top-class system backup, and a recovery media has been created. These make it possible to perform a bare-metal recovery of the Linux system in case the system drive should cease to function.However, first a backup job must be configured. This will be explained in detail in Part 6 of this series:
Part 6 - Build an immutable backup repository for Veeam Backup & Replication.
I hope you found this article useful. You are encouraged to ask questions, report any bugs or make any other comments about it below.
Note: If you need further "Support" about this topic, please consider using the Ask a Question feature of Experts Exchange. I monitor questions asked and would be pleased to provide any additional support required in questions asked in this manner, along with other EE experts.
Please do not forget to press the "Thumbs Up" button if you think this article was helpful and valuable for EE members.

Have a question about something in this article? You can receive help directly from the article author. Sign up for a free trial to get started.
Comments (0)