PowerBI and the Query Editor - Save time


Veteran in computer systems, malware removal and ransomware topics. I have been working in the field since 1985.
Published:
Browse All Articles > PowerBI and the Query Editor - Save time
Power Business Intelligence (PBI) from Microsoft is fairly robust and easy to use. Still, there are several items in the PowerBI editor that will help you save time - especially in the long run.
PowerBI is extremely easy to use and powerful. I have been using it for a couple of years and am always amazed at what new things I find. There is one caveat, the changes you make to in the query editor can quickly get out of hand and become very difficult to understand. Some light housekeeping as you go along will save a lot of time in the long run and make everything a lot easier to understand.
So first, what is PowerBI?
PowerBI is a way to easily visualize large data sets of differing types (databases, spreadsheets, text files, etc.) and from different sources (local, web, group, personal, etc.). The desktop version comes with many predefined visualizations that are easy to use and understandable.
The Power Query Editor
This is the same editor used by other Microsoft products (like Excel). So you may already be familiar with it.
Let's see how you get to the editor to begin with.
There are two ways to open the editor directly from PowerBI Desktop
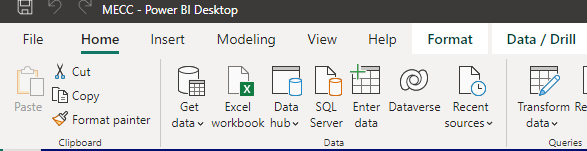
1) Click the Transform data button from the home menu (see the image below)
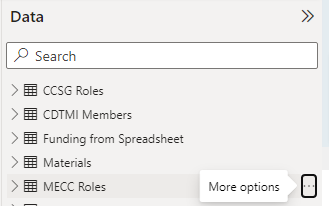
 2) Hover over the three dots to the right of one of the data tables (your sources) to see the "More options" menu
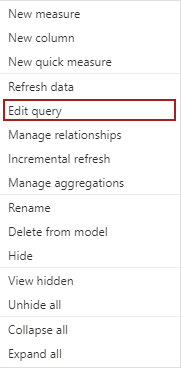
 When the three dots are clicked, more options are displayed. Select Edit query
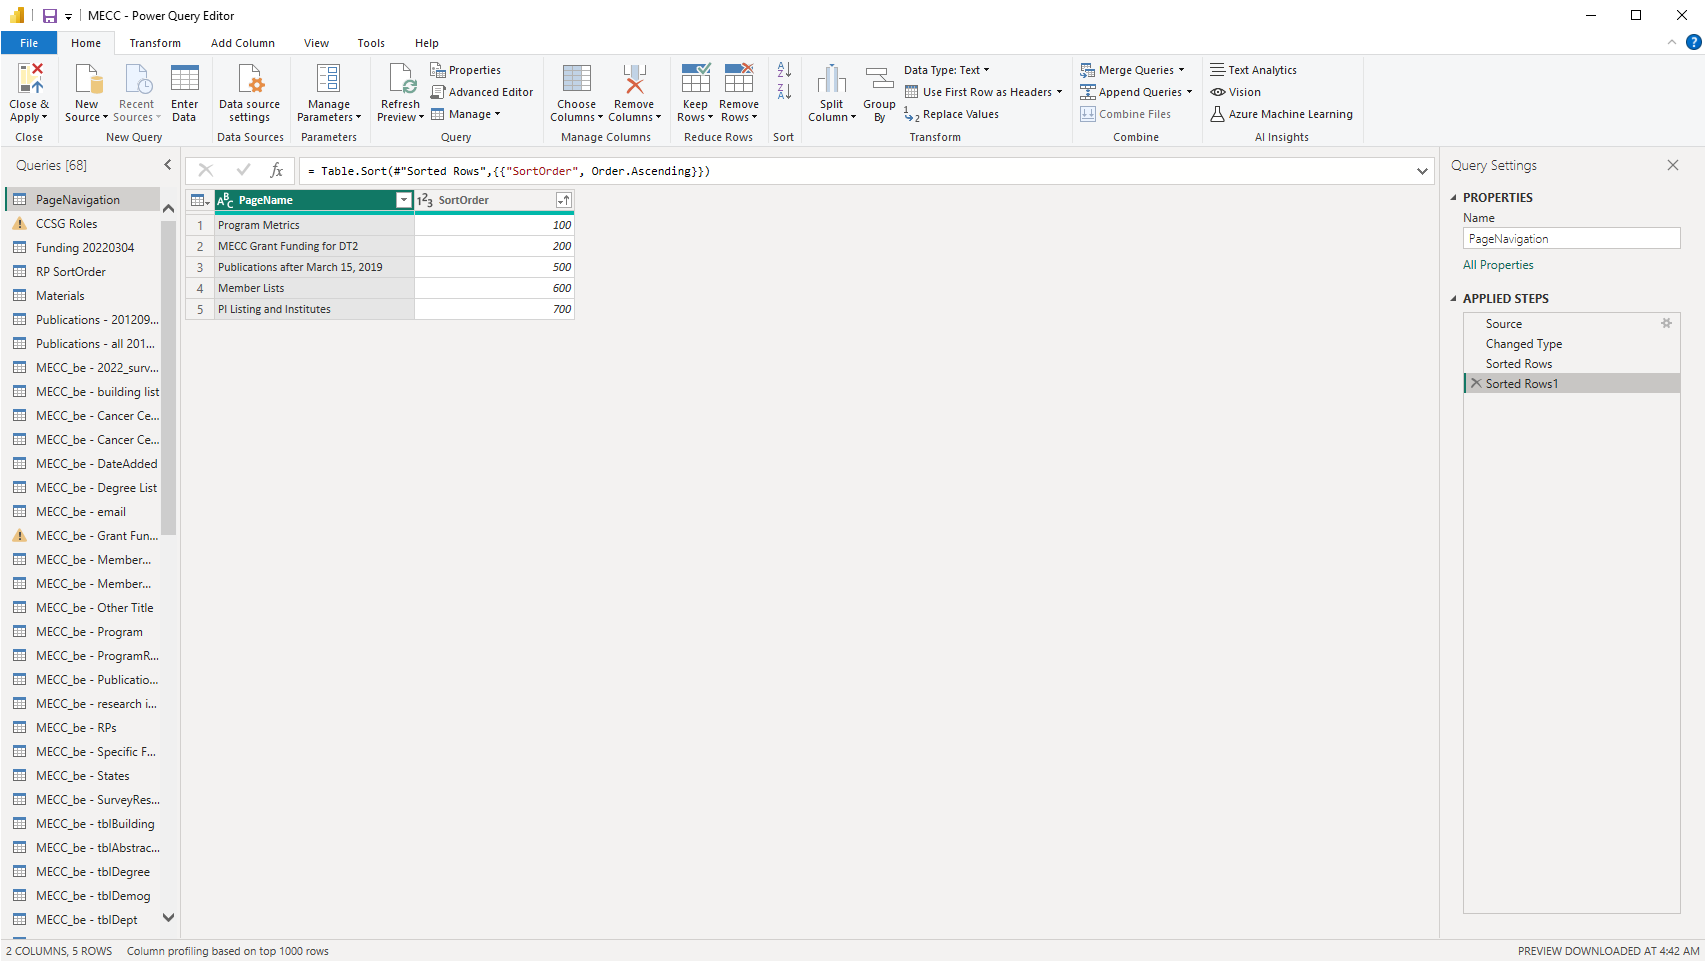
No matter which of the two methods you use to open the Power Query Editor, when it does open it will look like the image below:
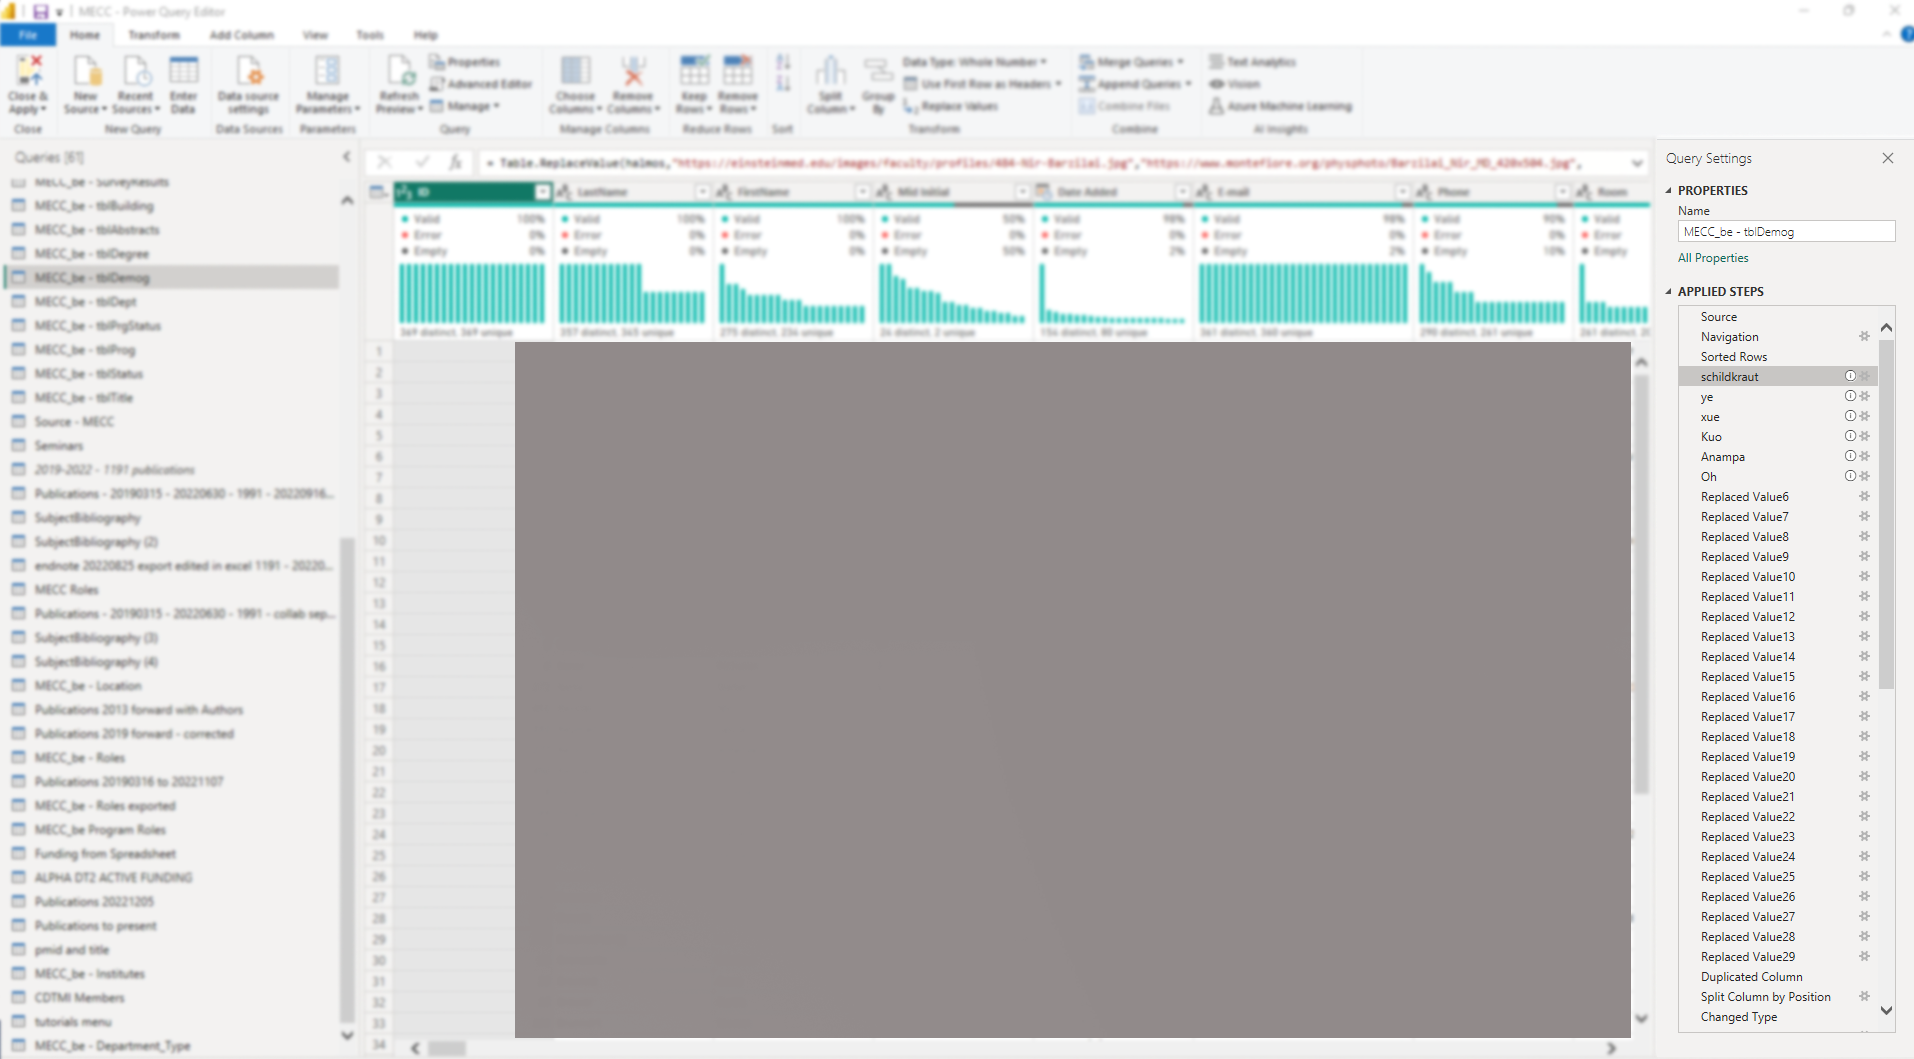 Once the Query editor opens, you will notice that on the right-hand side, there are all the steps that were created to massage this data so that it can be properly used in PowerBI.
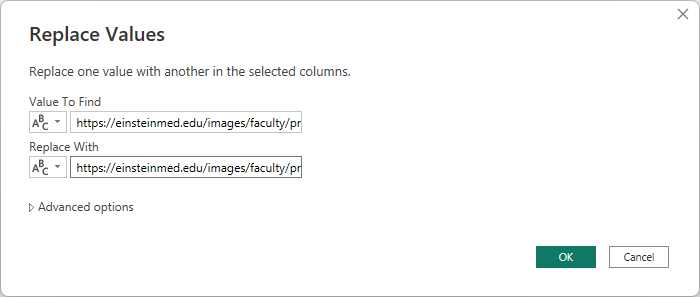
The steps are automatically named to reflect what they do, but the name usually does not reflect their actual function. For instance, the step, Replaced Value, does indeed replace one value with another, but it does not indicate which value was replaced nor for which record. If you are uncertain what the step did, right-click on the gear icon and select "edit setting" to ascertain what exactly was done.
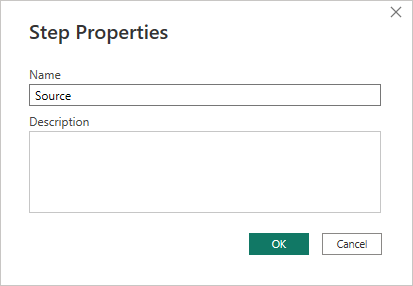
 If I right-click on one of the steps and select properties. The properties box for that step appears.
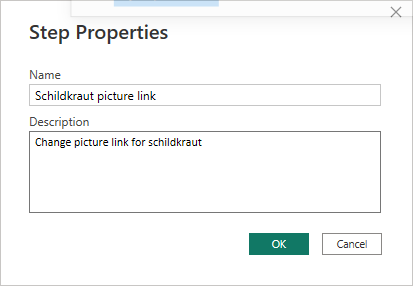
 Fill in a descriptive name of the step and a comment in the description box that says what was done and/or why. A filled properties box is pictured below.
 When you are done, click OK or tab to that field and select OK.
If you do this for each step, you will never have the problem of opening each step to figure out what you did. For instance, if a step changes a link to a picture, one might indicate that that was done in the name and set a comment to that effect in the description box.
Now I can go back and see which changes were made to which people to make this data appear correctly. Preferably one should not need to do anything to the data since it should be scrubbed of all errors before you receive it. Unfortunately, I have rarely seen this scenario in real life.
When you are finished, don't forget to click the Close and Apply button!

Search on E-E for articles about PowerBI

So first, what is PowerBI?
PowerBI is a way to easily visualize large data sets of differing types (databases, spreadsheets, text files, etc.) and from different sources (local, web, group, personal, etc.). The desktop version comes with many predefined visualizations that are easy to use and understandable.
The Power Query Editor
This is the same editor used by other Microsoft products (like Excel). So you may already be familiar with it.
Let's see how you get to the editor to begin with.
There are two ways to open the editor directly from PowerBI Desktop
1) Click the Transform data button from the home menu (see the image below)
When the three dots are clicked, more options are displayed. Select Edit query
No matter which of the two methods you use to open the Power Query Editor, when it does open it will look like the image below:
 Once the Query editor opens, you will notice that on the right-hand side, there are all the steps that were created to massage this data so that it can be properly used in PowerBI.
The steps are automatically named to reflect what they do, but the name usually does not reflect their actual function. For instance, the step, Replaced Value, does indeed replace one value with another, but it does not indicate which value was replaced nor for which record. If you are uncertain what the step did, right-click on the gear icon and select "edit setting" to ascertain what exactly was done.
If I right-click on one of the steps and select properties. The properties box for that step appears.
Fill in a descriptive name of the step and a comment in the description box that says what was done and/or why. A filled properties box is pictured below.
When you are done, click OK or tab to that field and select OK.
If you do this for each step, you will never have the problem of opening each step to figure out what you did. For instance, if a step changes a link to a picture, one might indicate that that was done in the name and set a comment to that effect in the description box.
Now I can go back and see which changes were made to which people to make this data appear correctly. Preferably one should not need to do anything to the data since it should be scrubbed of all errors before you receive it. Unfortunately, I have rarely seen this scenario in real life.
When you are finished, don't forget to click the Close and Apply button!
Search on E-E for articles about PowerBI
Have a question about something in this article? You can receive help directly from the article author. Sign up for a free trial to get started.
Comments (0)