Cool Sidebar Gadget For Your Custom Experts Exchange Badge


Published:
Browse All Articles > Cool Sidebar Gadget For Your Custom Experts Exchange Badge
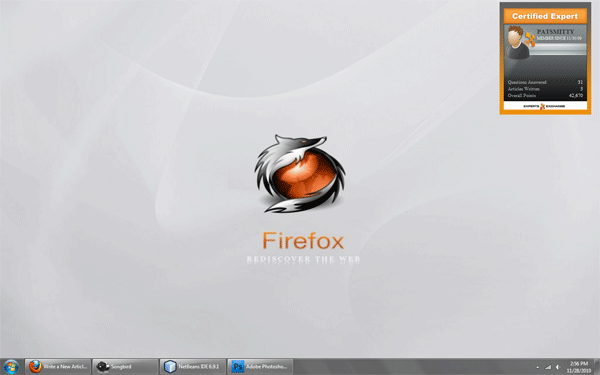 This article will show you how I created a Sidebar Gadget to display my medium-sized Custom Experts Exchange Badge. I'm not a fan of having things on my desktop, but this is a neat little deal to place on your desktop to showcase your EE profile.
A gadget is simply a folder, a HTML file, and a XML file. That's it! Only 3 simple items to create a Windows Sidebar Gadget. (take note that I have only developed this in Windows 7 - I can't vouch for Vista, however I assume this simple example will work on Vista also...)
1. Create a folder on your desktop (we'll move it later) and name it something like "eeBadge.Gadget".
2. Create a XML file inside the folder you created and name it exactly "gadget.xml".
3. Create a HTML file inside the folder you created and name it something like "eeBadge.html".
Okay, now were ready to see what goes inside these 2 files. Let's start with the XML file as that will be the simplest one and once it's setup you won't have to go back to it. The XML file basically puts a 'Name' to your gadget and points to the HTML file that you created. Although not necessary, you can attach an icon to your gadget if you want. Just place the image in the folder you created and reference to it in the XML file. I put the Experts Exchange Logo in there and called it "logo.png".
<?xml version="1.0" encoding="utf-8" ?>
<gadget>
<name>Experts Exchange Gadget</name> <!-- the name of your gadget -->
<version>1.0</version>
<description>Displays Your EE Badge In a Simple Gadget</description> <!-- the description of your gadget -->
<copyright>© Patsmitty.com</copyright>
<icons>
<icon height="48" width="48" src="logo.png" /> <!-- the reference to your icon if applicable-->
</icons>
<hosts>
<host name="sidebar">
<base type="HTML" apiVersion="1.0.0" src="eeBadge.html" /> <!-- the reference to your HTML file -->
<permissions>Full</permissions>
<platform minPlatformVersion="1.0" />
<defaultImage src="logo.png" />
</host>
</hosts>
</gadget>1. the file is named exactly "gadget.xml"
2. the <base> tag references your html file
Now that we have the XML file complete, you can close it and open the HTML file that you created. The shell of your html file should look like this:
<html xmlns="http://www.w3.org/1999/xhtml">
                          <head>
                              <meta http-equiv="Content-Type" content="text/html; charset=Unicode" />
                              <title></title>
                              <link type="text/css" rel="stylesheet" href="http://www.experts-exchange.com/shared/expertBadgesCss.jsp" />
                          </head>
                          <body style="height: 270px; width: 220px;"> <!-- this is the size for the Medium Custom Badge. If you want to show another size of your badge (i.e. small or large) you'll have to modify these dimensions. Small Badge = 350 x 170 (h x w) :: Large Badge = 245 x 320 (h x w) -->
                              <script type="text/javascript">setInterval(addScript, 1800000); // updates the data every 30 minutes</script>

                          </body>
</html>It's time to go to get your badge from experts-exchange.com and copy and paste the code into the body of your HTML file right after the </script> tag. Here is how to get the code for your badge:
1. Go to www.experts-exchange.com and login.
2. Click on 'My Account' towards the top-right of the page
A small drop-down box will appear. Select the "Edit" link to the right of "Profile"3. Select the 'For Experts' tab
4. Follow the 5 Steps on the page to create your Badge and retrieve your code
After you have selected your type, size, options, and zones; Click the "Create Certified Expert Badge" button to generate your code.5. Copy and Paste your code
Copy and Paste your generated code into the body of your HTML file just after the </script> tag.And that's just about it! Save your HTML file and close it. Now all that needs to be done is to move the folder into the right directory. Go to C:->Program Files->Windows Sidebar->Gadgets and place the folder there inside the Gadgets folder.
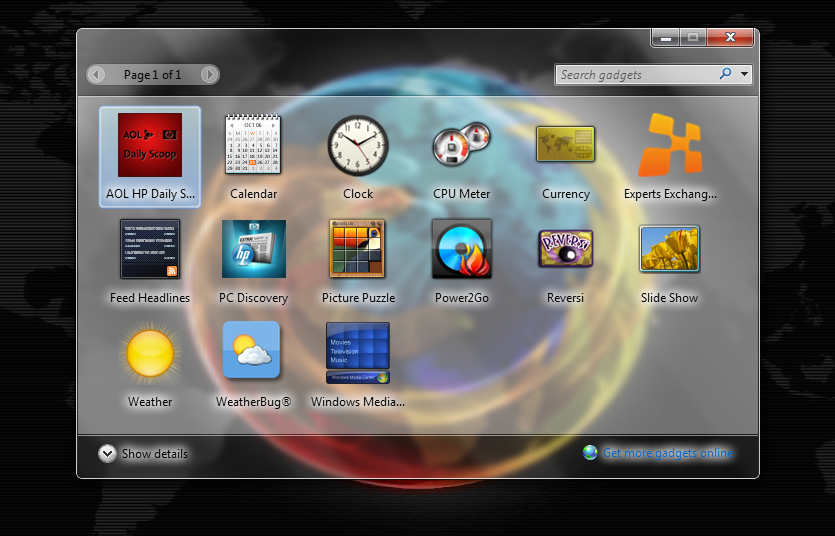
Go to your desktop and right-click, select 'Gadgets' located near the bottom, and you should see your new gadget in the list! Drag it onto your desktop.
Have a question about something in this article? You can receive help directly from the article author. Sign up for a free trial to get started.
Comments (8)
Author
Commented:Commented:
I've googled a bit about this function (i'm no expert of javascript). In every sample i've seen, they always add "()" at the end of the function name. Like this:
setInterval(addScript(), 900000);
Is it the problem? I've modified it to see if it make a difference...
Author
Commented:Commented:
Open in new window
Commented:
I believe that the problem can be fixed by repositioning part of the HTML. I removed line 8 and added this below the EE-generated script:
Open in new window
(right above the </body> tag) Change the interval back to 180000 later.It appears that the EE code expects to manipulate a particular script block, based on its ordinal position within the HTML.
Note: I'm also seeing an odd white border around the gadget rather than the expected gradient fill. It might be related to my OS and IE version (Win7, IE 8)
-- Dan
View More