

Browse All Articles > FreeProxy 4.10 - Installing and Configuring
Lets look at the default installation and configuration of FreeProxy 4.10
REQUIREMENTS
1. FreeProxy 4.10 Application - Can be downloaded here
2. Ensure that you disable the windows firewall on the box
3. Ensure that ICMP is enabled on the box so you can ping it
4. Note that IP of the machine that you are installing the application on as this will be used as the proxy server in your users, internet explorer settings.
5. And ensure that the standard port 8080 is open on your Modem or Router for HTTP traffic
ADDITIONAL RESOURCES
1. FreeProxy Knowledge Base
INSTALLATION
1. After Downloading the application, double click on the setup.exe
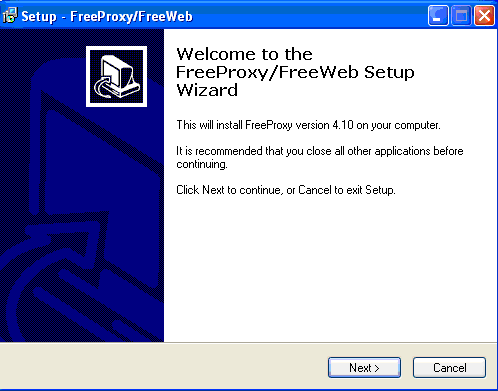
2. You will now see the following welcome screen click next
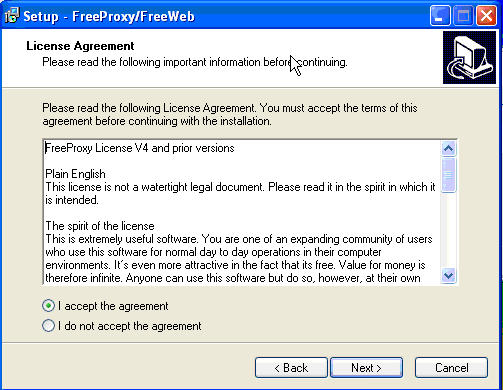
![Welcome Screen]() 3. Next you will have to accept the License Agreement so click "I accept the agreement" and click next
3. Next you will have to accept the License Agreement so click "I accept the agreement" and click next
![License Agreement]() 4. Next screen would ask you where you want to install the application, just leave as default and click next.
4. Next screen would ask you where you want to install the application, just leave as default and click next.
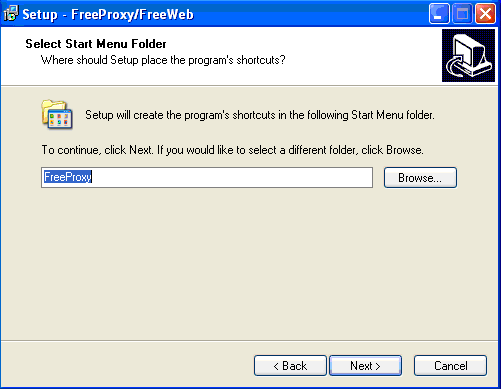
![Application Install Location]() 5. On the following screen you can select where you want the setup to create the program's file shortcut. Leave the default setting and click next
5. On the following screen you can select where you want the setup to create the program's file shortcut. Leave the default setting and click next
![Shortcut Location]() 6. In the next window, click Install and wait for the installation to complete
6. In the next window, click Install and wait for the installation to complete
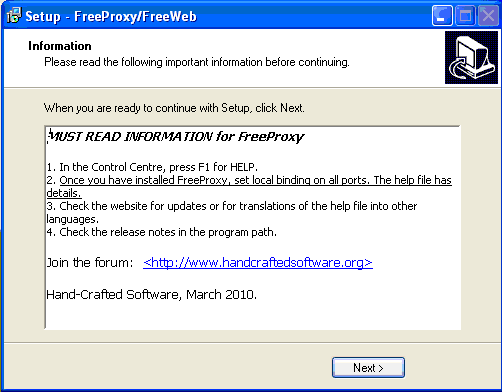
![Ready to Install]() 7. Now you will get the following Setup Information Window click next
7. Now you will get the following Setup Information Window click next
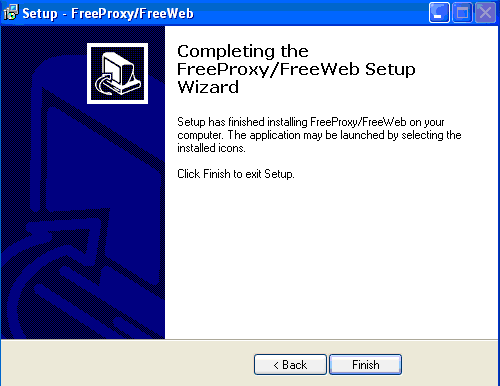
![FreeProxy Setup]() 8. On the last window below click finish
8. On the last window below click finish
![Finish]()
FREEPROXY CONFIGURATION TO ROUTE TRAFFIC TO ADSL MODEM / ROUTER
1. Open FreeProxy Control Centre by clicking on the icon in your start menu
![FreeProxy Control Centre Icon]() 2. Next the control centre will open, and looks like this:
2. Next the control centre will open, and looks like this:
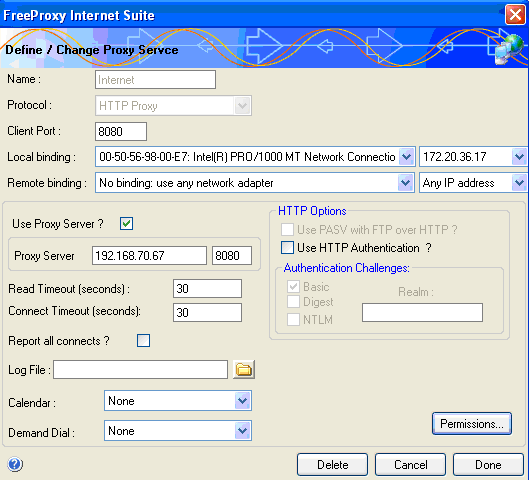
![Control Centre]() 3. Double click on the Proxy Entry under the "Type" column to view the proxy settings and ensure that your settings are as follow:
3. Double click on the Proxy Entry under the "Type" column to view the proxy settings and ensure that your settings are as follow:
3.1 In the Local binding: Select your Network Connection and IP address
3.2 Tick the Use Proxy Server? and enter the IP address of your ADSL Modem or Router
3.3 Ensure that your modem or router is open for http traffic on port 8080 and leave that in tact. So you settings should look something like this:
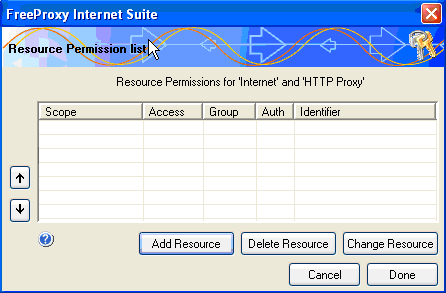
![Proxy Settings]() 4. Now on the window above click on the Permissions button to view the Resource Permission List as seen below:
4. Now on the window above click on the Permissions button to view the Resource Permission List as seen below:
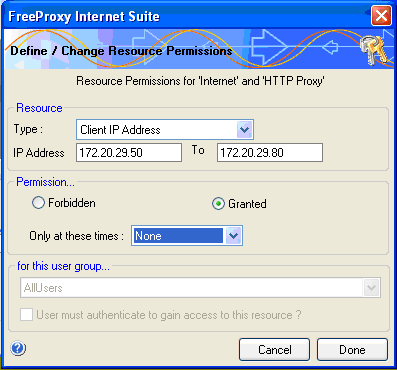
![Permission List]() 5. Click on the Add Resource button and ensure that you do the following:
5. Click on the Add Resource button and ensure that you do the following:
5.1 In the Type drop down list select "Client IP Address"
5.2 In the IP Address type the IP Address Range that you want to be able to access the internet through the proxy: In this example I will use 172.20.29.50 to 172.20.29.80. So all clients in between that range would be able to use the proxy server after the setup has been completed.
5.3 Ensure that the Granted radio button is selected
5.4 Leave the "Only at these times:" on None and ensure that your window looks like the below one and click Done
![Define Permissions]() 6. Click Done on the Resource Permission List
6. Click Done on the Resource Permission List
7. Click Done on the Define Proxy Service window
USER CONFIGURATION
1. Now on one of your user's machines that is in the IP address range that you have defined in the above setup, open Internet Explorer.
2. Click on Tools > Internet Options > and click on the Connections Tab (NB: If you don't see the tools menu in IE hit the Alt button on your keyboard to show it in your browser)
3. Now click on the LAN Settings button
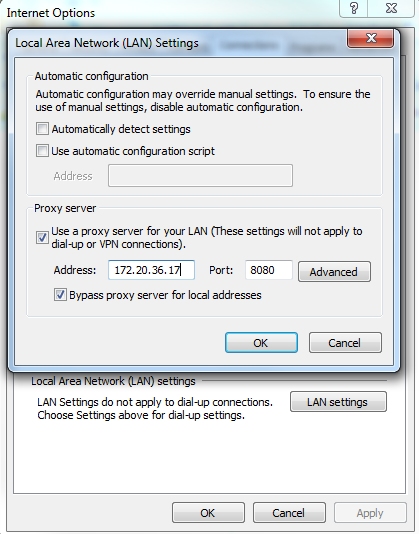
4. Now tick the "Use a proxy server for your LAN..."
5. Enter the IP Addres for the computer name that you just installed FreeProxy on and enter 8080 in the port field and also select the "Bypass proxy server for local addresses" tick box
![IE Proxy Settings]() 6. Now click OK > OK and Close Internet Explorer
6. Now click OK > OK and Close Internet Explorer
7. And open Internet Explorer again and Browse away.
Please vote and let me know if this was helpful.
Kind Regards,
Hendrik Wiese
REQUIREMENTS
1. FreeProxy 4.10 Application - Can be downloaded here
2. Ensure that you disable the windows firewall on the box
3. Ensure that ICMP is enabled on the box so you can ping it
4. Note that IP of the machine that you are installing the application on as this will be used as the proxy server in your users, internet explorer settings.
5. And ensure that the standard port 8080 is open on your Modem or Router for HTTP traffic
ADDITIONAL RESOURCES
1. FreeProxy Knowledge Base
INSTALLATION
1. After Downloading the application, double click on the setup.exe
2. You will now see the following welcome screen click next
 3. Next you will have to accept the License Agreement so click "I accept the agreement" and click next
 4. Next screen would ask you where you want to install the application, just leave as default and click next.
 5. On the following screen you can select where you want the setup to create the program's file shortcut. Leave the default setting and click next
 6. In the next window, click Install and wait for the installation to complete
 7. Now you will get the following Setup Information Window click next
 8. On the last window below click finish
FREEPROXY CONFIGURATION TO ROUTE TRAFFIC TO ADSL MODEM / ROUTER
1. Open FreeProxy Control Centre by clicking on the icon in your start menu
 2. Next the control centre will open, and looks like this:
 3. Double click on the Proxy Entry under the "Type" column to view the proxy settings and ensure that your settings are as follow:
3.1 In the Local binding: Select your Network Connection and IP address
3.2 Tick the Use Proxy Server? and enter the IP address of your ADSL Modem or Router
3.3 Ensure that your modem or router is open for http traffic on port 8080 and leave that in tact. So you settings should look something like this:
 4. Now on the window above click on the Permissions button to view the Resource Permission List as seen below:
 5. Click on the Add Resource button and ensure that you do the following:
5.1 In the Type drop down list select "Client IP Address"
5.2 In the IP Address type the IP Address Range that you want to be able to access the internet through the proxy: In this example I will use 172.20.29.50 to 172.20.29.80. So all clients in between that range would be able to use the proxy server after the setup has been completed.
5.3 Ensure that the Granted radio button is selected
5.4 Leave the "Only at these times:" on None and ensure that your window looks like the below one and click Done
 6. Click Done on the Resource Permission List
7. Click Done on the Define Proxy Service window
USER CONFIGURATION
1. Now on one of your user's machines that is in the IP address range that you have defined in the above setup, open Internet Explorer.
2. Click on Tools > Internet Options > and click on the Connections Tab (NB: If you don't see the tools menu in IE hit the Alt button on your keyboard to show it in your browser)
3. Now click on the LAN Settings button
4. Now tick the "Use a proxy server for your LAN..."
5. Enter the IP Addres for the computer name that you just installed FreeProxy on and enter 8080 in the port field and also select the "Bypass proxy server for local addresses" tick box
 6. Now click OK > OK and Close Internet Explorer
7. And open Internet Explorer again and Browse away.
Please vote and let me know if this was helpful.
Kind Regards,
Hendrik Wiese
Have a question about something in this article? You can receive help directly from the article author. Sign up for a free trial to get started.
Comments (1)
Commented: