A review of my experience with pCloud storage


Introduction
When you visit the pCloud Storage website, there's nothing particularly striking about it. At first glance, it seems like many others that I've tried, including Dropbox, Google Drive, Microsoft OneDrive, and countless others that I've trialled at one stage or another. All have their strengths and weaknesses, but none have ever impressed me as much as pCloud has, mostly due to its user interface and plans available, which is what motivated me to write this review.
Unlike other cloud storage services, pCloud is the only one I've personally heard of that offers a lifetime subscription. That on its own made it stand out for me. There is also a family membership option. But it was the end user interface and ease with which you can connect up the drive to both a MAC and Windows PC which struck me as much better than other offerings. I'll show the process in this article.
Of course, user interfaces are subjective for everyone. What I love, others will find fault with - and that's just the "human nature" of the beast. You can't please everyone, so let me explain what I see so appealing about it.
Getting Started and Installation
For me, this was both a pleasant experience and a breeze. Here I'll describe the simple process using a Windows 10 machine.
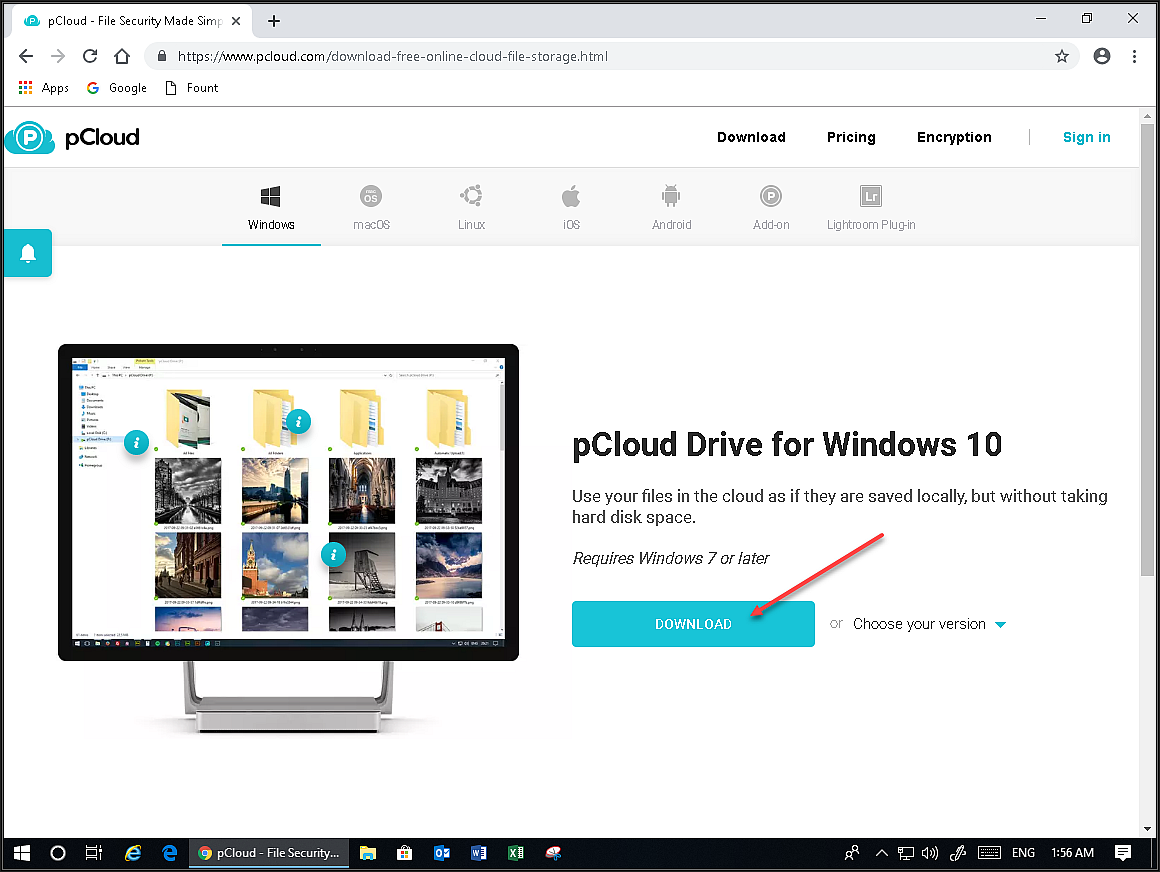
Step 1. Head over to https://www.pcloud.com/download-free-online-cloud-file-storage.html and click the Download button. Save the installation file to your downloads folder or desktop.
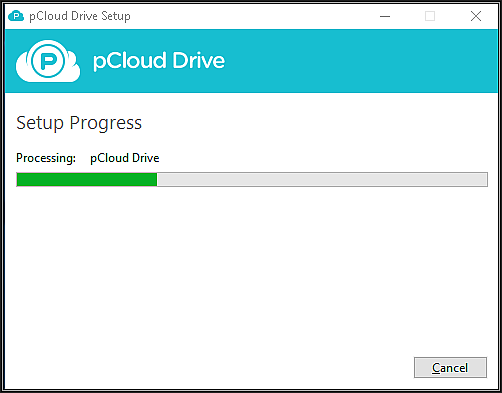
Step 2. Run the small pCloud_Windows_3.8.0.exe (at time of writing) installation file you've saved and follow the prompts.
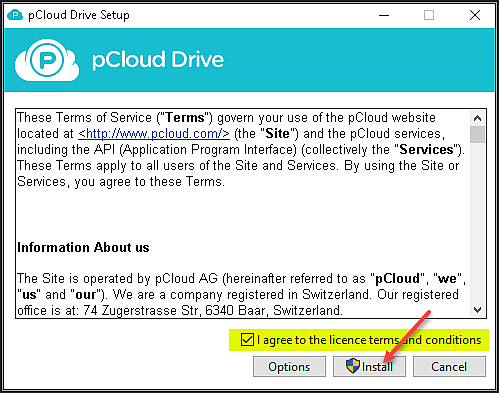
Windows Security will prompt you to allow the installation of the device Software drivers by EldoS Corporation. This is quite safe, so go ahead and give your permission by clicking the Install button.

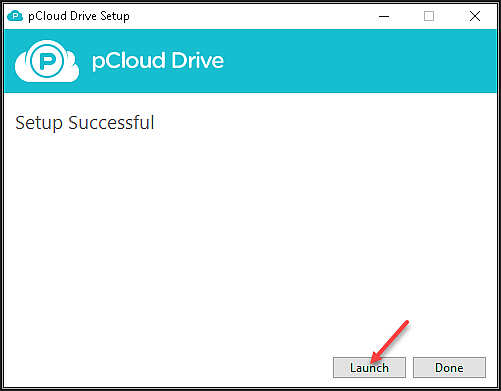
Once setup has completed, click the Launch button.
Step 3. It's now time to create a free account for yourself. We could have done this before installing the client-side Software, but I found it just as quick and easy to do it during the setup process. You can also use your Facebook or Google account details if you prefer as well.
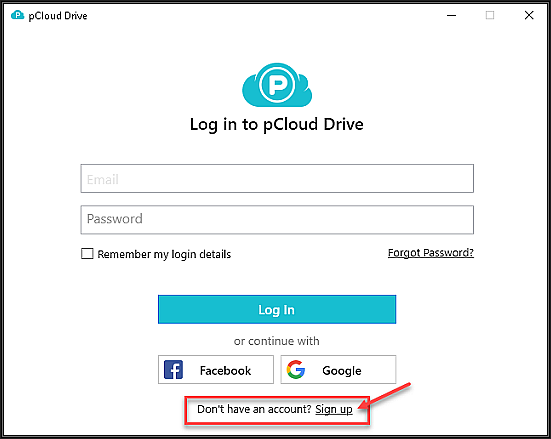
Enter your email address, password, agree to the Terms and Conditions and click the Register button.
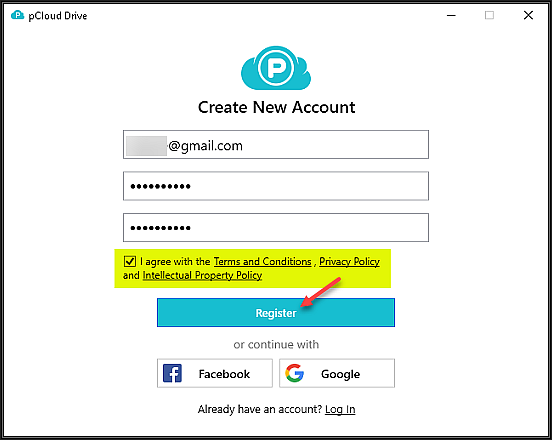
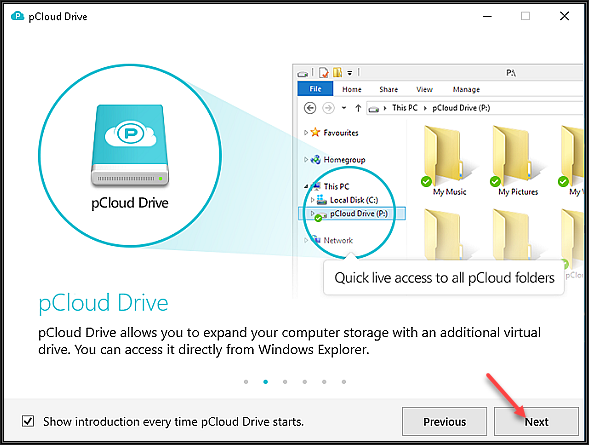
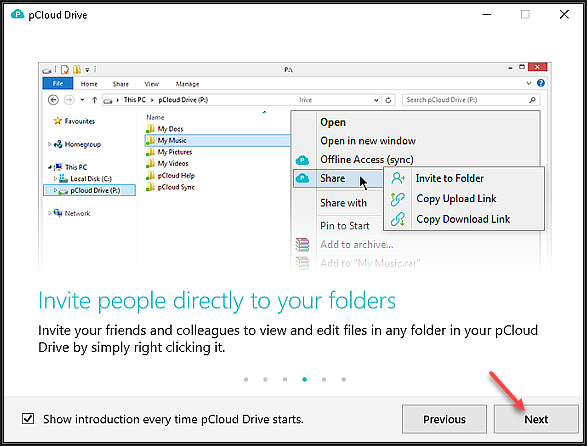
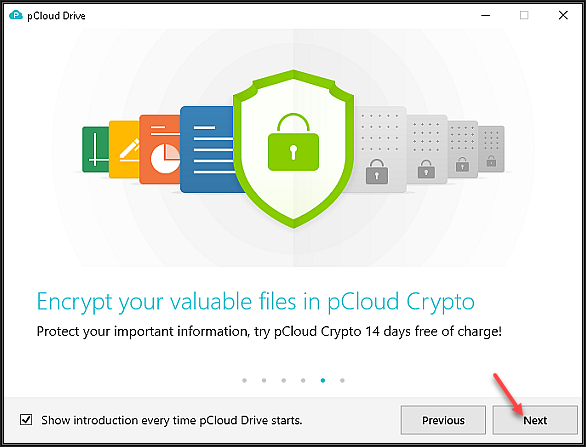
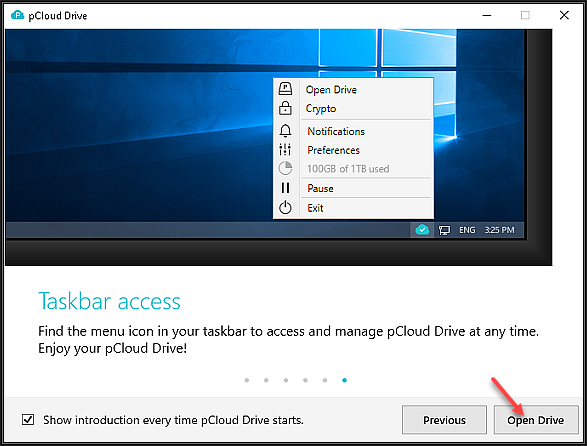
And that's all there is to it. Go through the six steps to quickly learn how easy this Software is to use and some of the features that are available to you by clicking the Next button.
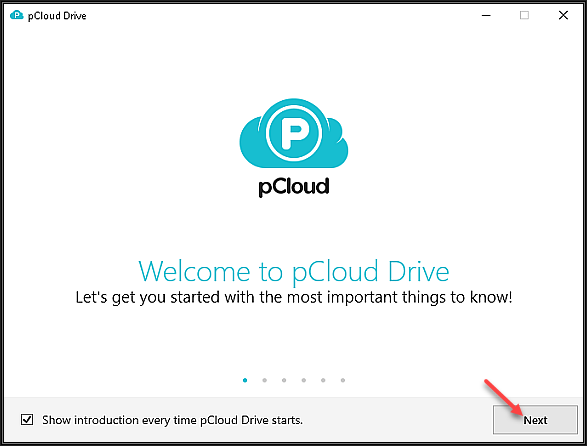
Here's a preview of what you get...
Tip! - Click any graphic to get a full sized view
 |
 |
 |
 |
 |
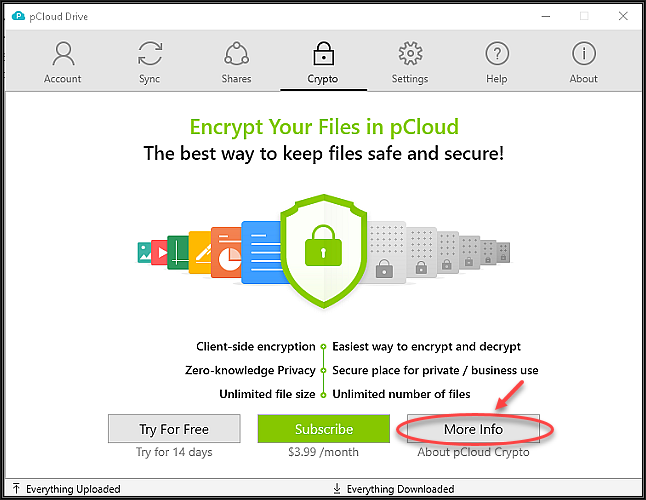 |
The Crypto Challenge
If you click on the More Info button in the last screenshot above, you'll get to read about some extraordinary claims, such as the way pCloud's Crypto encrypts your sensitive files, on any device so that they're always available to you, but invisible to others. Further, pCloud are so confident in their Crypto product, that they claim to have built client-side encryption that nobody can hack!
To prove that, they challenged hackers from all over the world, participants from top universities, including Berkely, Moston, MIT and 613 other organizations to put their encryption system to the test. They offered $100,000 to anyone who could hack their system, but none of them, 2,680 participated in the challenge for six months, yet none succeeded in doing so and claiming the prize.
You can read more about the pCloud Crypto $100,000 Challenge here. Pretty impressive stuff.
Defaults and Settings
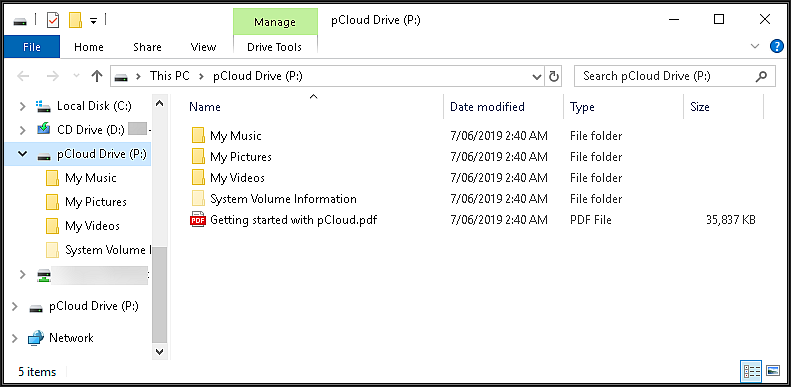
By default, as soon as the pCloud Software has been installed as per the above procedure, it will automatically set up a mapped drive to your online cloud storage.
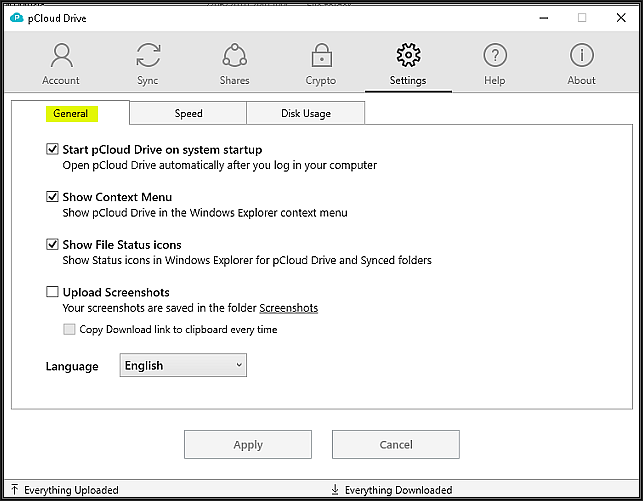
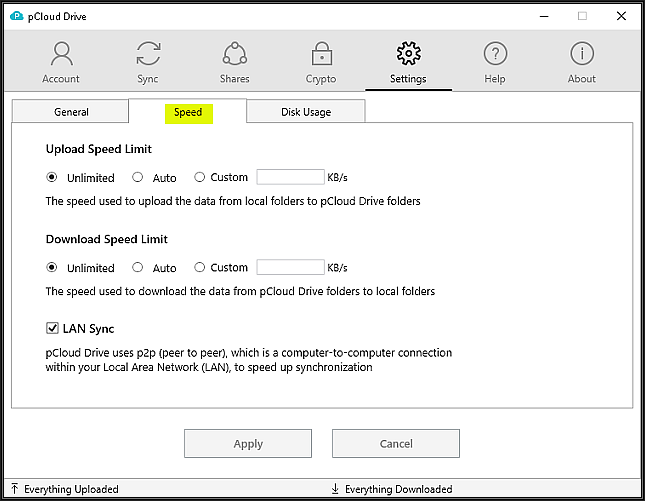
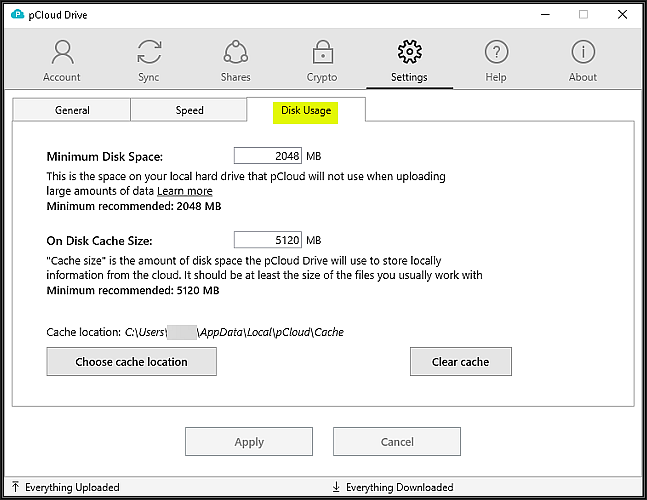
And here are the basic configuration settings that are available to you — both intuitive and simplicity itself.
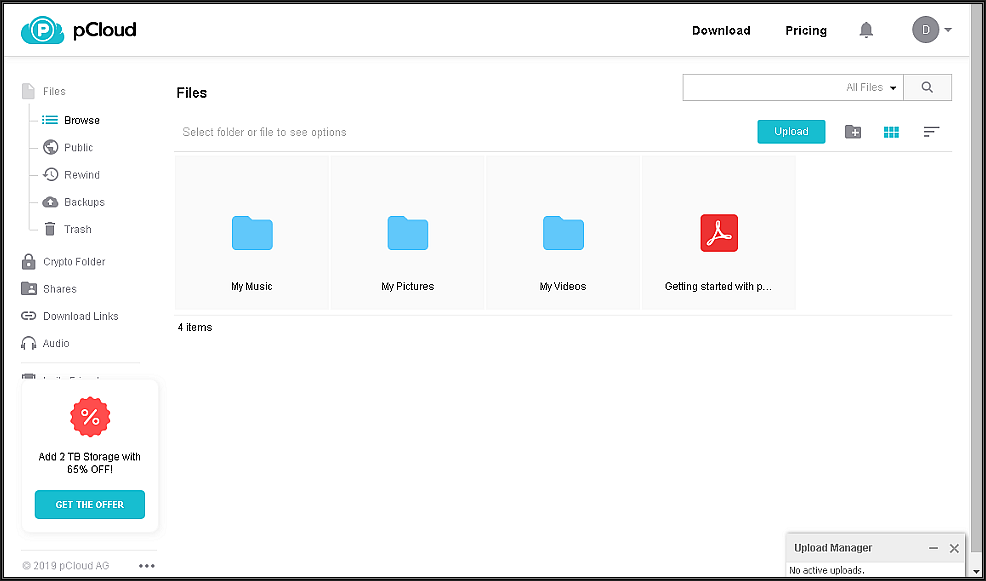
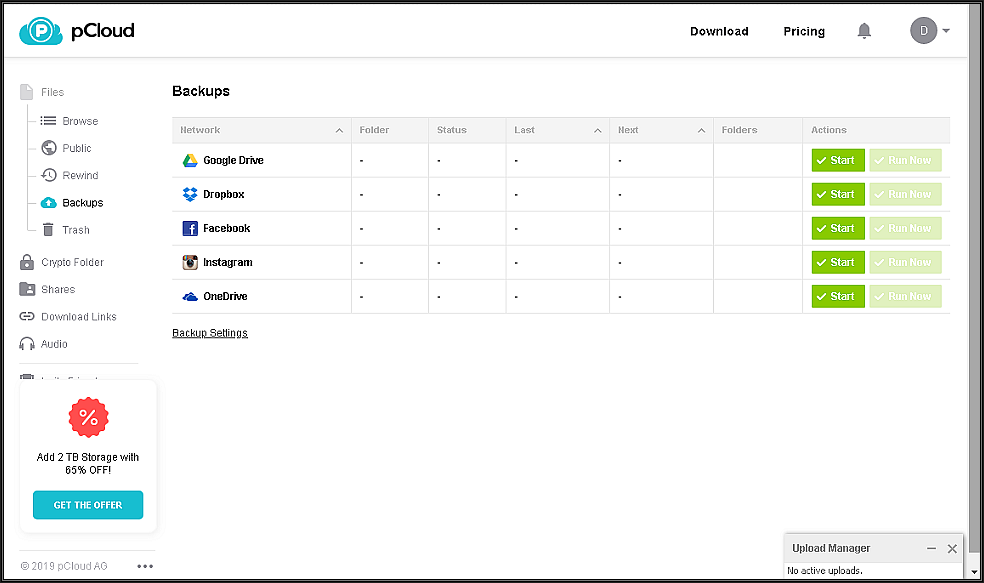
Finally, pCloud, like all the others, also has a web interface that you can use with any device that has a web browser. Here's a couple of snapshots of what their web interface looks like.
What I like most about pCloud
Apart from all of the standard features one would expect from any cloud storage server, pCloud has:
- A generous amount of up to 10 GB of Free Storage - Forever
- Lifetime Membership Subscription option - Never pay a monthly or yearly fee again
- Monthly or Yearly premium membership costs are highly competitive - Compare them with the others
- Ease of use - I find it far more intuitive than other well-known offerings. Try it out yourself and see if you agree
- Fast File Synchronization - Limited only by "your" upload and download speeds
- Has a built-in Audio player that handles just about any audio format with ease. It also has an integrated Video and Photo viewer as well
- Multiple OS platforms supported, including Mac, Linux, Windows XP, Windows Vista, Windows 7, Windows 8, Windows 10, IOS and Android for mobiles
- Any screenshots you take can be set to upload and be saved to your pCloud drive automatically - I use that functionality a lot
Those are my favourite features - to get a list of everything that's available or if you have any questions, visit their General Help Center page. I think you'll be pleasantly surprised.
I hope you found this review useful. I discovered pCloud by accident and am now loving it. Give it a whirl - it's free to try, and you've nothing to lose, yet potentially much to gain.
You are encouraged to ask questions, report any bugs or make any other comments about it below.
Note: If you need further "Support" about this topic, please consider using the Ask a Question feature of Experts Exchange. I monitor questions asked and would be pleased to provide any additional support required in questions asked in this manner, along with other EE experts...
Please do not forget to press the "Thumb's Up" button if you think this article was helpful and valuable for EE members.
It also provides me with positive feedback. Thank you!

Have a question about something in this article? You can receive help directly from the article author. Sign up for a free trial to get started.
Comments (0)