Xpdf - PDFimages - Extract Images from PDF Files
Posted on
22,501 Points
5:14
 Joe Winograd
50+ years in computers
EE FELLOW 2017 — first ever recipient of Fellow award
MVE 2015,2016,2018
CERTIFIED GOLD EXPERT
DISTINGUISHED EXPERT
EE FELLOW 2017 — first ever recipient of Fellow award
MVE 2015,2016,2018
CERTIFIED GOLD EXPERT
DISTINGUISHED EXPERT
This second video of my Xpdf series discusses and demonstrates the PDFimages utility, which, in a single command, is able to extract all the images from a PDF file and save each one in a separate image file (PBM, PPM, or JPG). It does this via a command line interface, making it suitable for use in batch files, programs, and scripts — any place where a command line call can be made.
You'll see that this video says it is "Part 2 of 3". However, after publishing the first three tutorials, I decided to do one for each of the other tools, as well as one for the Xpdf configuration file (xpdfrc). Links to all of the videos are in the first video in this series.
You'll see that this video says it is "Part 2 of 3". However, after publishing the first three tutorials, I decided to do one for each of the other tools, as well as one for the Xpdf configuration file (xpdfrc). Links to all of the videos are in the first video in this series.
Video Steps
1. Download and install the software.
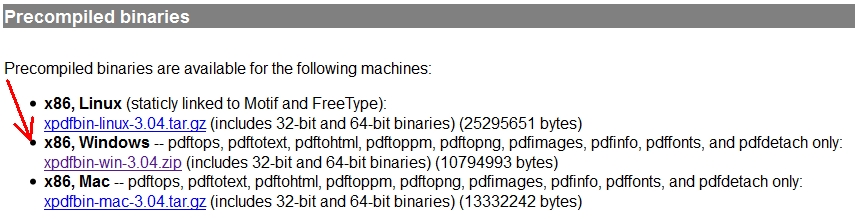
You may have already downloaded and installed the Xpdf tools while watching the first video in the Xpdf series, but if you haven't, then visit the Xpdf website at:http://www.foolabs.com/xpdf/
Click the Download link and then click the pre-compiled Windows binary ZIP archive to download the Xpdf utilities for Windows.
2. Locate the documentation folder for the Xpdf utilities.
Go to the folder where you unzipped the downloaded ZIP file and find the <doc> folder.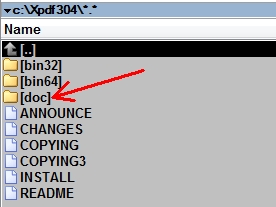
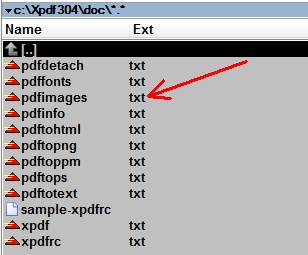
3. Read the documentation for the PDFimages tool.
Go into the <doc> folder and find the plain text file called <pdfimages.txt>.Open it with any text editor, such as Notepad, and read it. This is the documentation for the PDFimages tool.
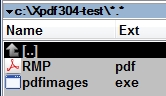
4. Set up a test folder.
Create a test folder.Copy <pdfimages.exe> from the unzipped <bin32> folder into your test folder.
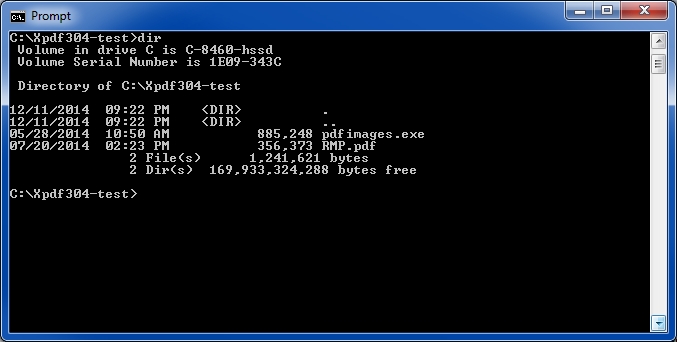
Copy a sample PDF file into your test folder (in the video and the screenshots below, the file is called <RMP.pdf>).
5. Set up a command prompt for testing.
Open a command prompt window.Navigate to your test folder.
Issue a DIR command in the command prompt to be sure that only two files are in it - the PDFimages executable and the sample PDF file.
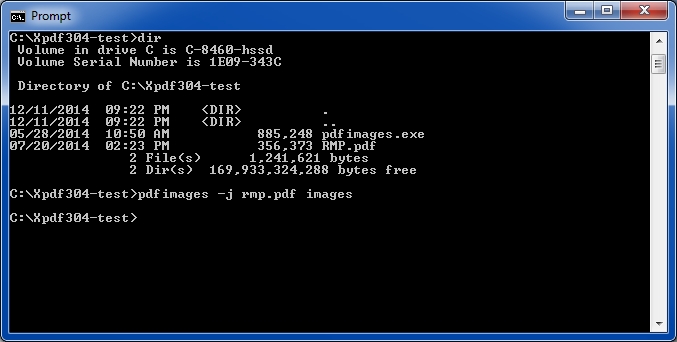
6. Run the PDFimages utility on the sample PDF file.
In the command prompt window, enter the following command:pdfimages -j samplefilename.pdf images
7. Display the image files that were created.
Issue a DIR command in the command prompt to show that the image files were created. There should be one image file for each image in the PDF file.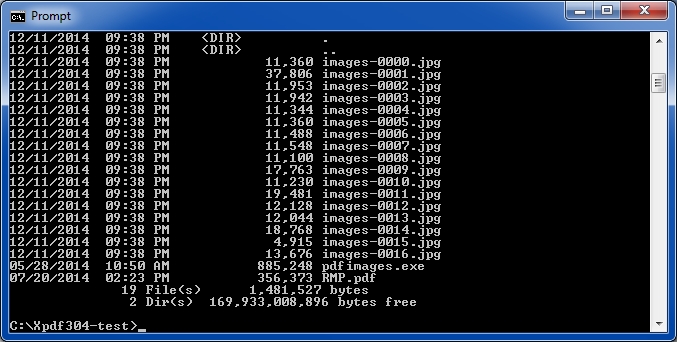
8. Verify that proper JPG image files were created.
Using whatever photo viewing software you prefer, such as Paint or Picture Manager, open up a few of the JPG image files to verify that they were created properly.
That's it! If you find this video to be helpful, please click the thumbs-up icon below. Thank you for watching!


Suggested Videos

This is a more or less short article about how I handle and edit my digital photos. There are a few apps I use to manage and edit my digital photos.

Recently, I have been looking for a new job and have found that the act of looking is a job itself.
Xpdf - Command Line Utility
Total Time: 14:57